
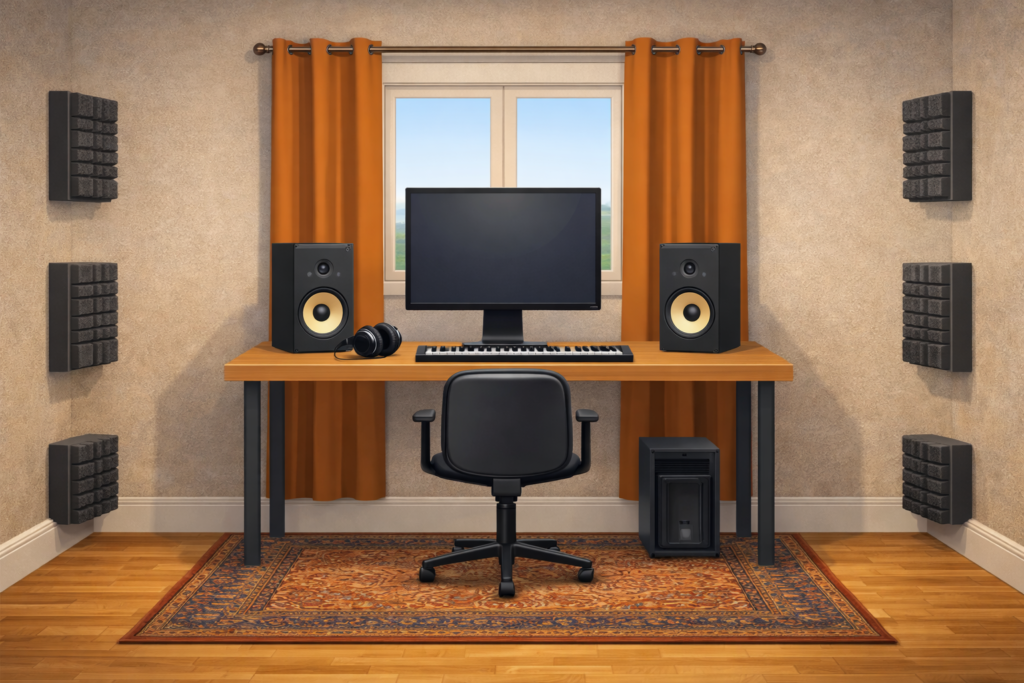
Introduction
Building a compact home studio is not about having a large room or expensive equipment. It is mainly about understanding how sound behaves in a small space and making smart decisions step by step. With a clear method, even a small room can become a reliable and comfortable working environment.
This guide follows a logical order, starting from choosing the room, treating the space in a simple way, and finally installing and organizing the equipment. It is designed for beginners and intermediate users who want practical results without professional studio construction.
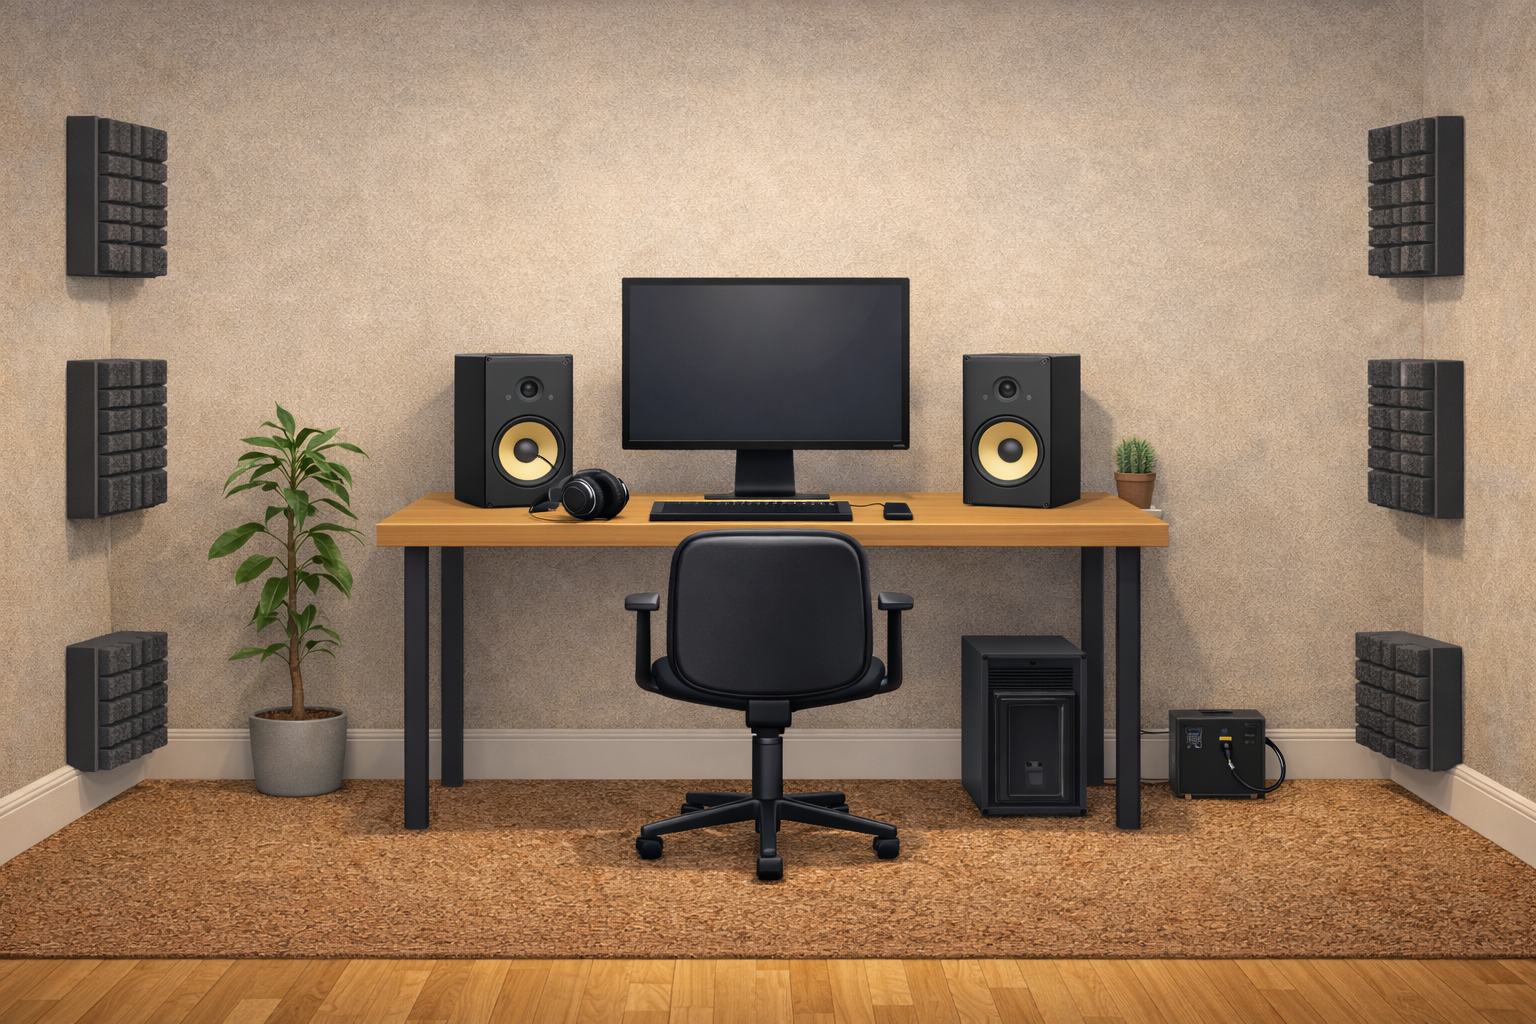
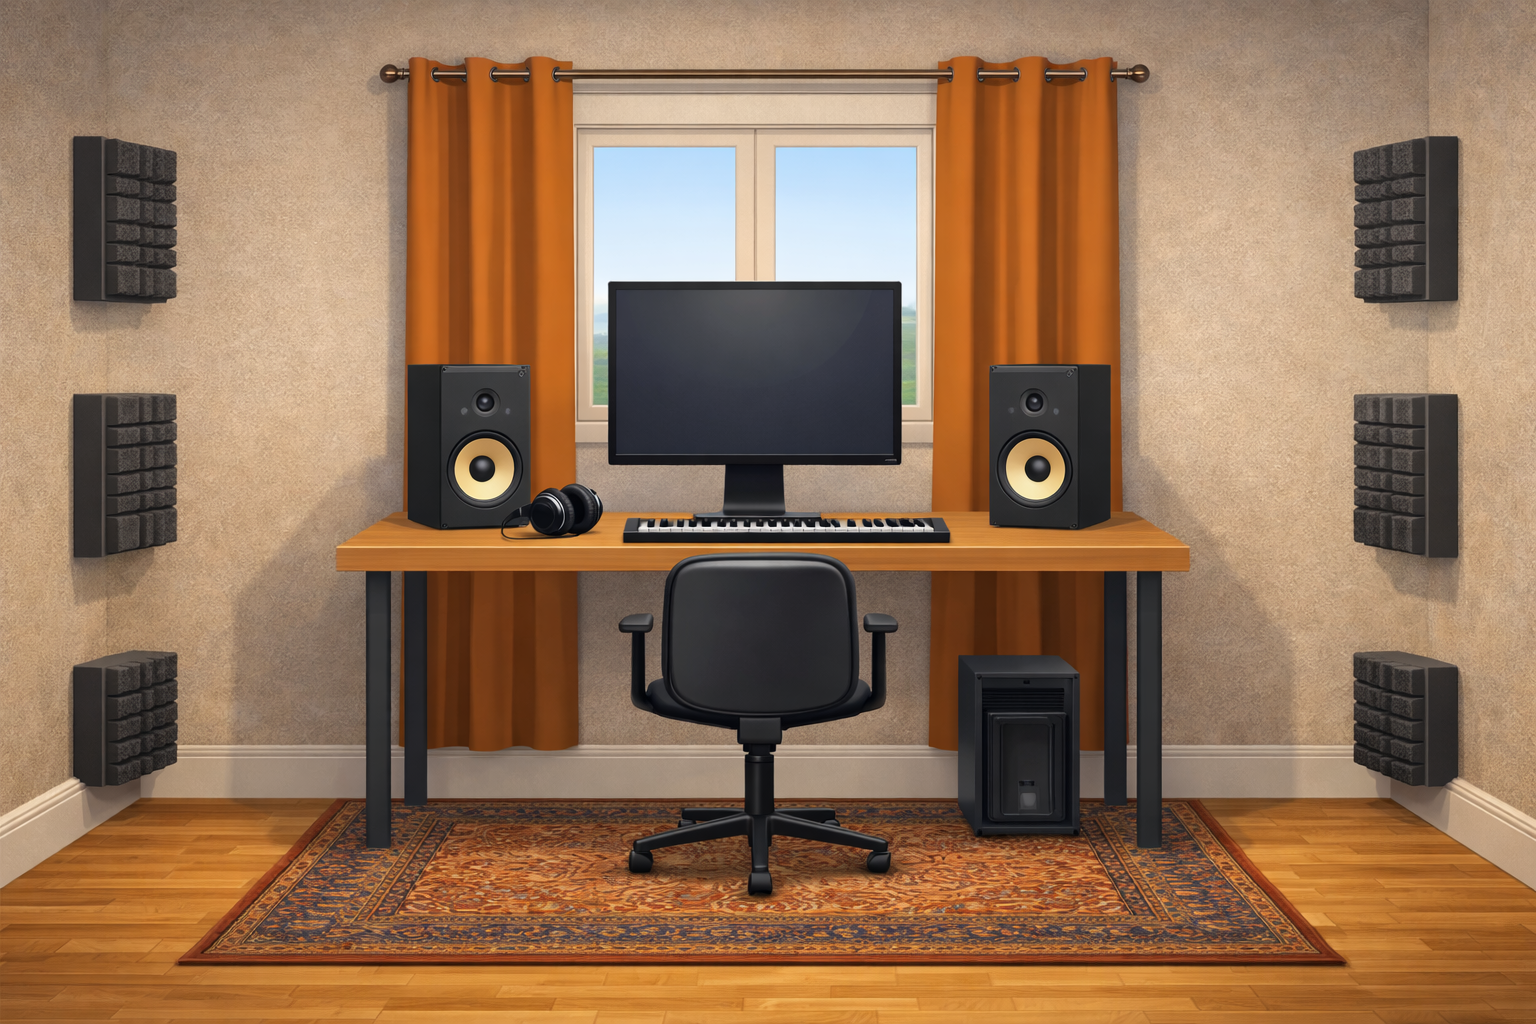
Step 1: Choosing the Right Room
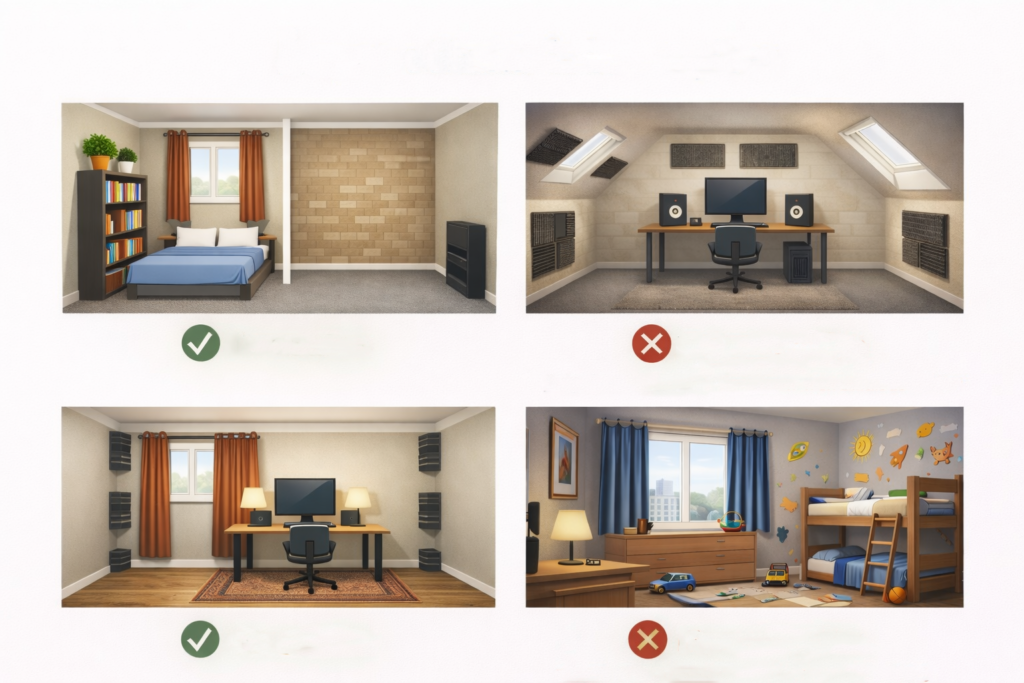
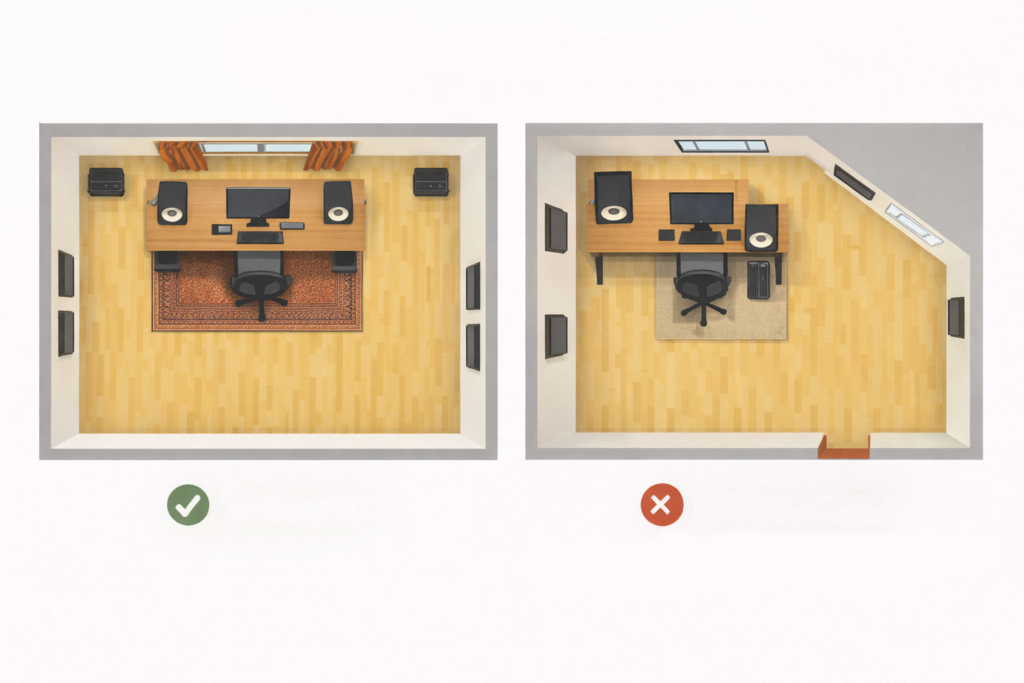
The first and most important step is choosing the right room. Not all rooms behave the same acoustically. A small bedroom or a quiet room is usually a better choice than a large empty space or a room with a lot of noise.
Try to avoid rooms with strong echo, very high ceilings, or large uncovered surfaces. A room with furniture, bookshelves, or irregular shapes often behaves better acoustically. External noise is also important, so choose the quietest room available.
Step 2: Centering the Setup in the Room
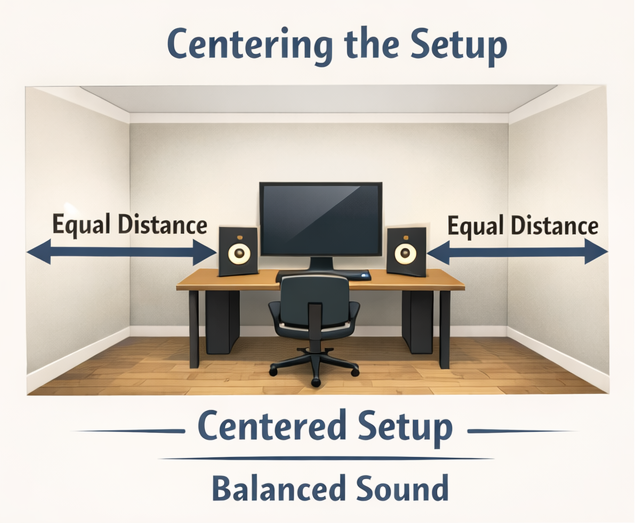
Once the room is chosen, the setup should be placed in the center of the room’s width. Centering the desk and speakers helps keep the distance to the left and right walls equal, which is essential for stereo balance.
If one speaker is closer to a wall than the other, the sound will be uneven and the stereo image will shift. A centered setup allows sound reflections to behave more symmetrically, improving clarity and accuracy.
Avoid placing the desk directly against the wall. Leaving some space behind the speakers helps reduce low-frequency buildup.
Step 3: Basic Acoustic Treatment (Simple and Non-Professional)
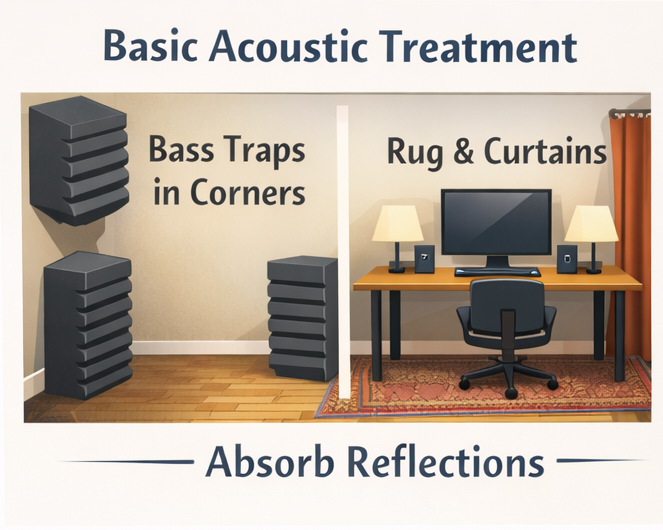
Before installing equipment, basic acoustic treatment should be considered. This does not mean professional treatment, but simple and effective solutions.
Floor Treatment (Rug or Carpet)
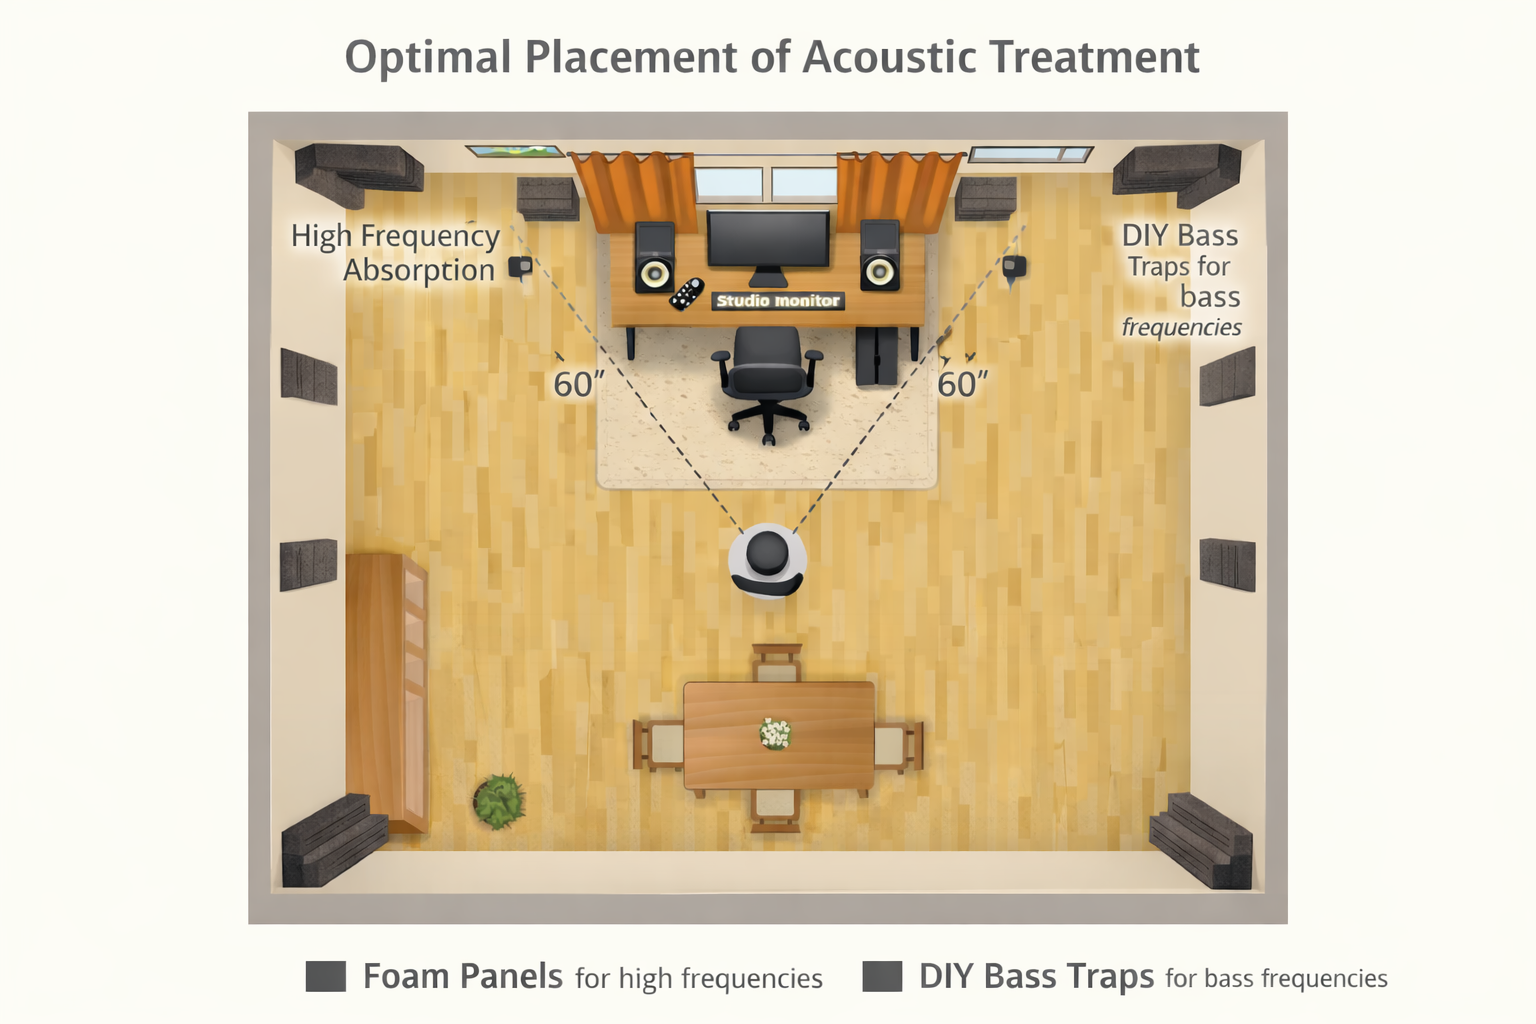
A rug or carpet placed on the floor between the desk and the listening position helps reduce reflections from the floor. This improves clarity in mid and high frequencies and makes the room sound less harsh.
Curtains for Windows
Curtains, especially thick ones, help absorb reflections from windows. They also reduce brightness and flutter echo caused by glass surfaces.
Step 4: Treating Corners and Front Reflections
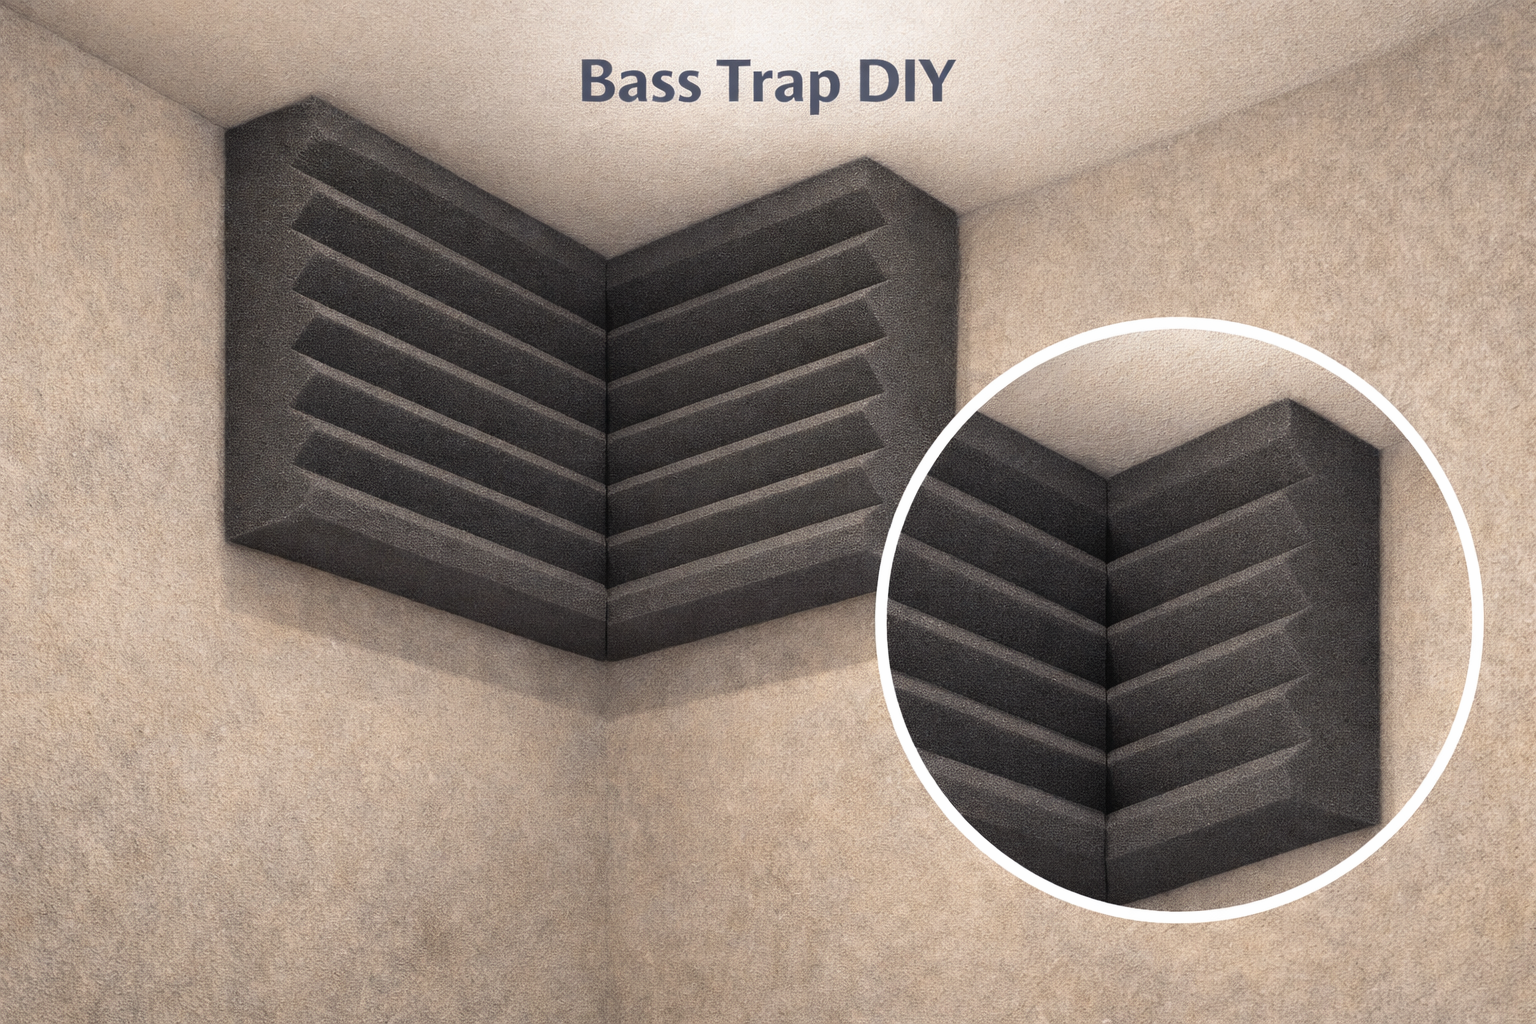
Low frequencies tend to accumulate in the corners of small rooms. To reduce bass resonance, corners can be treated or camouflaged using soft materials, foam panels, or DIY bass traps.
This treatment does not eliminate bass problems completely, but it significantly improves control and balance.
For mid and high frequencies, treat the areas directly facing the speakers. These first reflection points can be treated using wall panels, foam, or even thick curtains. The goal is to reduce early reflections that affect stereo focus.
Step 5: Stereo Monitoring and the 60-Degree Triangle Rule
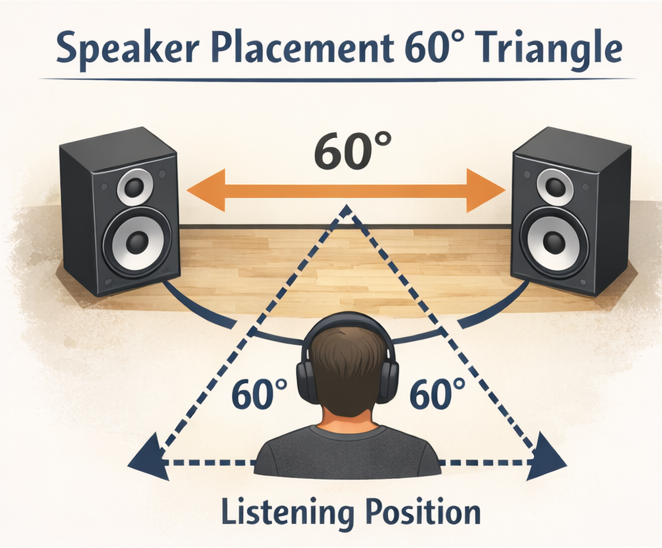
Proper speaker placement is critical. A simple and effective method is the 60-degree triangle rule. The distance between the two monitors should be equal to the distance from each monitor to the listening position, forming an equilateral triangle.
From a top view, the angle between the speakers should be approximately 60 degrees. The speakers should be at ear level and slightly angled inward toward the listening position.
This setup improves stereo imaging, panning accuracy, and overall sound stability.
Step 6: Choosing Essential Equipment
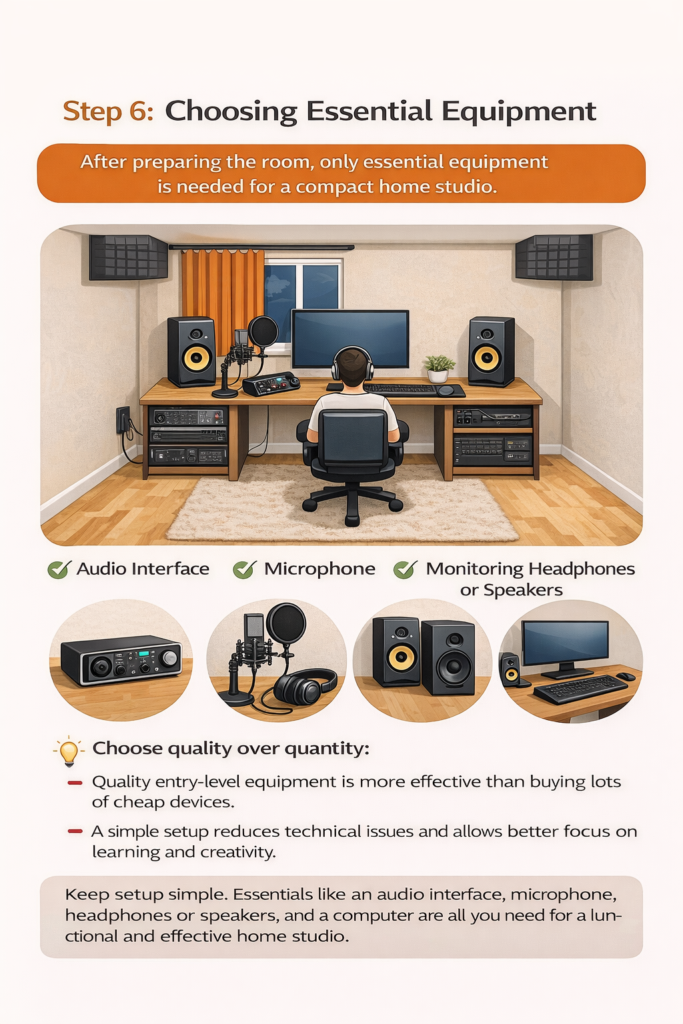
Only after the room and basic treatment are prepared should equipment be installed. A compact home studio requires only essential gear: an audio interface, a microphone, monitoring headphones or speakers, and a computer.
Choosing quality entry-level equipment is more effective than buying many low-quality devices. A simple setup reduces technical issues and allows better focus on learning and creativity.
Step 7: Installing and Organizing the Equipment
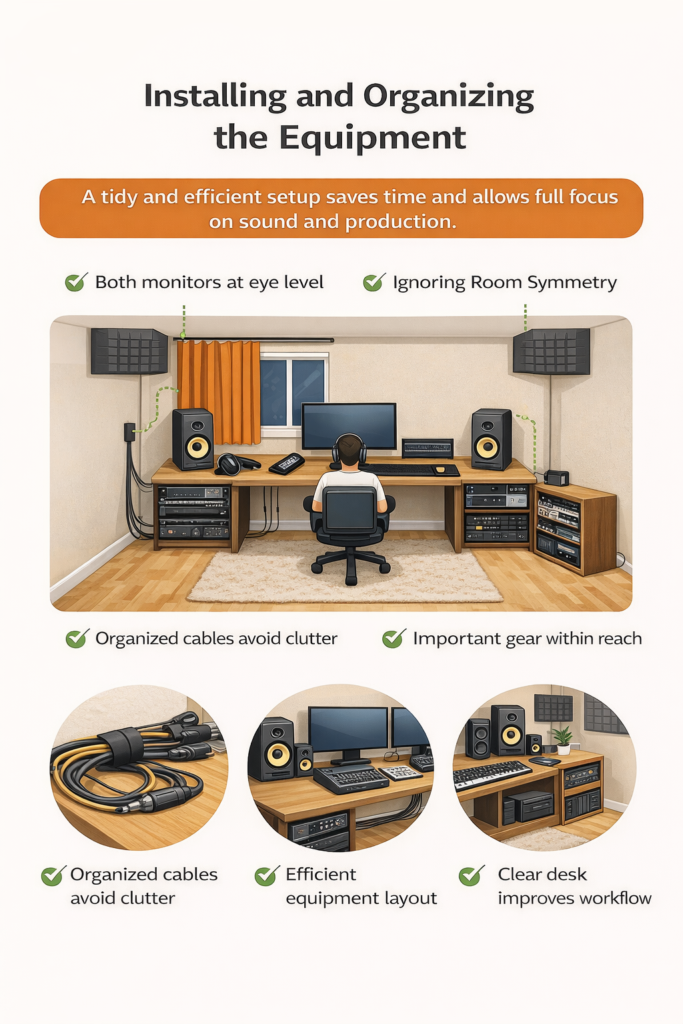
Equipment should be installed cleanly and logically. Cable management is important to avoid clutter and technical problems. Keeping the desk organized improves workflow and reduces stress during long sessions.
A compact studio benefits from simplicity. An efficient layout saves time and allows full focus on sound and production.
Common Mistakes to Avoid
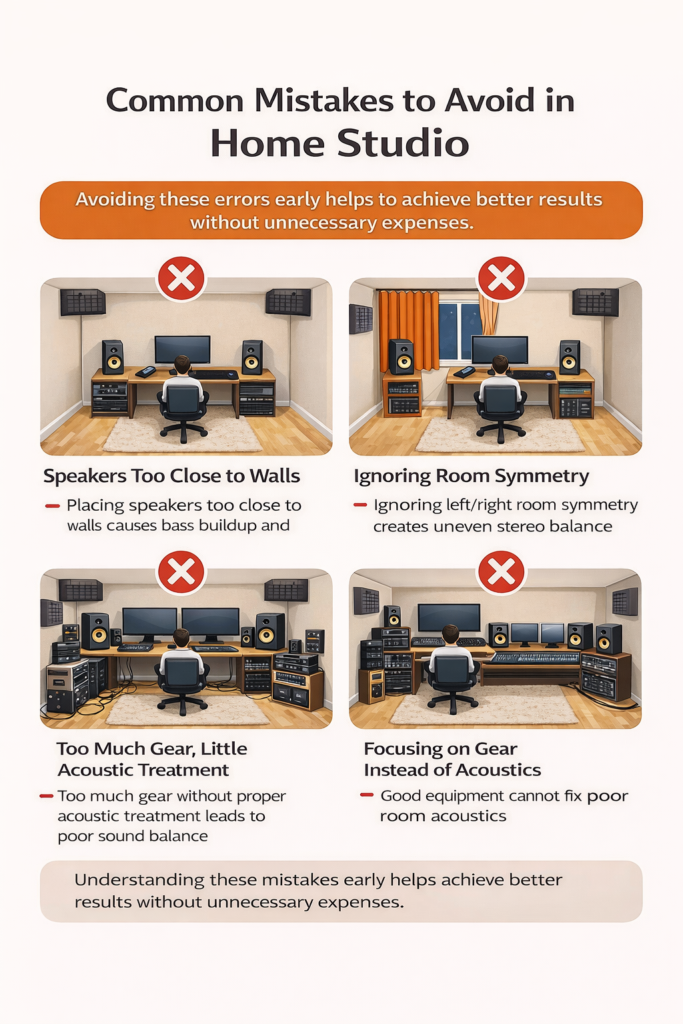
Common mistakes include placing speakers too close to walls, ignoring room symmetry, and focusing on equipment instead of acoustics. Overloading a small room with gear often creates more problems than solutions.
Understanding these mistakes early helps achieve better results without unnecessary expenses.
Conclusion
Building a compact home studio is a process that starts with the room, not the equipment. By choosing the right space, centering the setup, applying simple acoustic treatment, and installing equipment step by step, reliable results can be achieved even in small rooms.
A well-balanced compact studio allows accurate monitoring, comfortable workflow, and creative freedom without professional-level construction.