
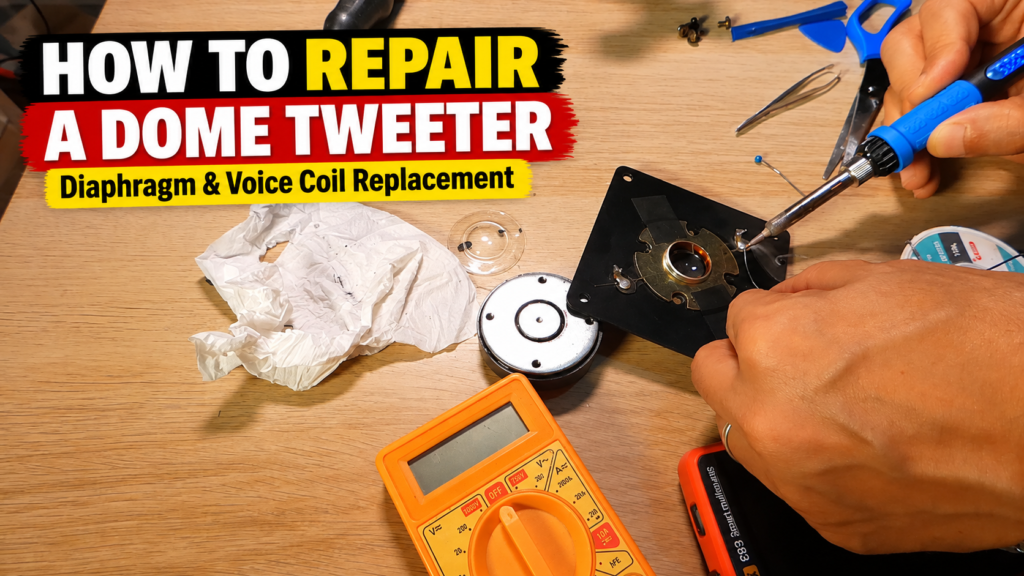
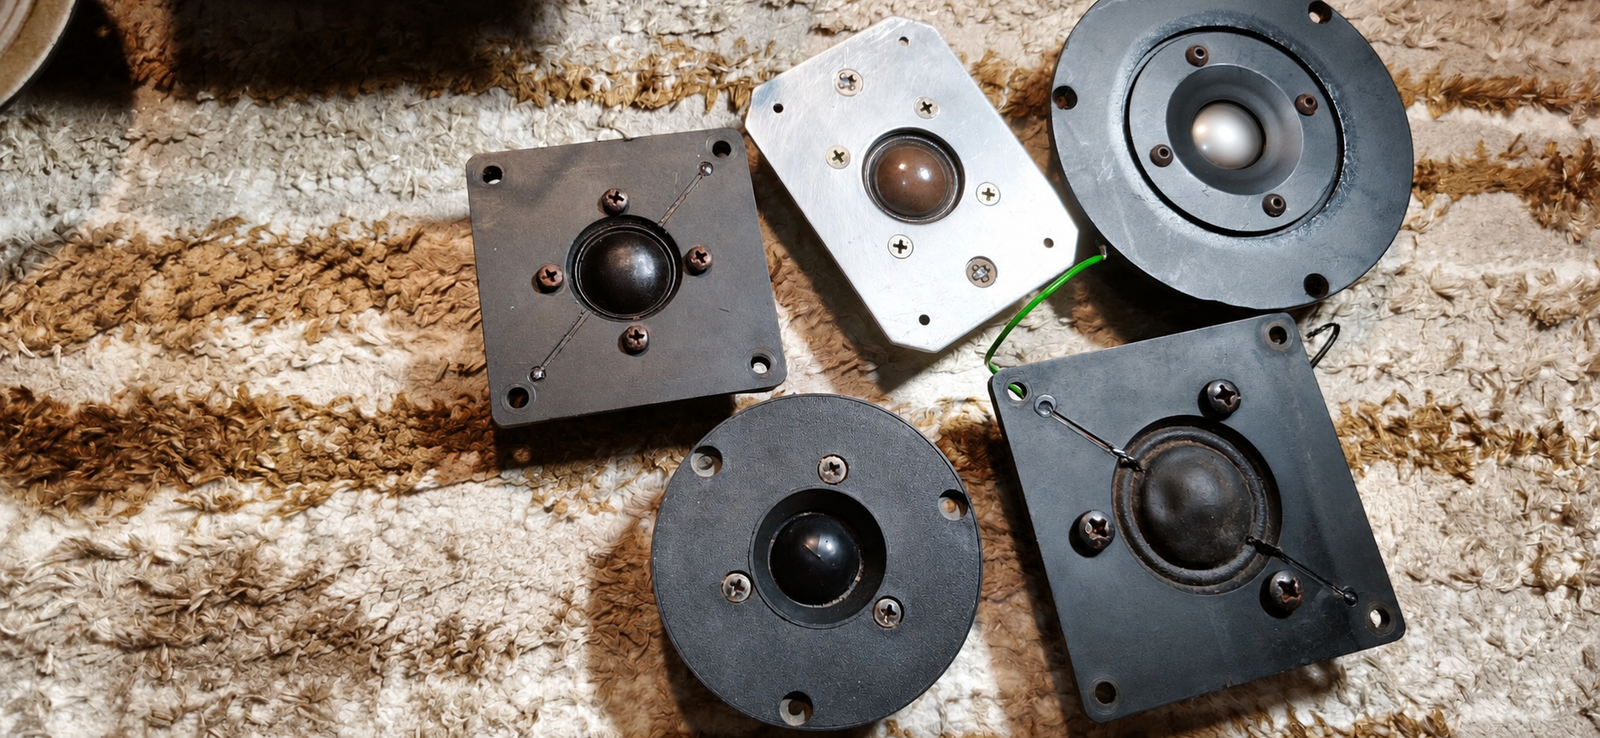
The tweeter is one of the most delicate components of a Hi-Fi loudspeaker. In my experience with speaker restoration and repair, it is also one of the drivers that I encounter quite often in a failed condition.
This is a common problem for Hi-Fi enthusiasts, especially when restoring older or vintage loudspeakers. A failed tweeter can quickly affect the overall tonal balance of a speaker, resulting in missing or significantly reduced high frequencies.
However, a tweeter that no longer works is not necessarily ready to be thrown away. In some cases, it can be restored simply by replacing the diaphragm and voice coil assembly.
In this tutorial, I show a simple method I used to repair a dome tweeter. The process mainly involves disassembling the tweeter, removing the old diaphragm, installing the new one, and reconnecting the electrical connections.
The goal of this tutorial is to present a practical and accessible repair method, without going into more complex procedures such as manufacturing or manually rewinding a voice coil.
Tools and Materials Needed
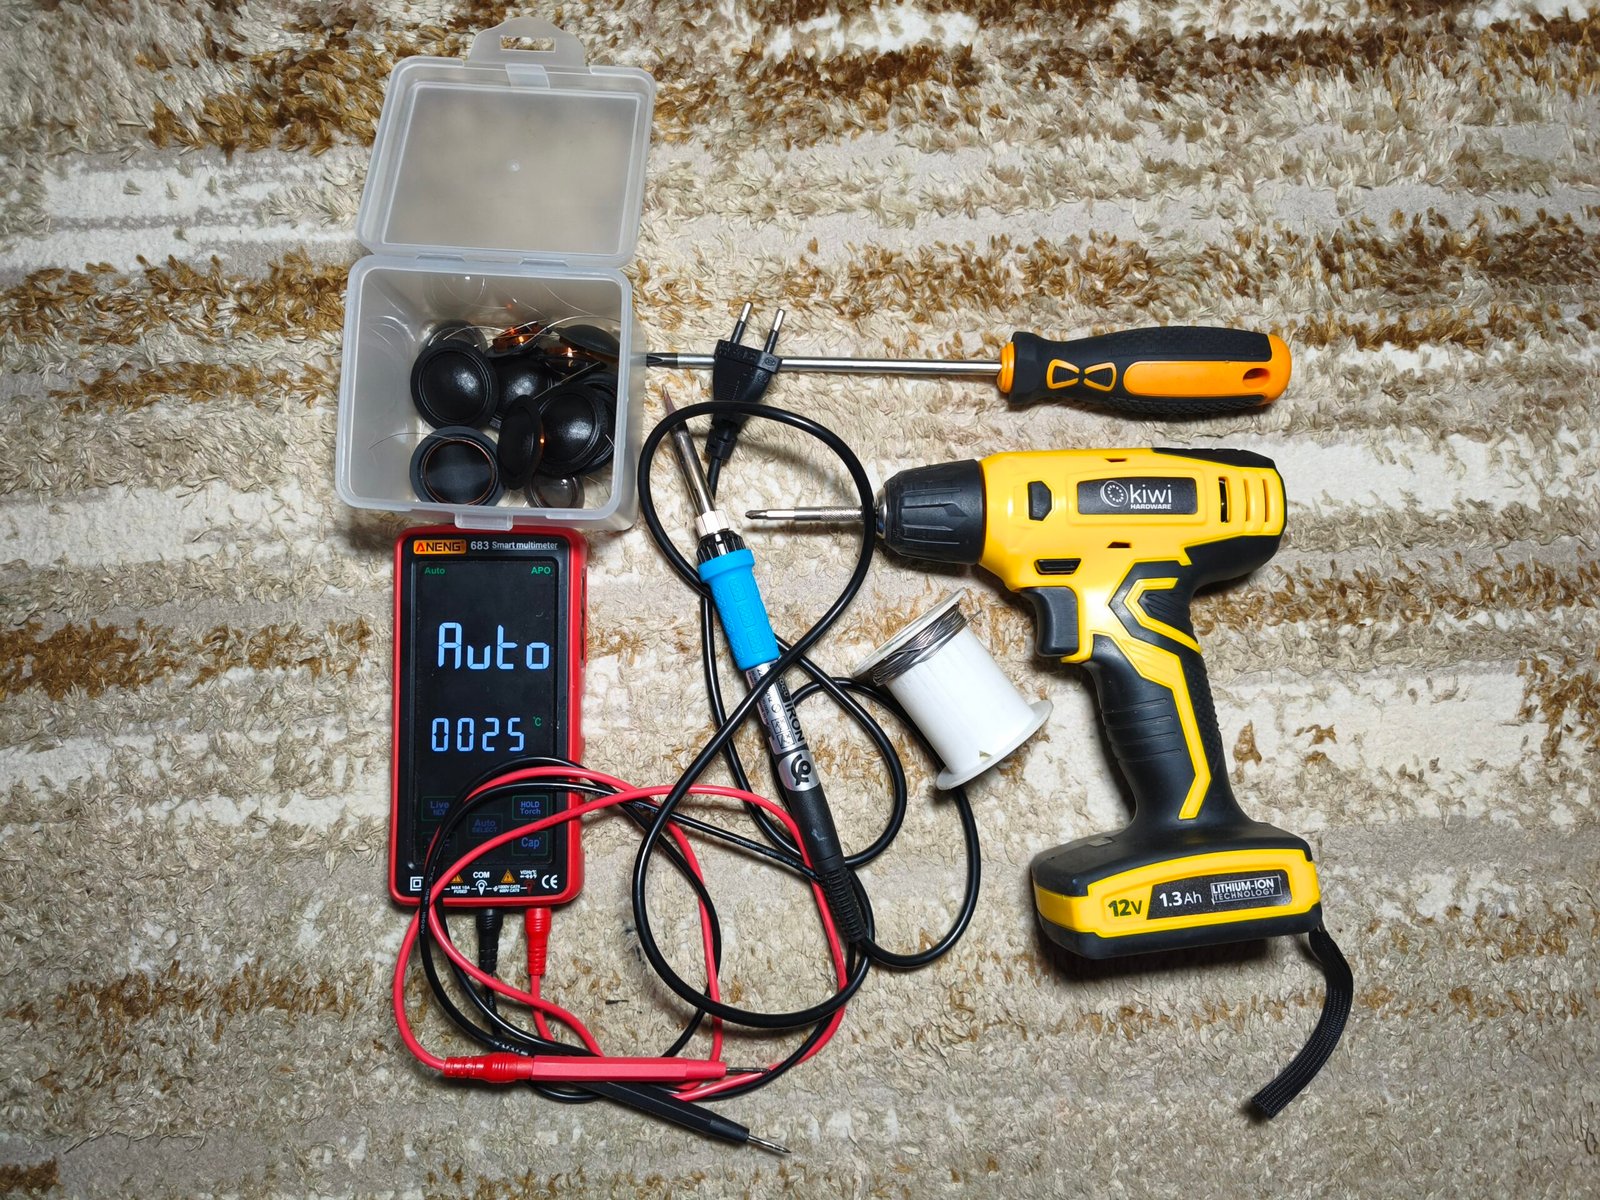
For this repair, you will mainly need:
- A suitable screwdriver;
- A soldering iron;
- Solder;
- A multimeter for a few basic checks;
- A replacement diaphragm compatible with the tweeter.
It is recommended to work on a clean and stable surface, as the diaphragm and voice-coil wires are very delicate.
1. Disassemble the Tweeter
Start by removing the tweeter from the loudspeaker.
Disconnect the wires coming from the crossover, then remove the screws holding the different parts of the tweeter together.
Carefully disassemble the unit to gain access to the diaphragm.
Never force the dome, as it can easily be deformed or damaged.
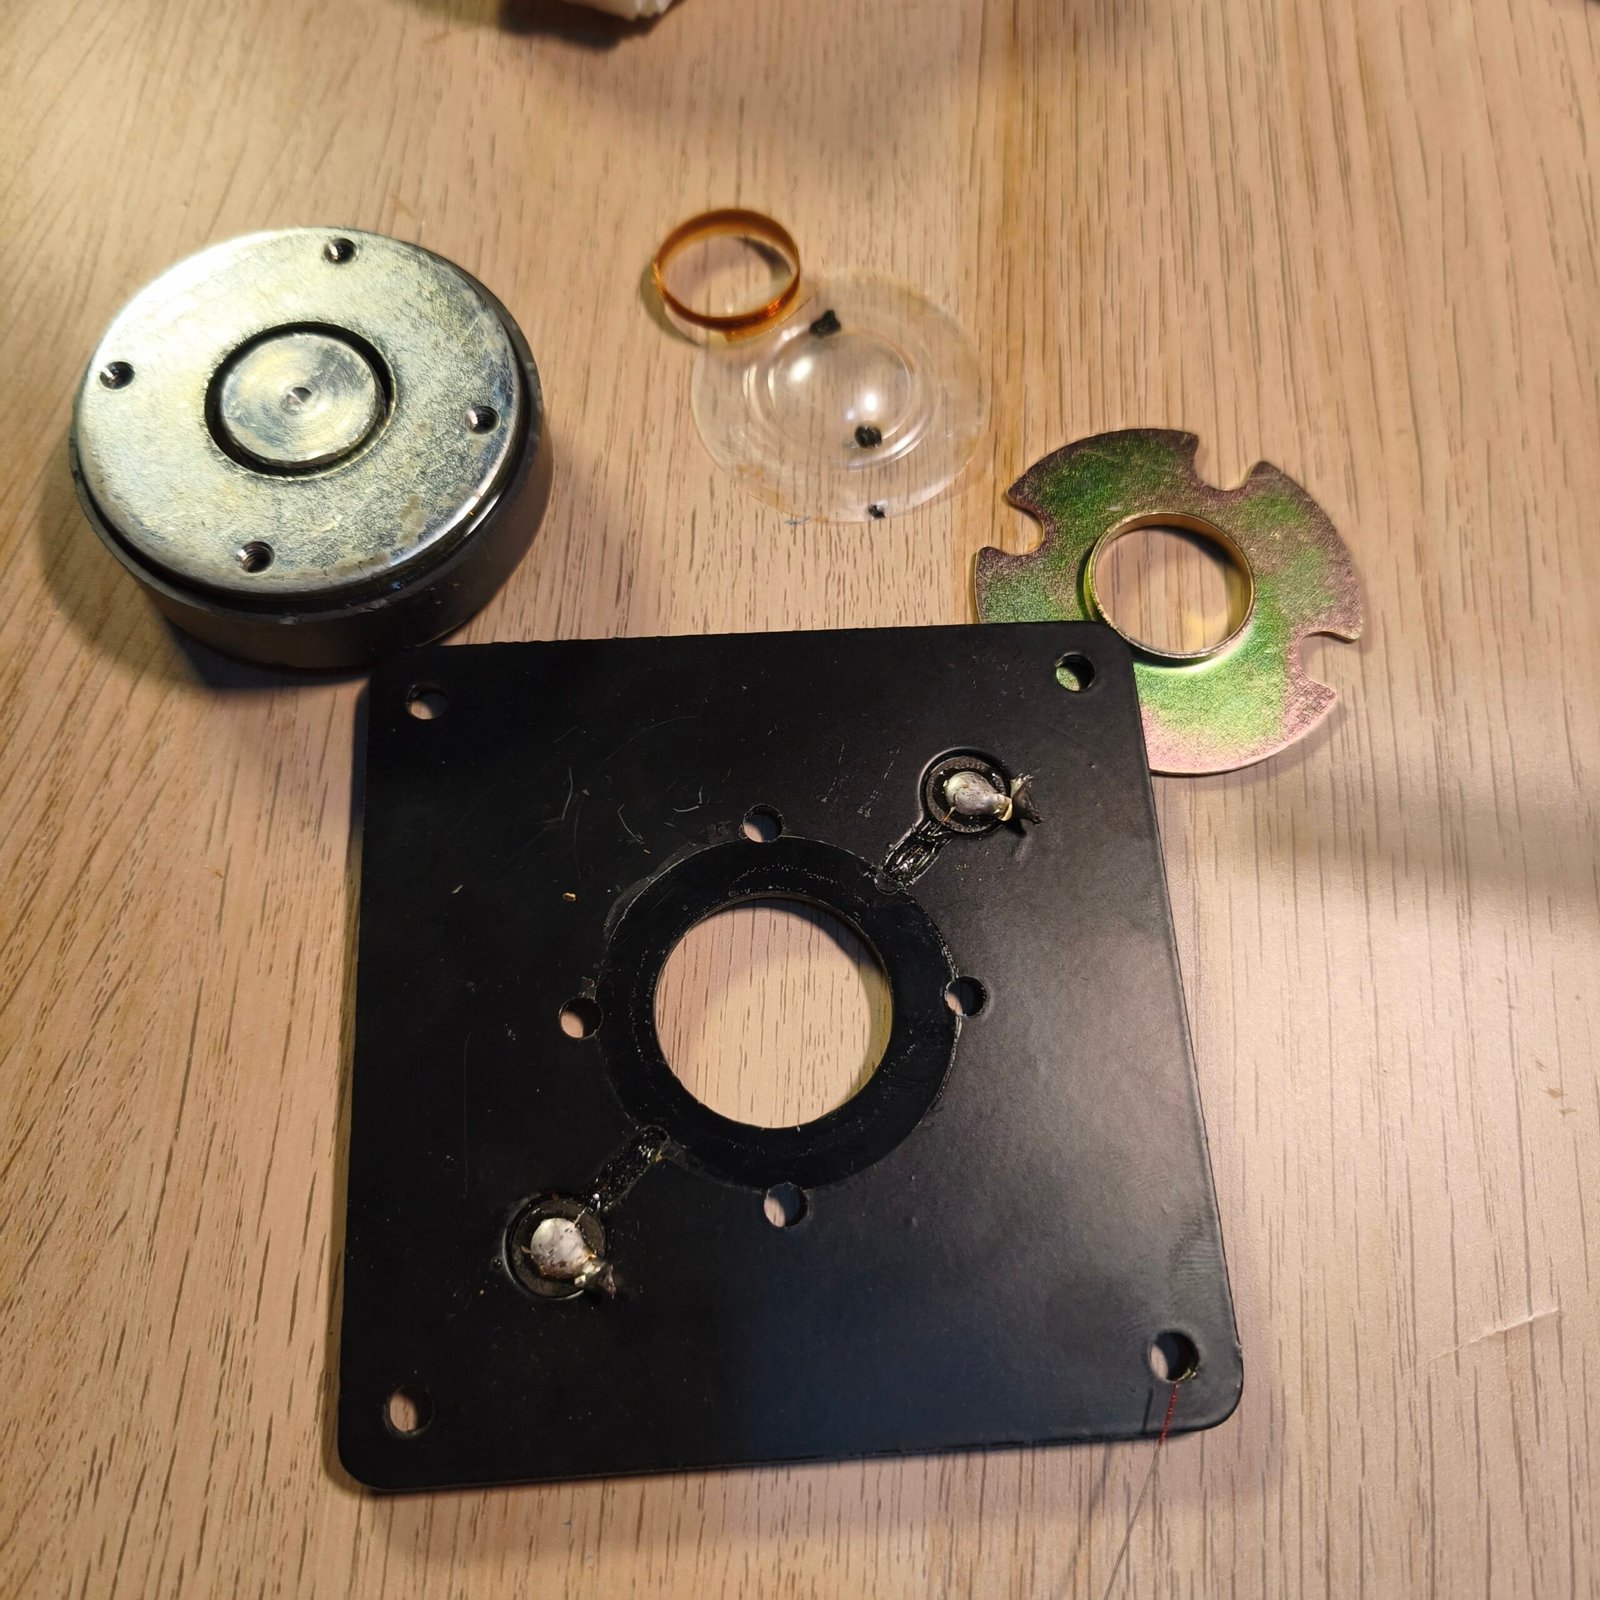
2. Remove the Old Diaphragm
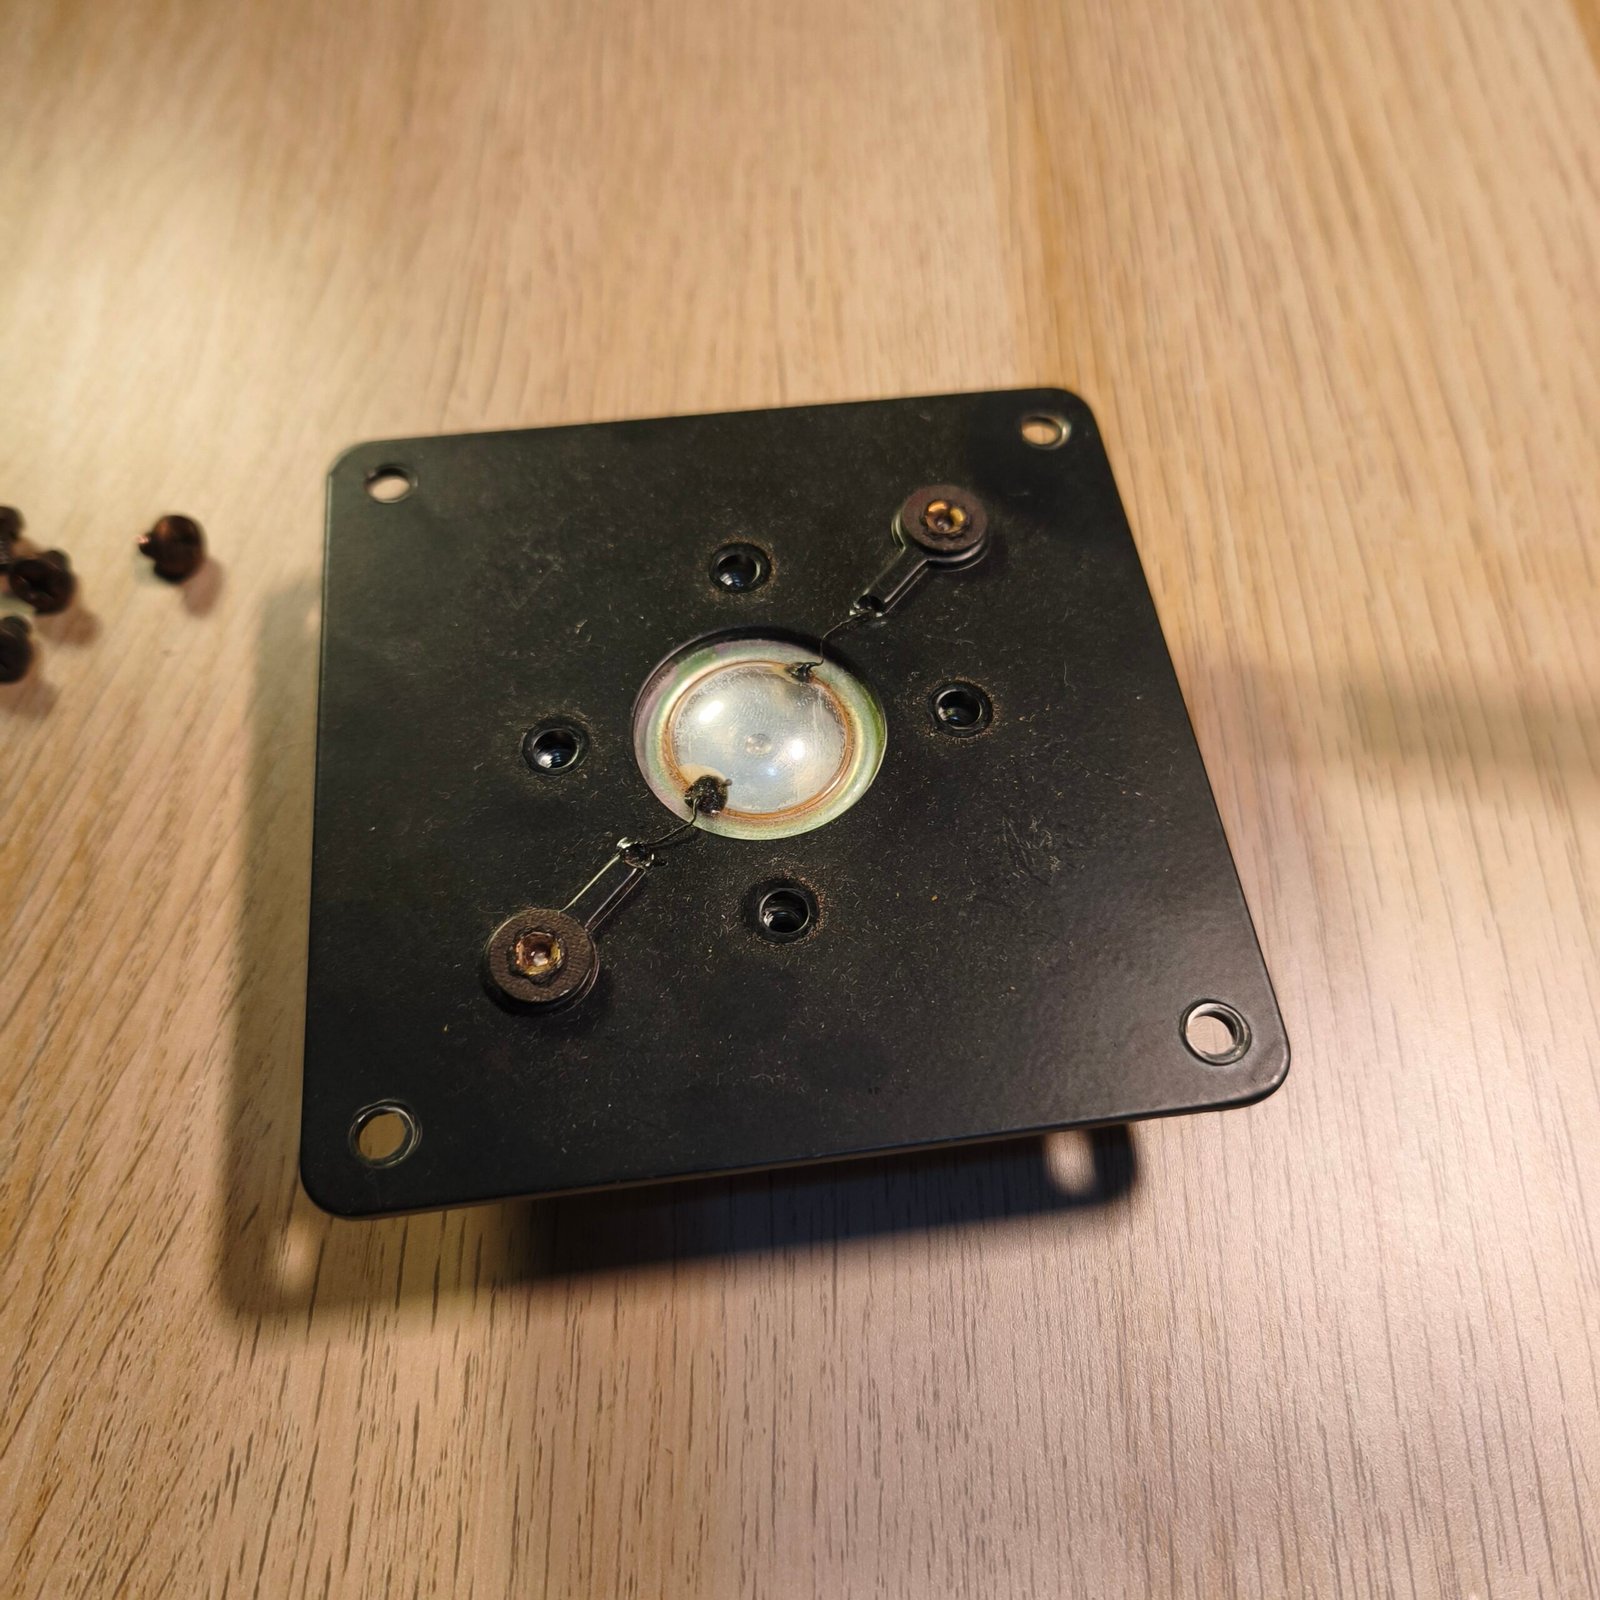
Once the tweeter is open, you can access the old diaphragm.
Carefully remove the diaphragm and its associated connections.
On the tweeter shown in this tutorial, the diaphragm and voice coil are part of the same assembly. Therefore, replacing the complete diaphragm + voice coil assembly is much easier than attempting to repair or rewind the voice coil itself.
This allows the original magnetic motor and the other components of the tweeter to be retained.
3. Prepare the New Diaphragm
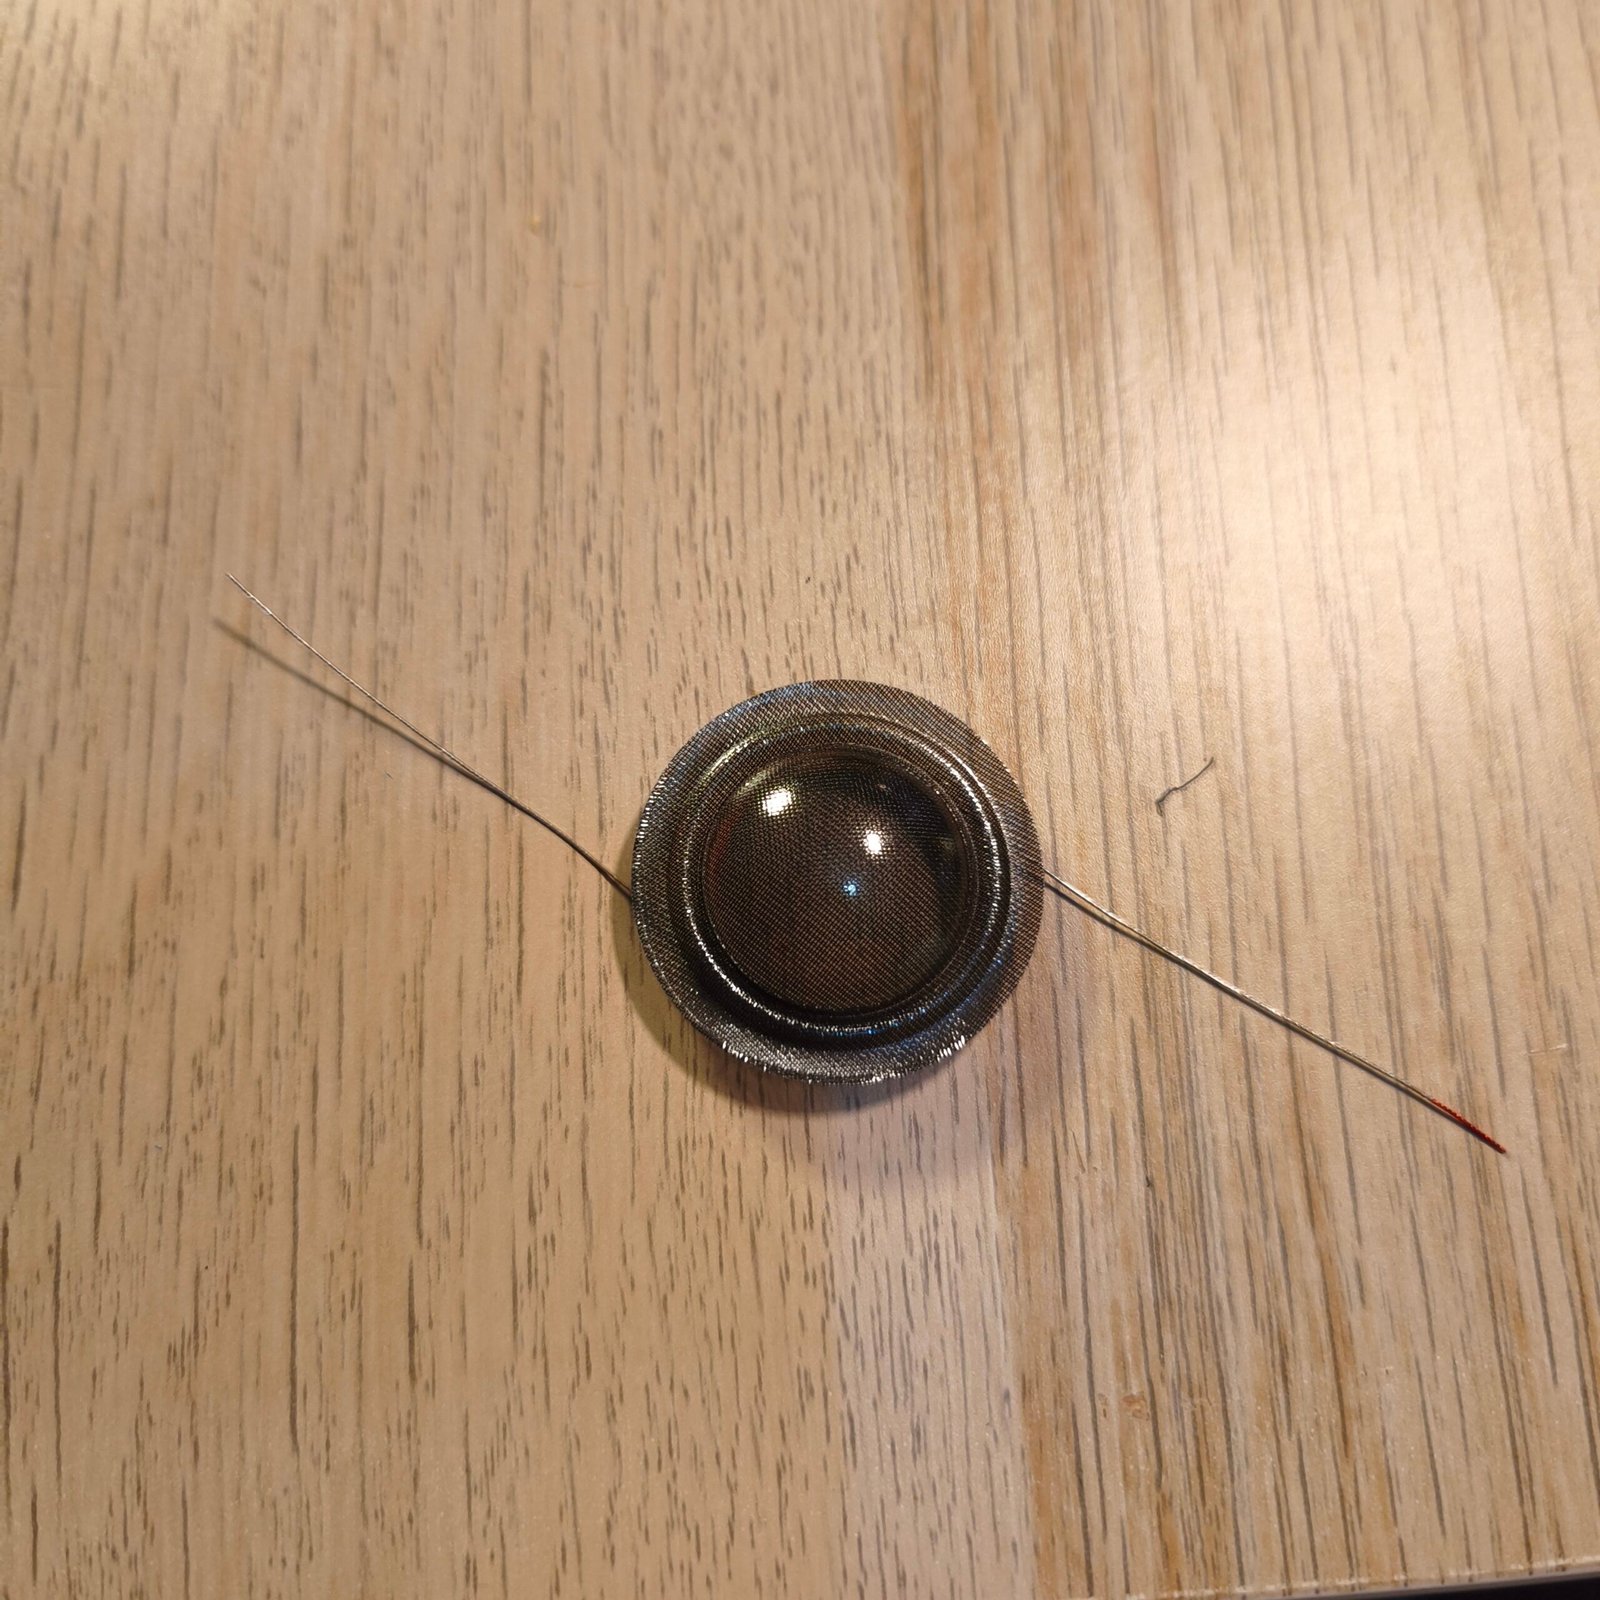
The replacement part used in this repair includes both the diaphragm and the voice coil.
Before installing it, make sure that it is suitable for the tweeter and can be correctly fitted into its original position.
Pay Attention to Compatibility
Not all tweeter diaphragms are interchangeable.
In particular, check:
- Voice-coil diameter;
- Its dimensions;
- Impedance;
- Mechanical compatibility with the tweeter.
Important: Preferably use a replacement part specifically designed for your tweeter model or a reference explicitly confirmed as compatible. A diaphragm having the same external diameter is not necessarily compatible.
Check replacement tweeter diaphragms and voice coils on AliExpress
4. Install the New Diaphragm
Now place the new diaphragm into its position.
This step requires a certain amount of precision: the voice coil must be correctly positioned in its intended location.
Take your time and avoid applying excessive pressure to the dome.
Once the diaphragm is correctly positioned, you can proceed with the electrical connections.
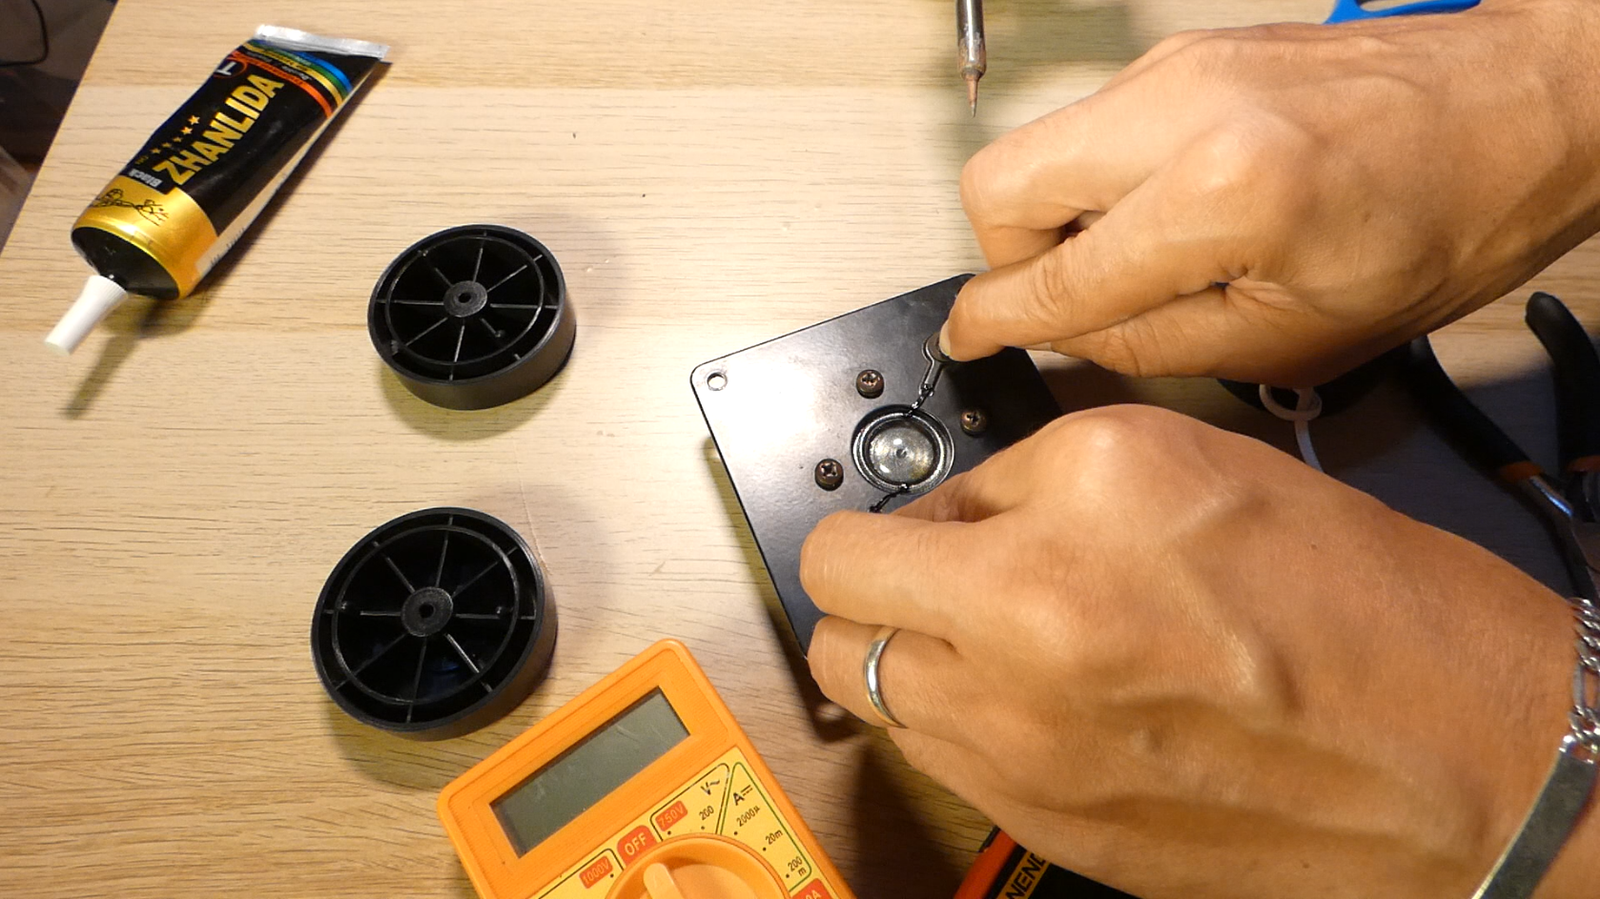
5. Reconnect the Electrical Connections
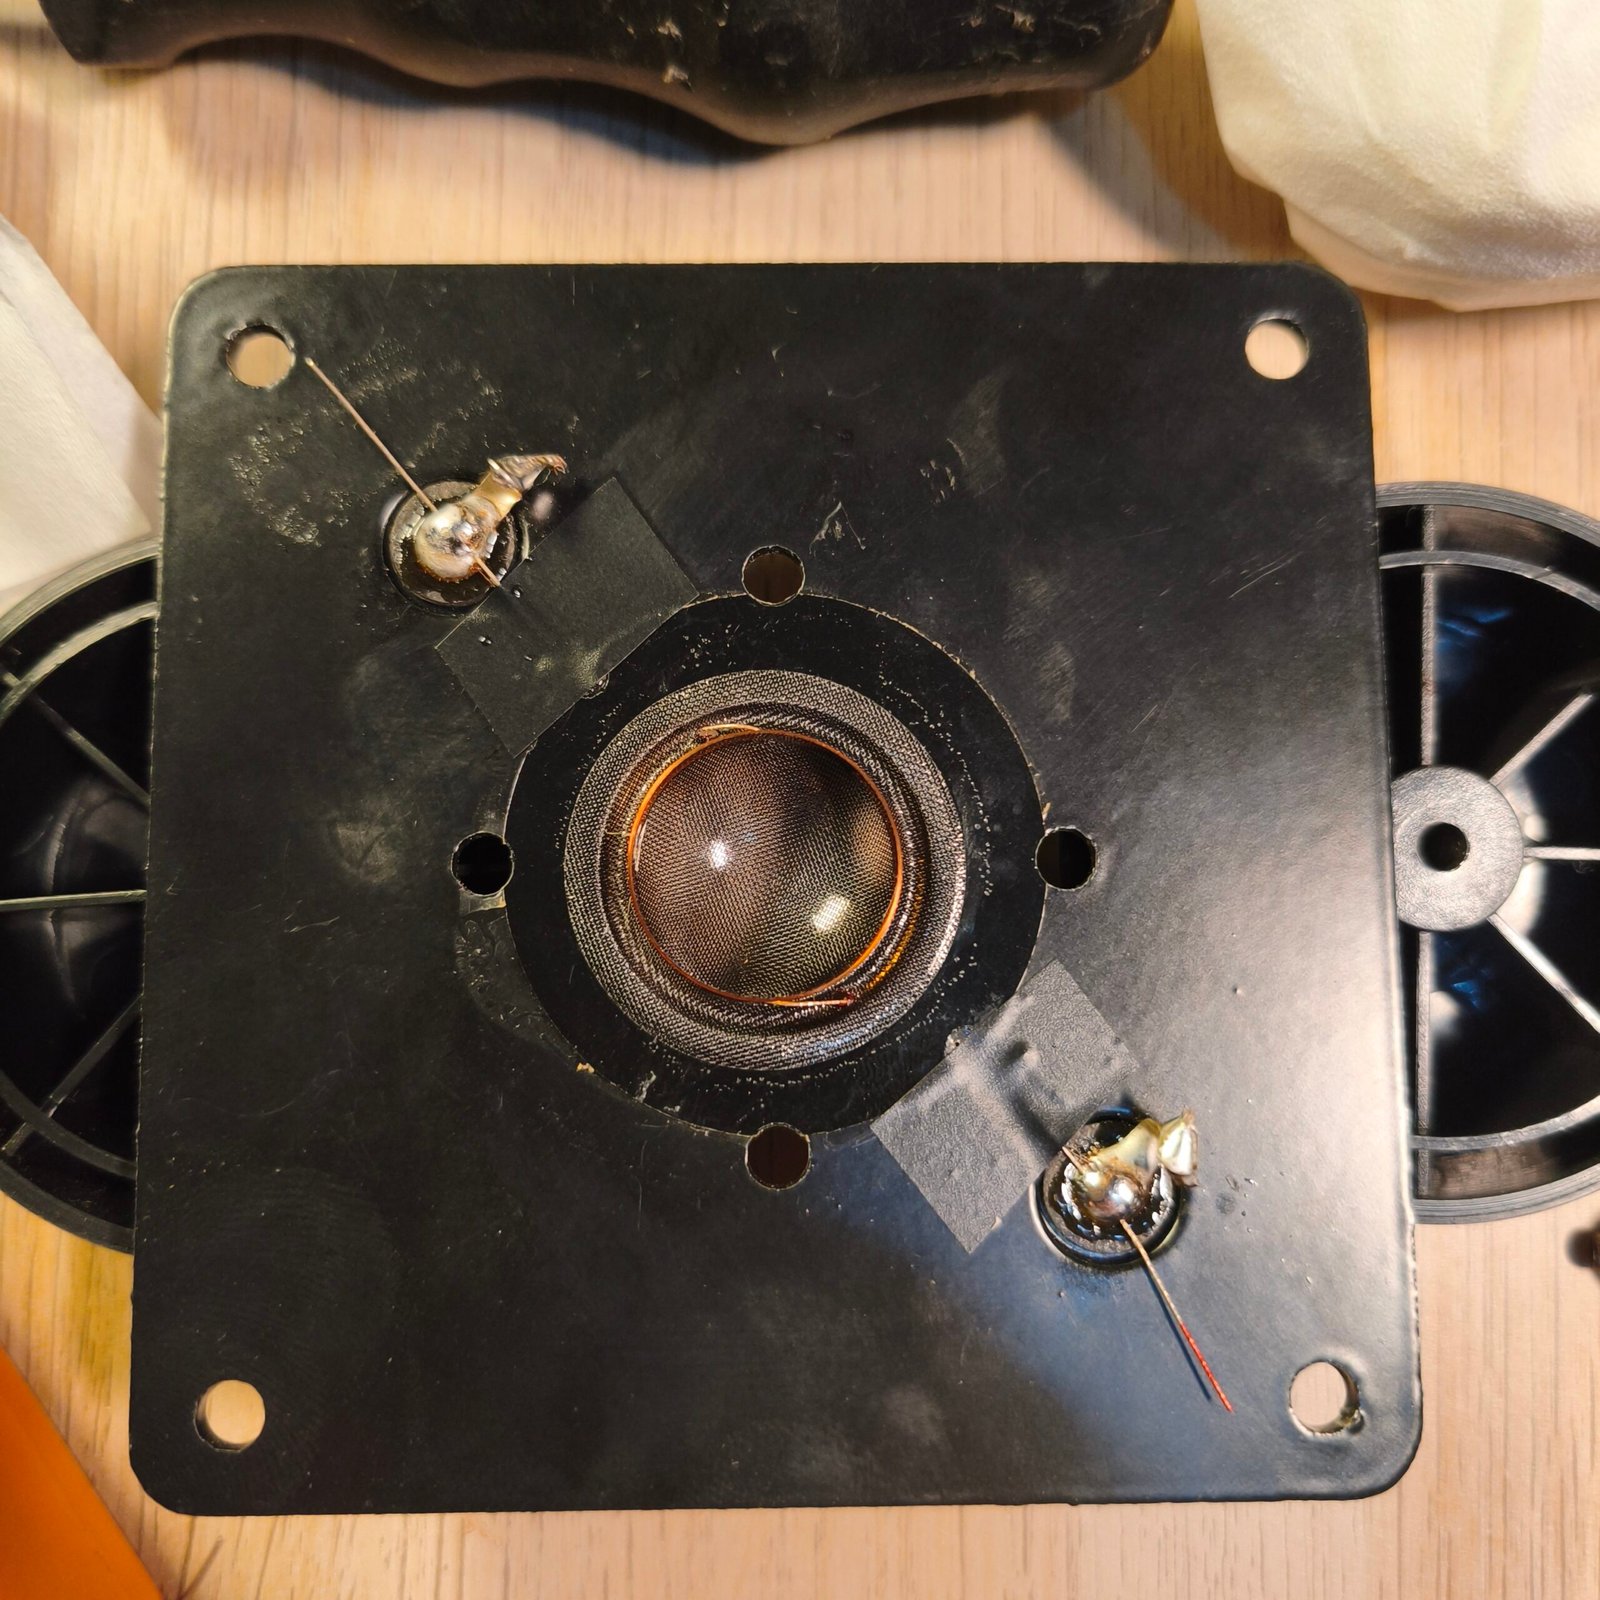
The two wires coming from the voice coil must be connected to the tweeter terminals.
This is a delicate operation because these wires are extremely thin.
Make the solder joints quickly to avoid unnecessarily heating the wires or the voice coil.
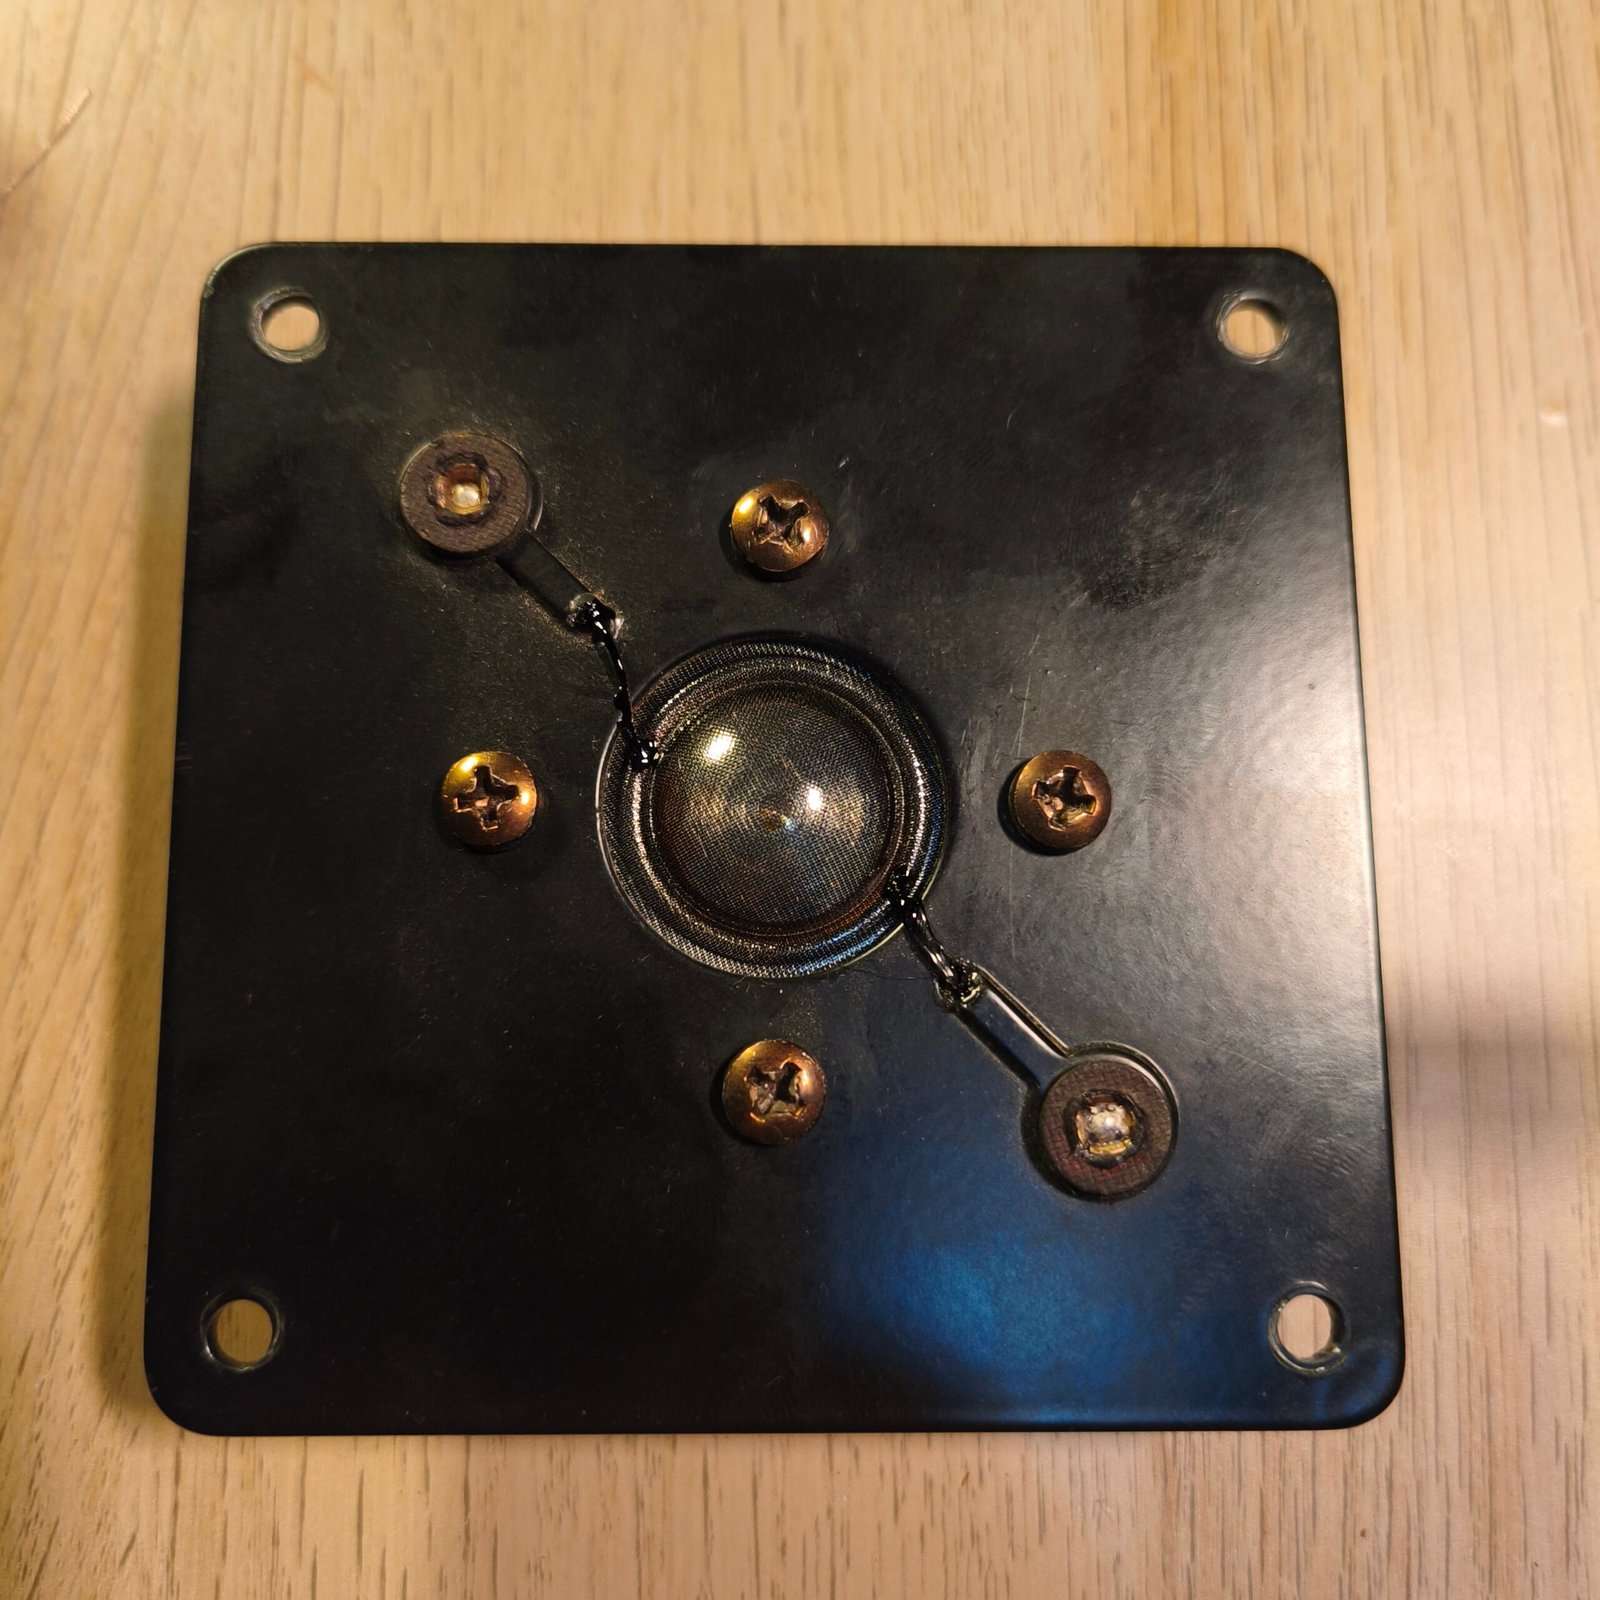
Also check that the solder joints are secure and that no wire can come into contact with another metal part.
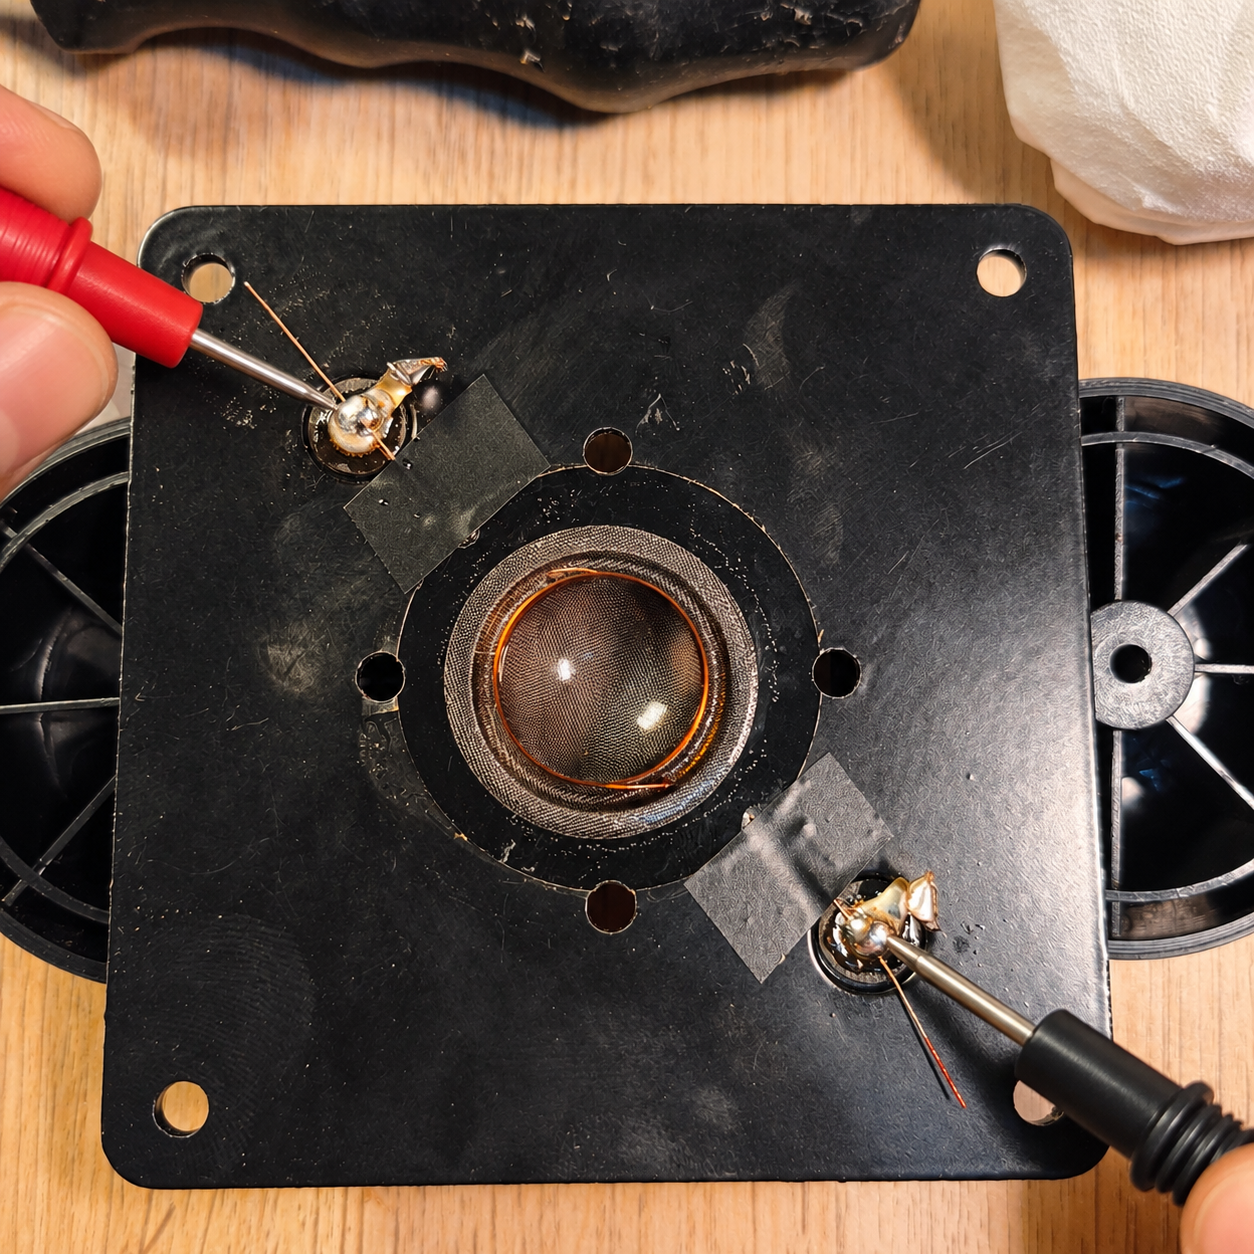
Multimeter Check
Before completely reassembling the tweeter, you can use a multimeter to check the electrical continuity of the voice coil.
This can help identify a poor solder joint or a broken connection.
6. Reassemble the Tweeter
Once the connections are complete, put the different parts of the tweeter back into position.
Replace the screws and tighten them gradually.
Do not overtighten the screws. The purpose is simply to hold the assembly securely without deforming the plate or support.
Before reinstalling the tweeter into the loudspeaker, make sure that everything is correctly positioned.
7. Test the Tweeter
Before testing at high volume, always start at a low listening level.
Listen carefully to the result.
The tweeter should operate normally without unusual noise, mechanical rubbing or obvious distortion.
If everything works correctly, you can gradually increase the volume.
Why Replace the Diaphragm Instead of the Entire Tweeter?
When the magnetic motor and the other parts of the tweeter are still in good condition, replacing the diaphragm can allow you to restore a tweeter that was no longer working.
This is particularly useful with older or vintage Hi-Fi loudspeakers, or when an identical replacement tweeter is difficult to find.
The repair allows you to keep the original tweeter and its original mechanical integration into the loudspeaker.
In some cases, replacing the diaphragm can therefore be a practical alternative to replacing the entire driver.
An Interesting Repair for Vintage Loudspeakers
Hi-Fi enthusiasts restoring older loudspeakers often face the problem of finding replacement parts.
An original tweeter may be:
- difficult to find;
- expensive;
- available only second-hand;
- or completely discontinued.
When the tweeter’s magnetic motor is still in good condition and a compatible diaphragm is available, replacing the diaphragm can save the original tweeter.
This is one of the reasons why this technique can be particularly useful when restoring vintage Hi-Fi loudspeakers.
Important Precautions
Although the repair is relatively straightforward, a few precautions are important:
- Do not touch or press hard on the dome.
- Handle the voice-coil wires very carefully.
- Do not apply excessive heat to the connections while soldering.
- Check the diaphragm’s compatibility before installation.
- Check the impedance of the replacement part.
- Make sure the voice coil is correctly positioned.
- Perform the first test at a low volume level.
Video Tutorial
I also made a video showing this repair step by step, including the tweeter disassembly, replacement of the diaphragm and voice coil, electrical connections and reassembly.
The video allows you to see the different steps described in this article in practice.
Watch the Tutorial on YouTube
Conclusion
Repairing a dome tweeter can be much easier than it may seem when a suitable replacement diaphragm is available.
In the repair presented in this tutorial, the process essentially consists of disassembling the tweeter, replacing the diaphragm/voice-coil assembly, resoldering the connections and performing a test.
This method can, in some cases, bring a faulty tweeter back to life without having to replace the entire driver.
For Hi-Fi enthusiasts, and particularly those restoring vintage loudspeakers, this can be a very useful solution when the original tweeter is still mechanically usable but its diaphragm or voice coil has been damaged.
A relatively simple repair can sometimes save a loudspeaker driver that initially seemed beyond repair.