
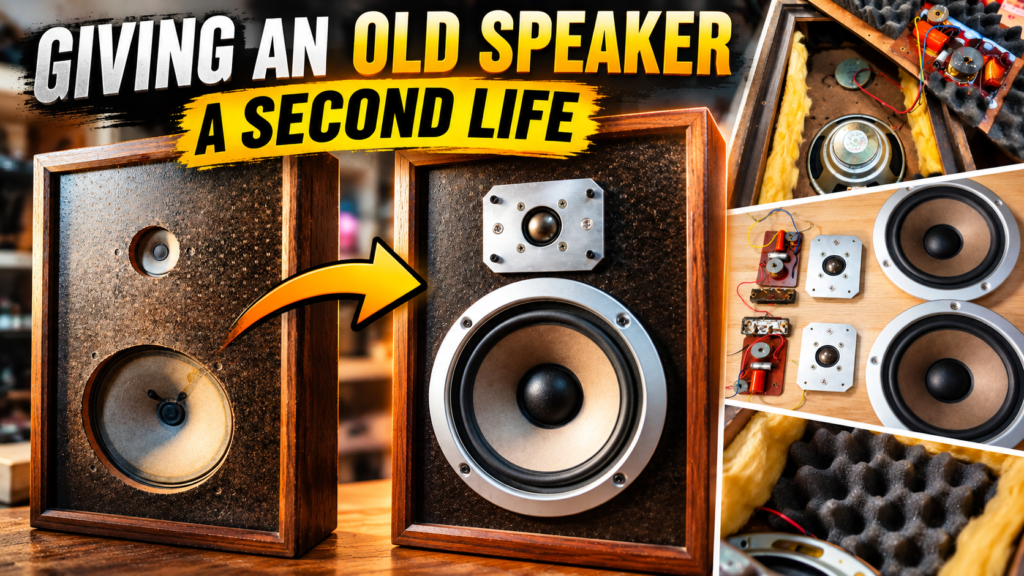
I particularly enjoy projects that give old audio equipment a second life. In Hi-Fi, you sometimes come across speakers, crossover networks, acoustic foam, or even complete cabinets that seem to have little use left in them. With a bit of work, however, they can still produce surprisingly good results.
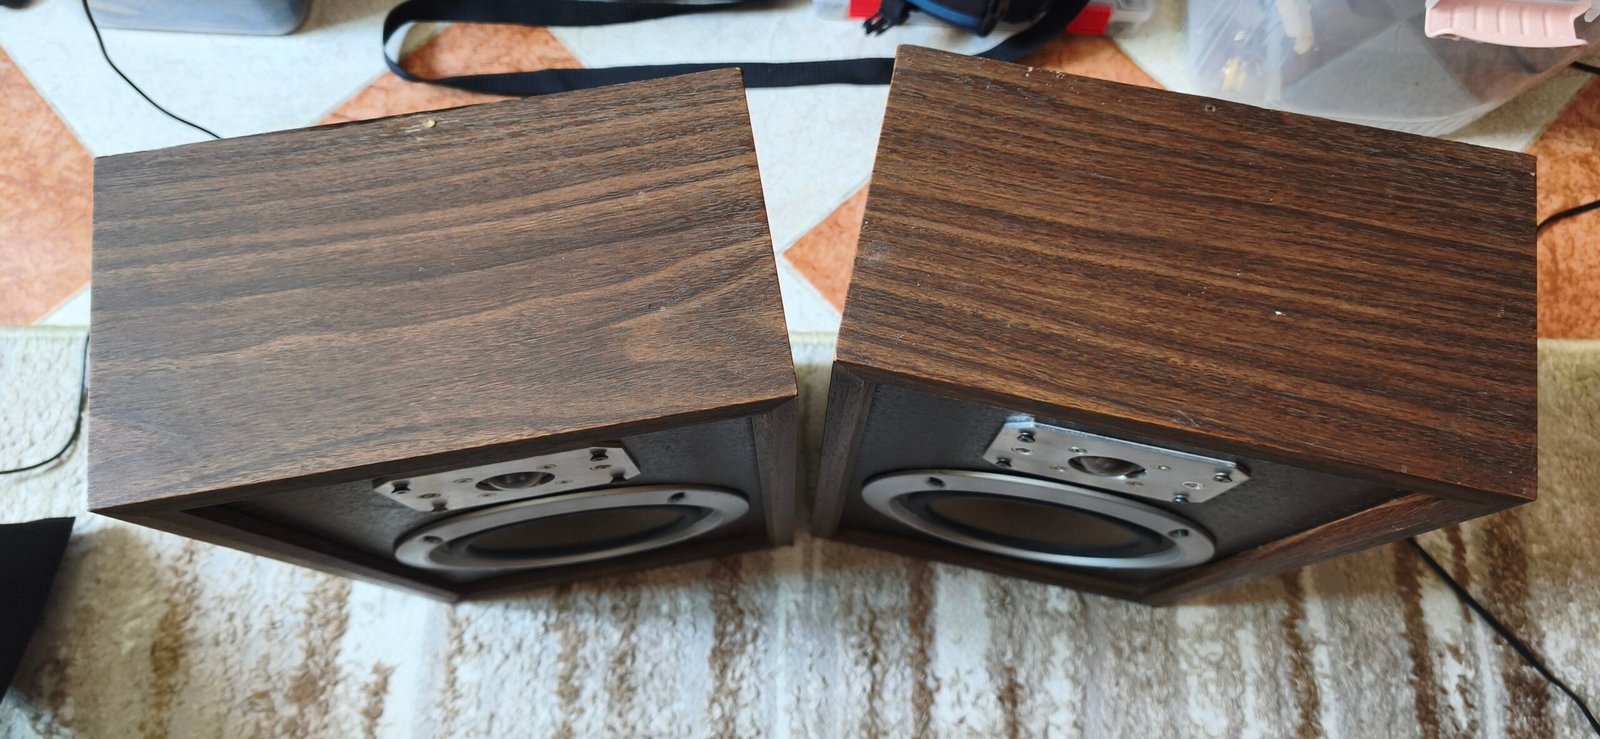
That is exactly what I wanted to do with this old pair of speakers.
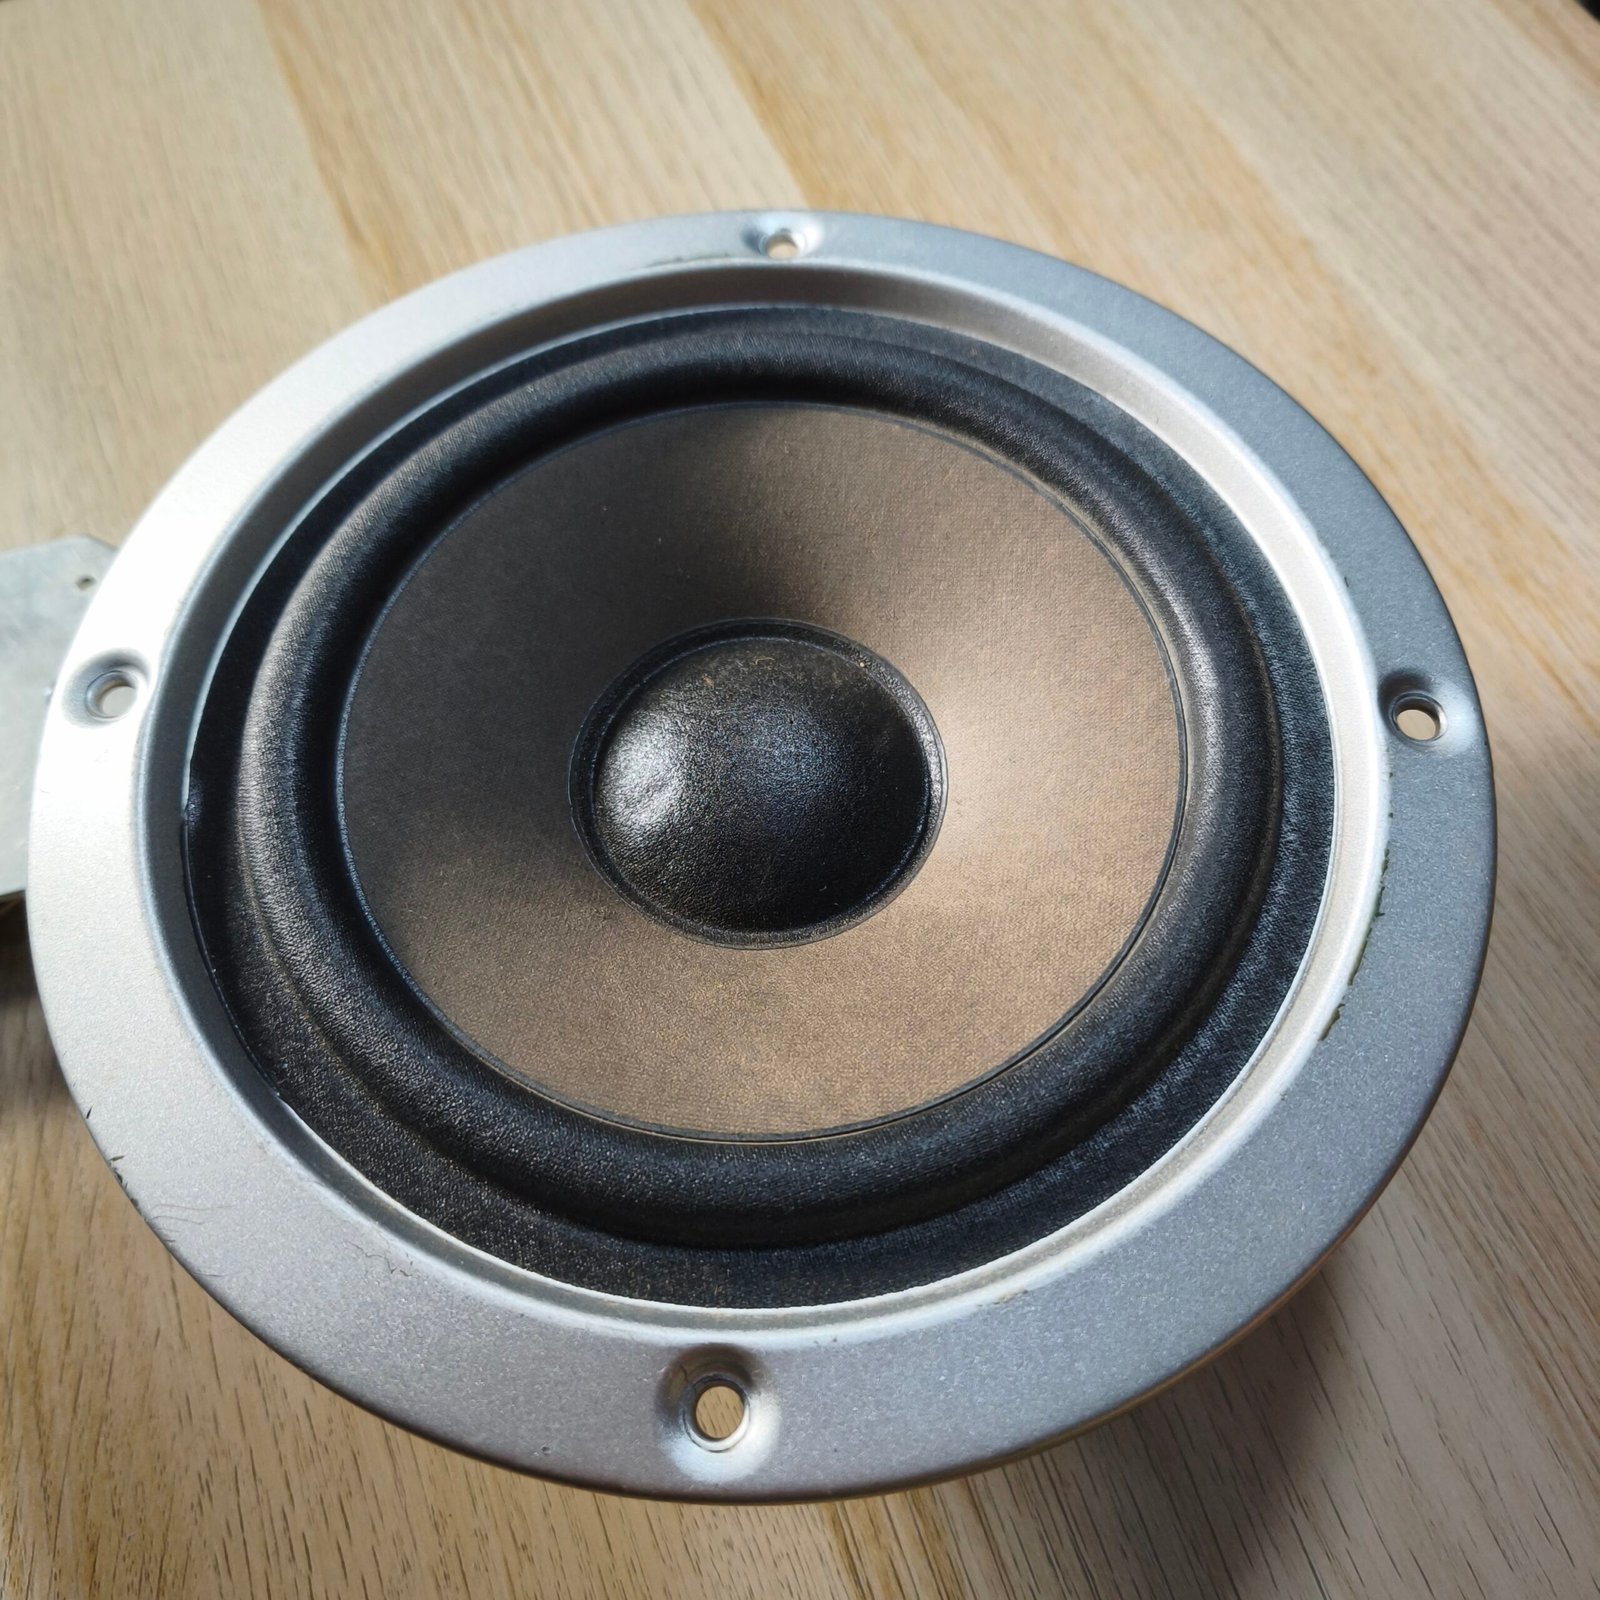
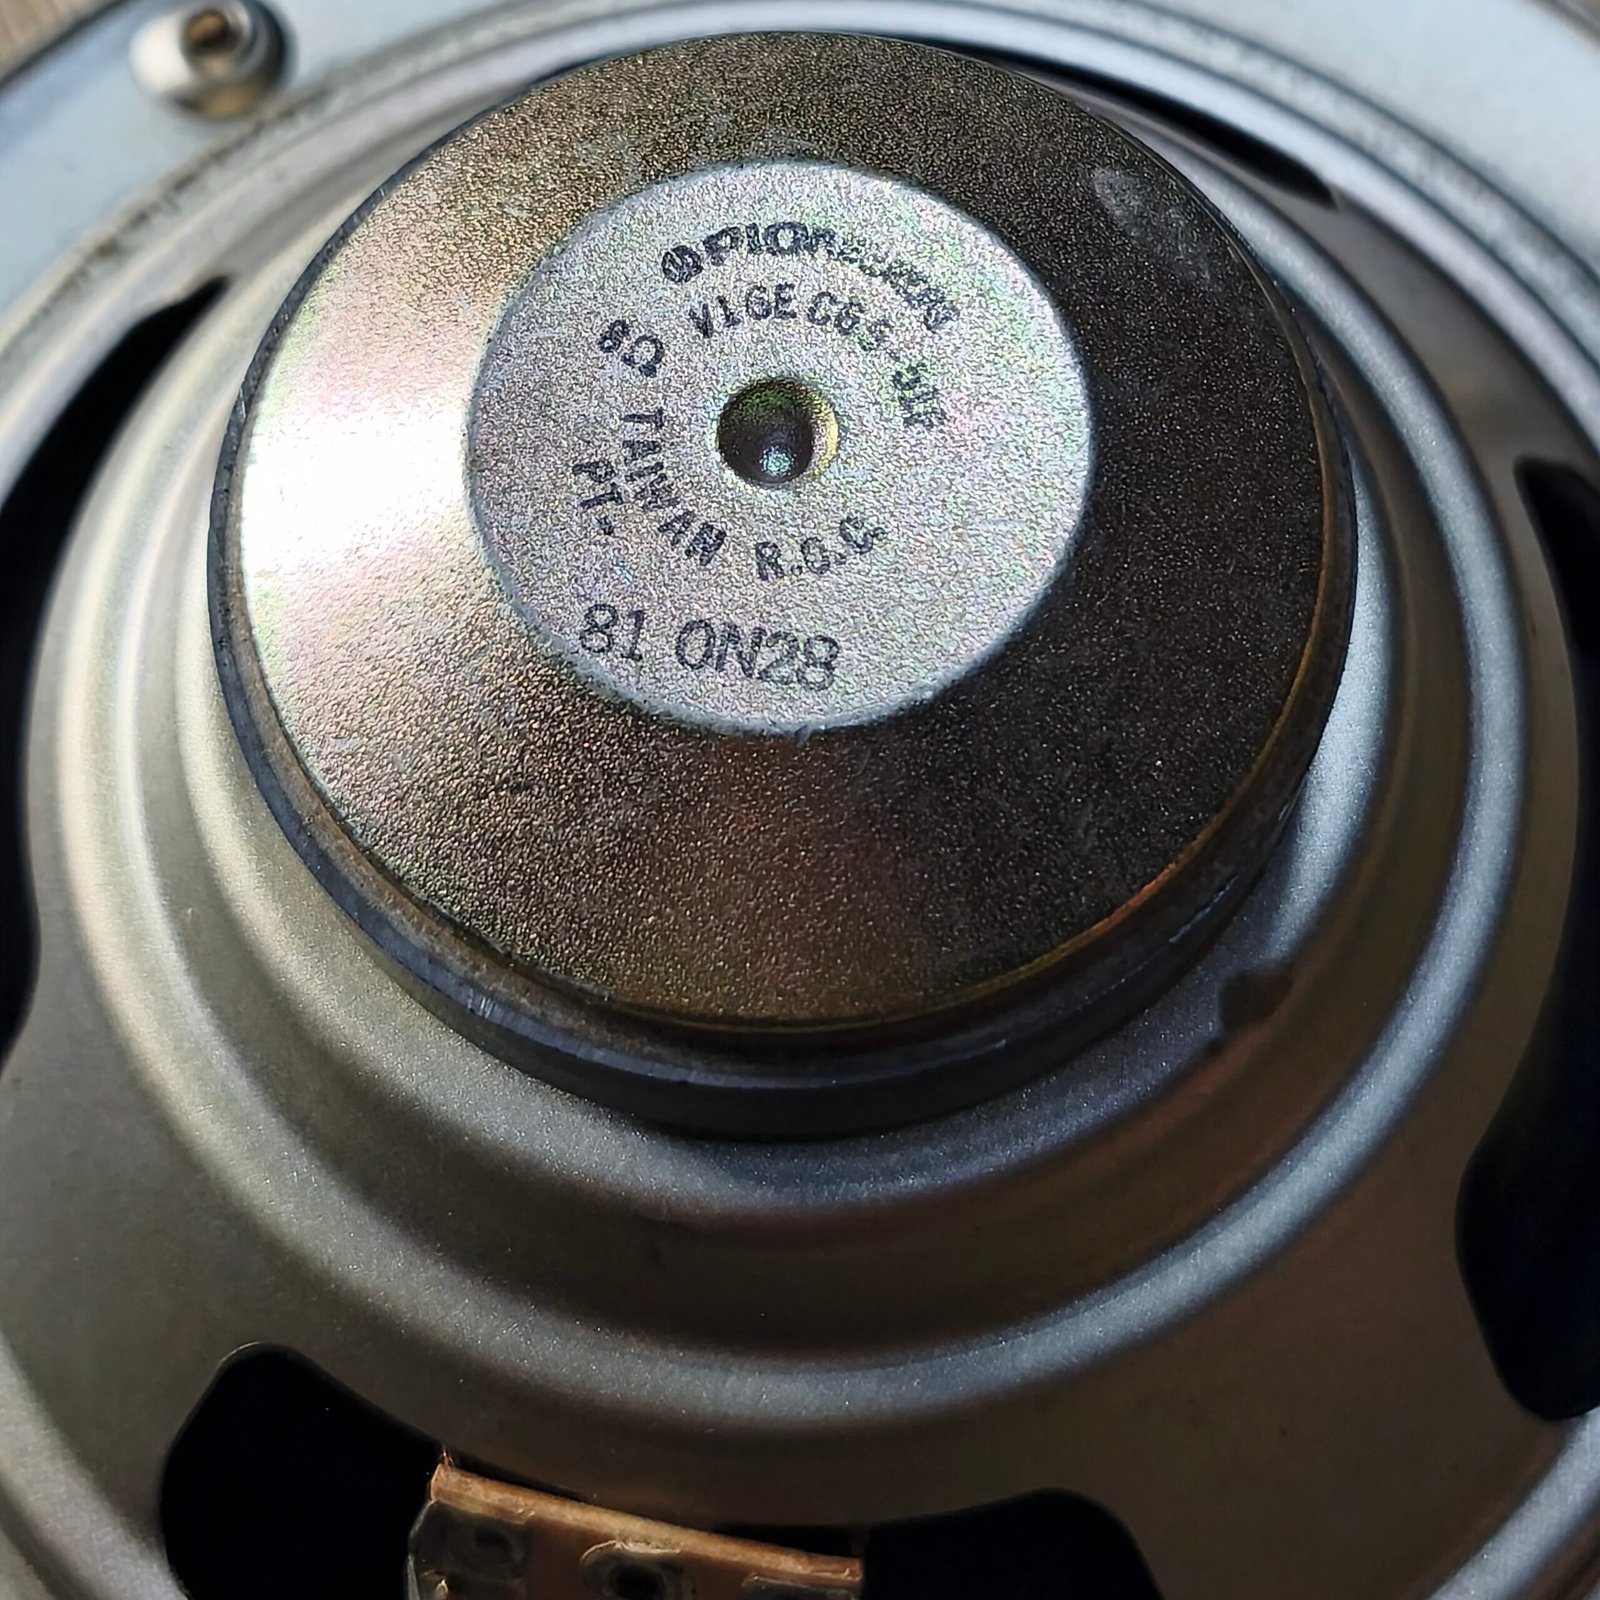
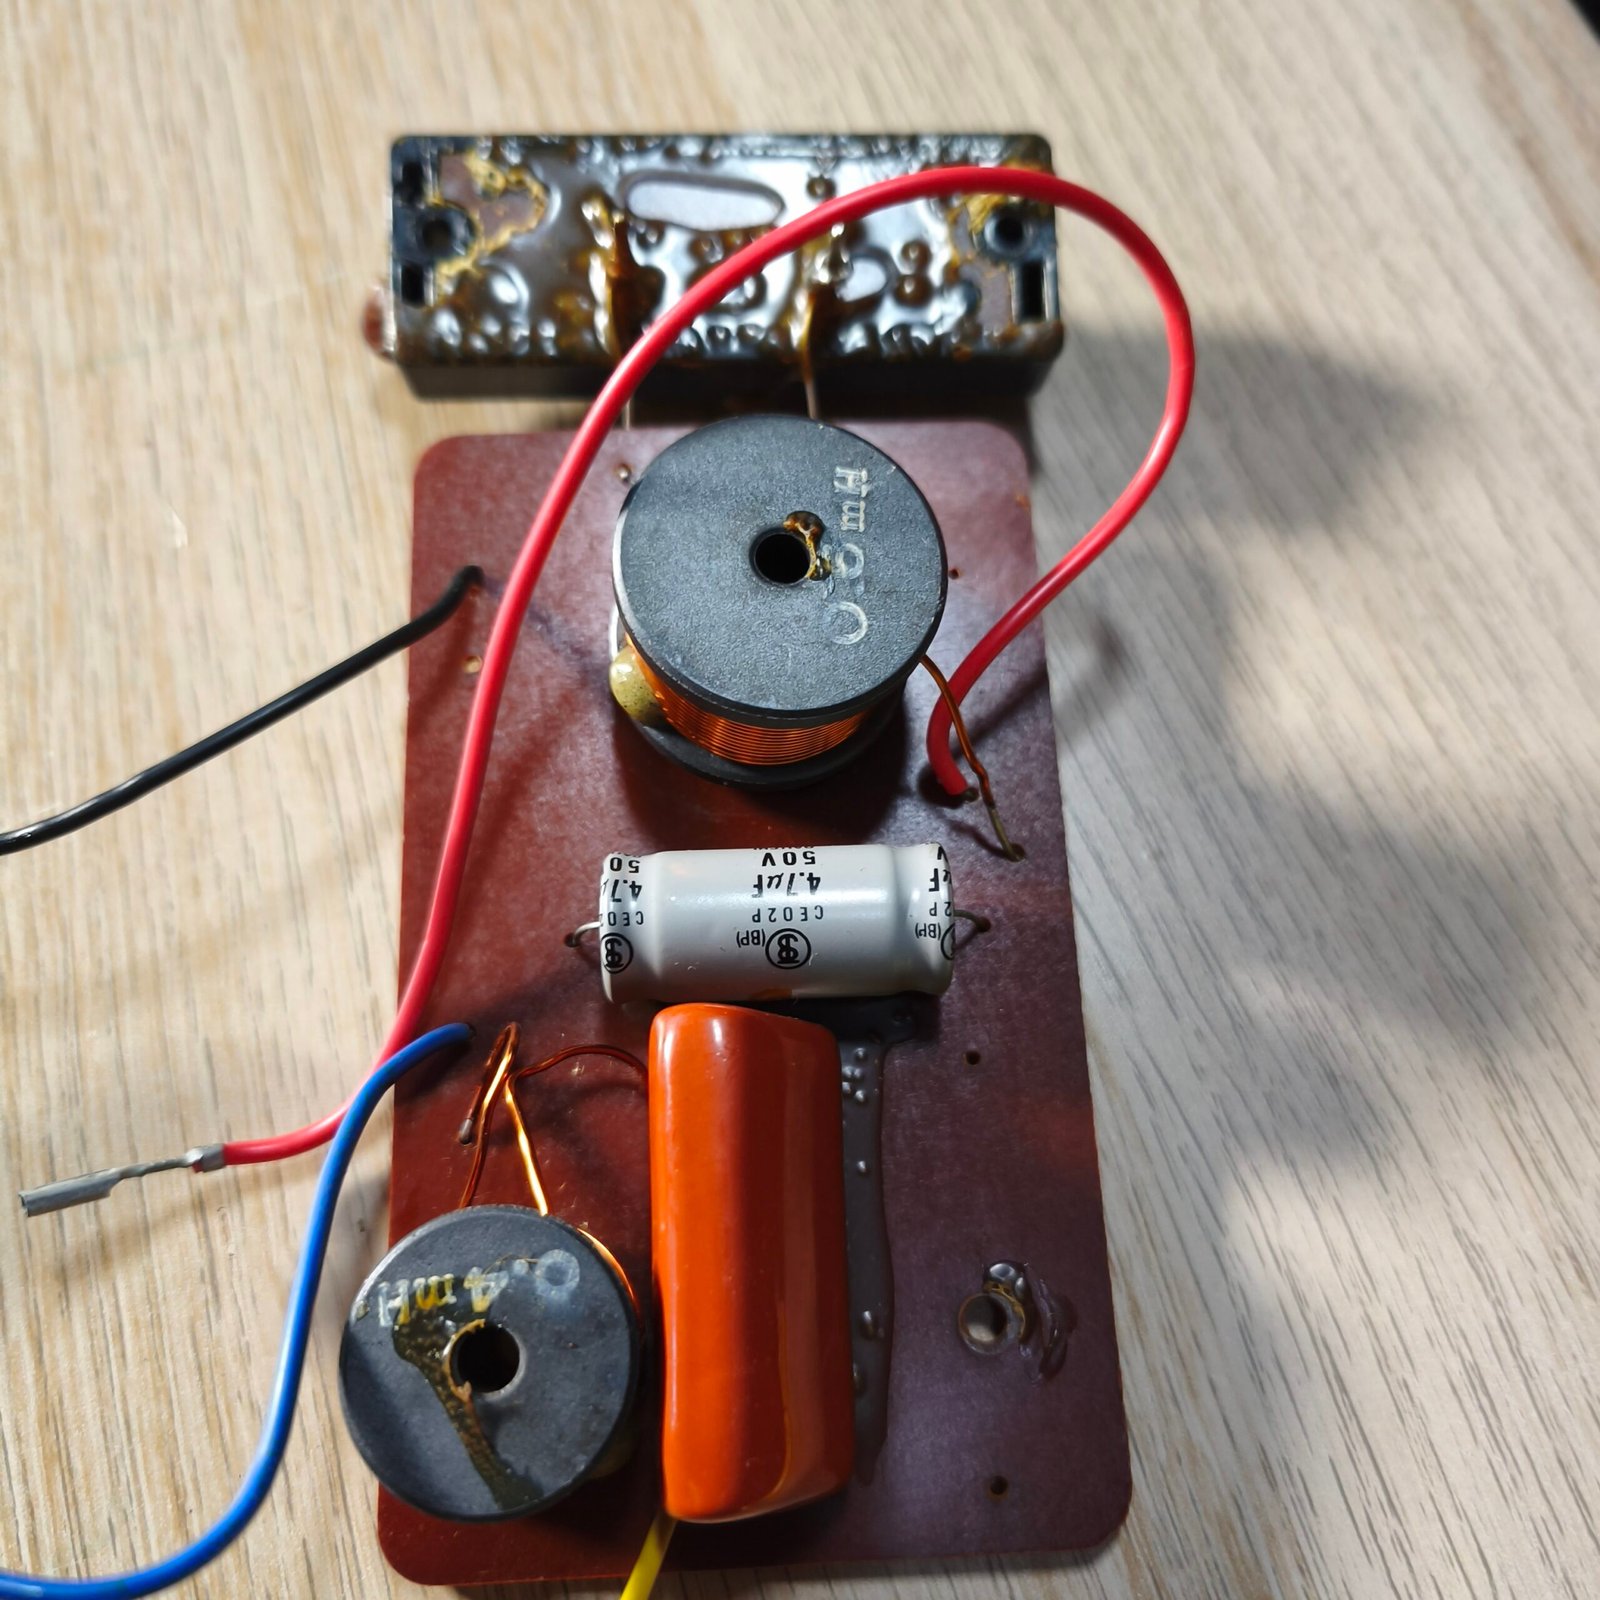
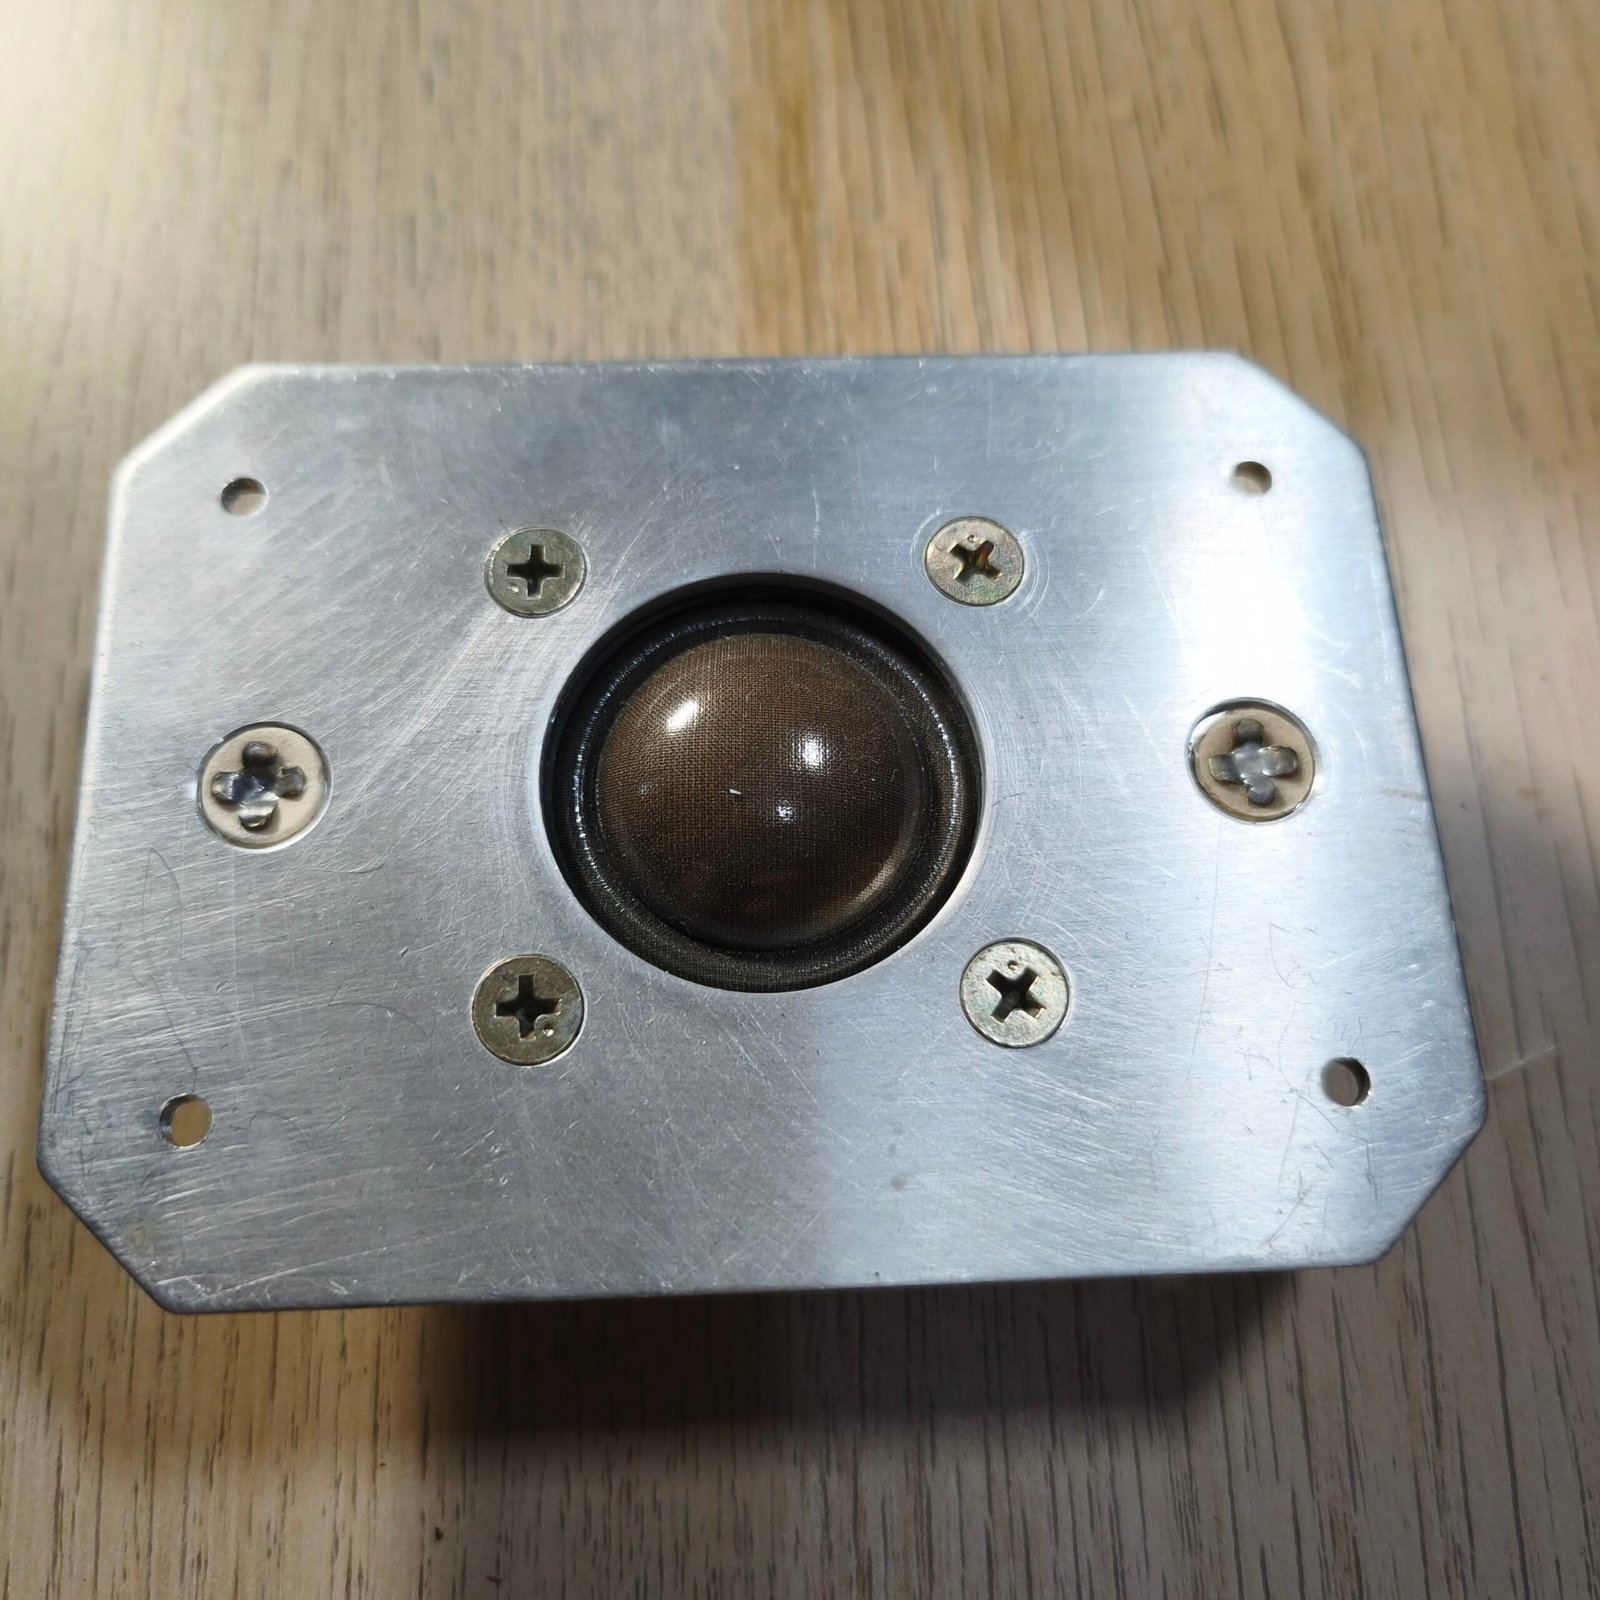
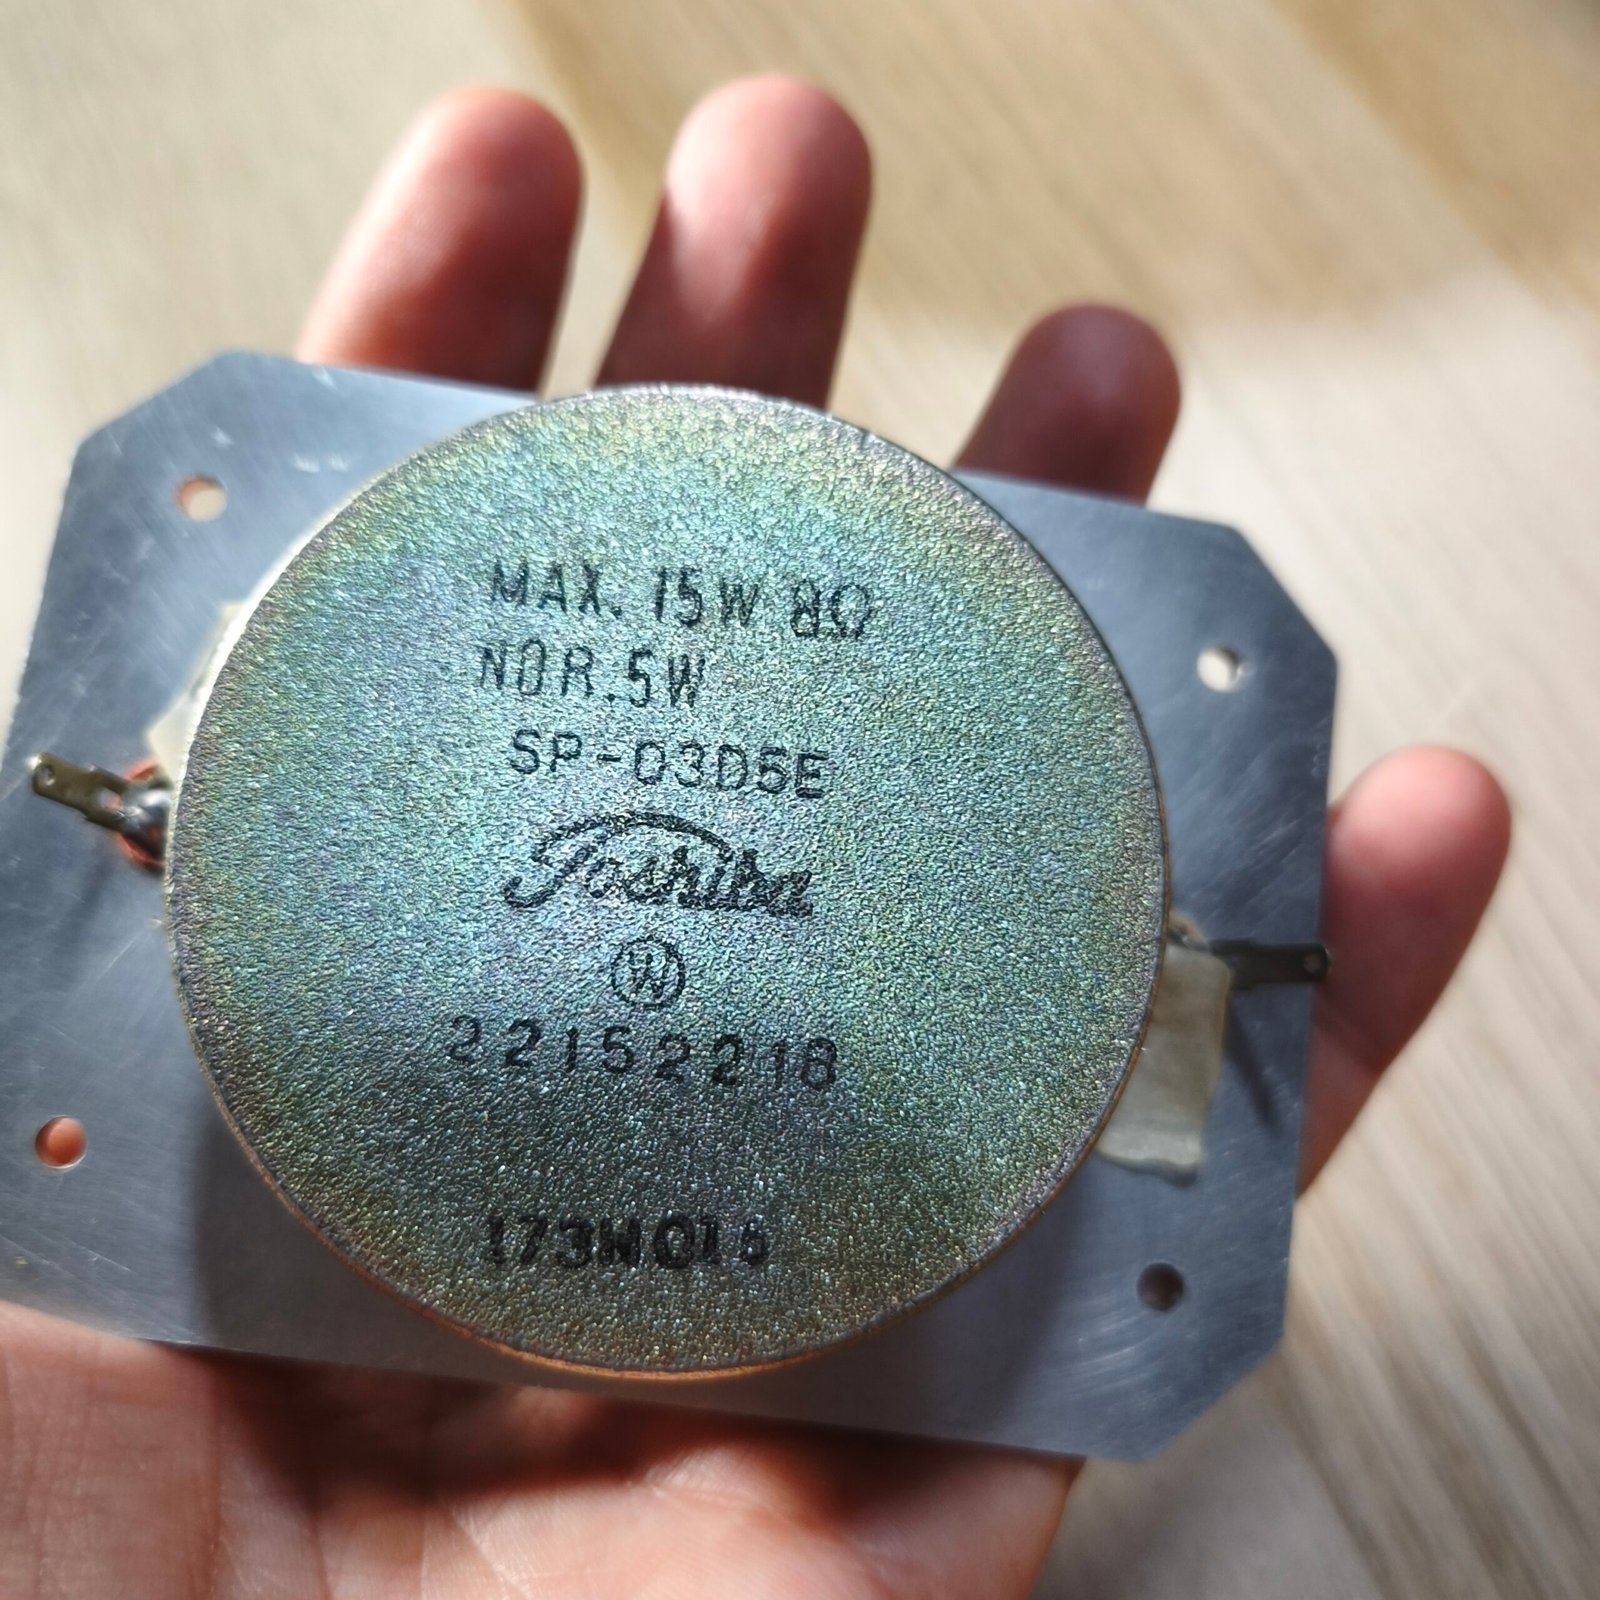
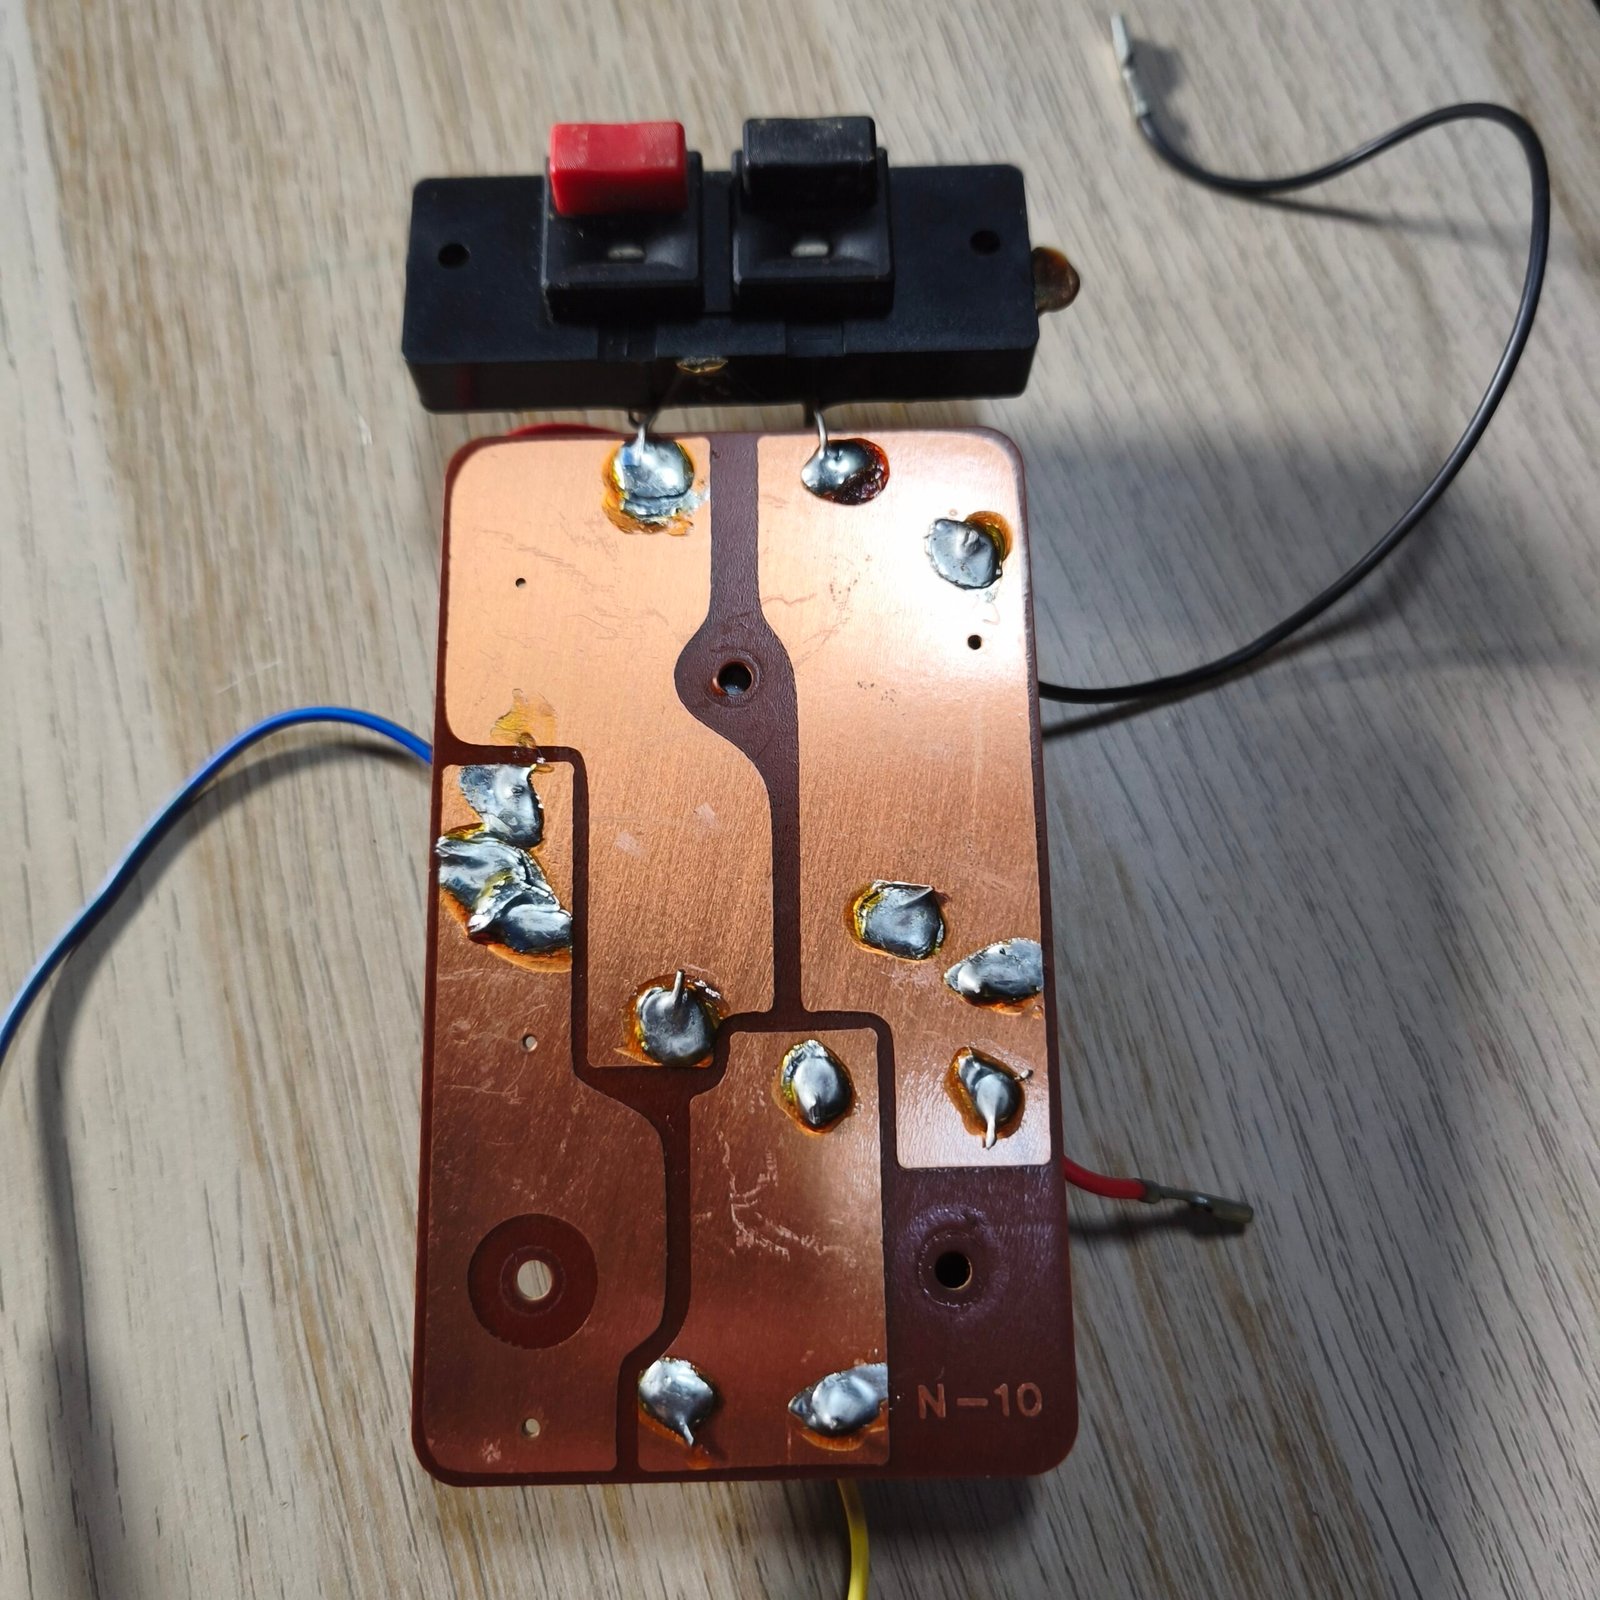
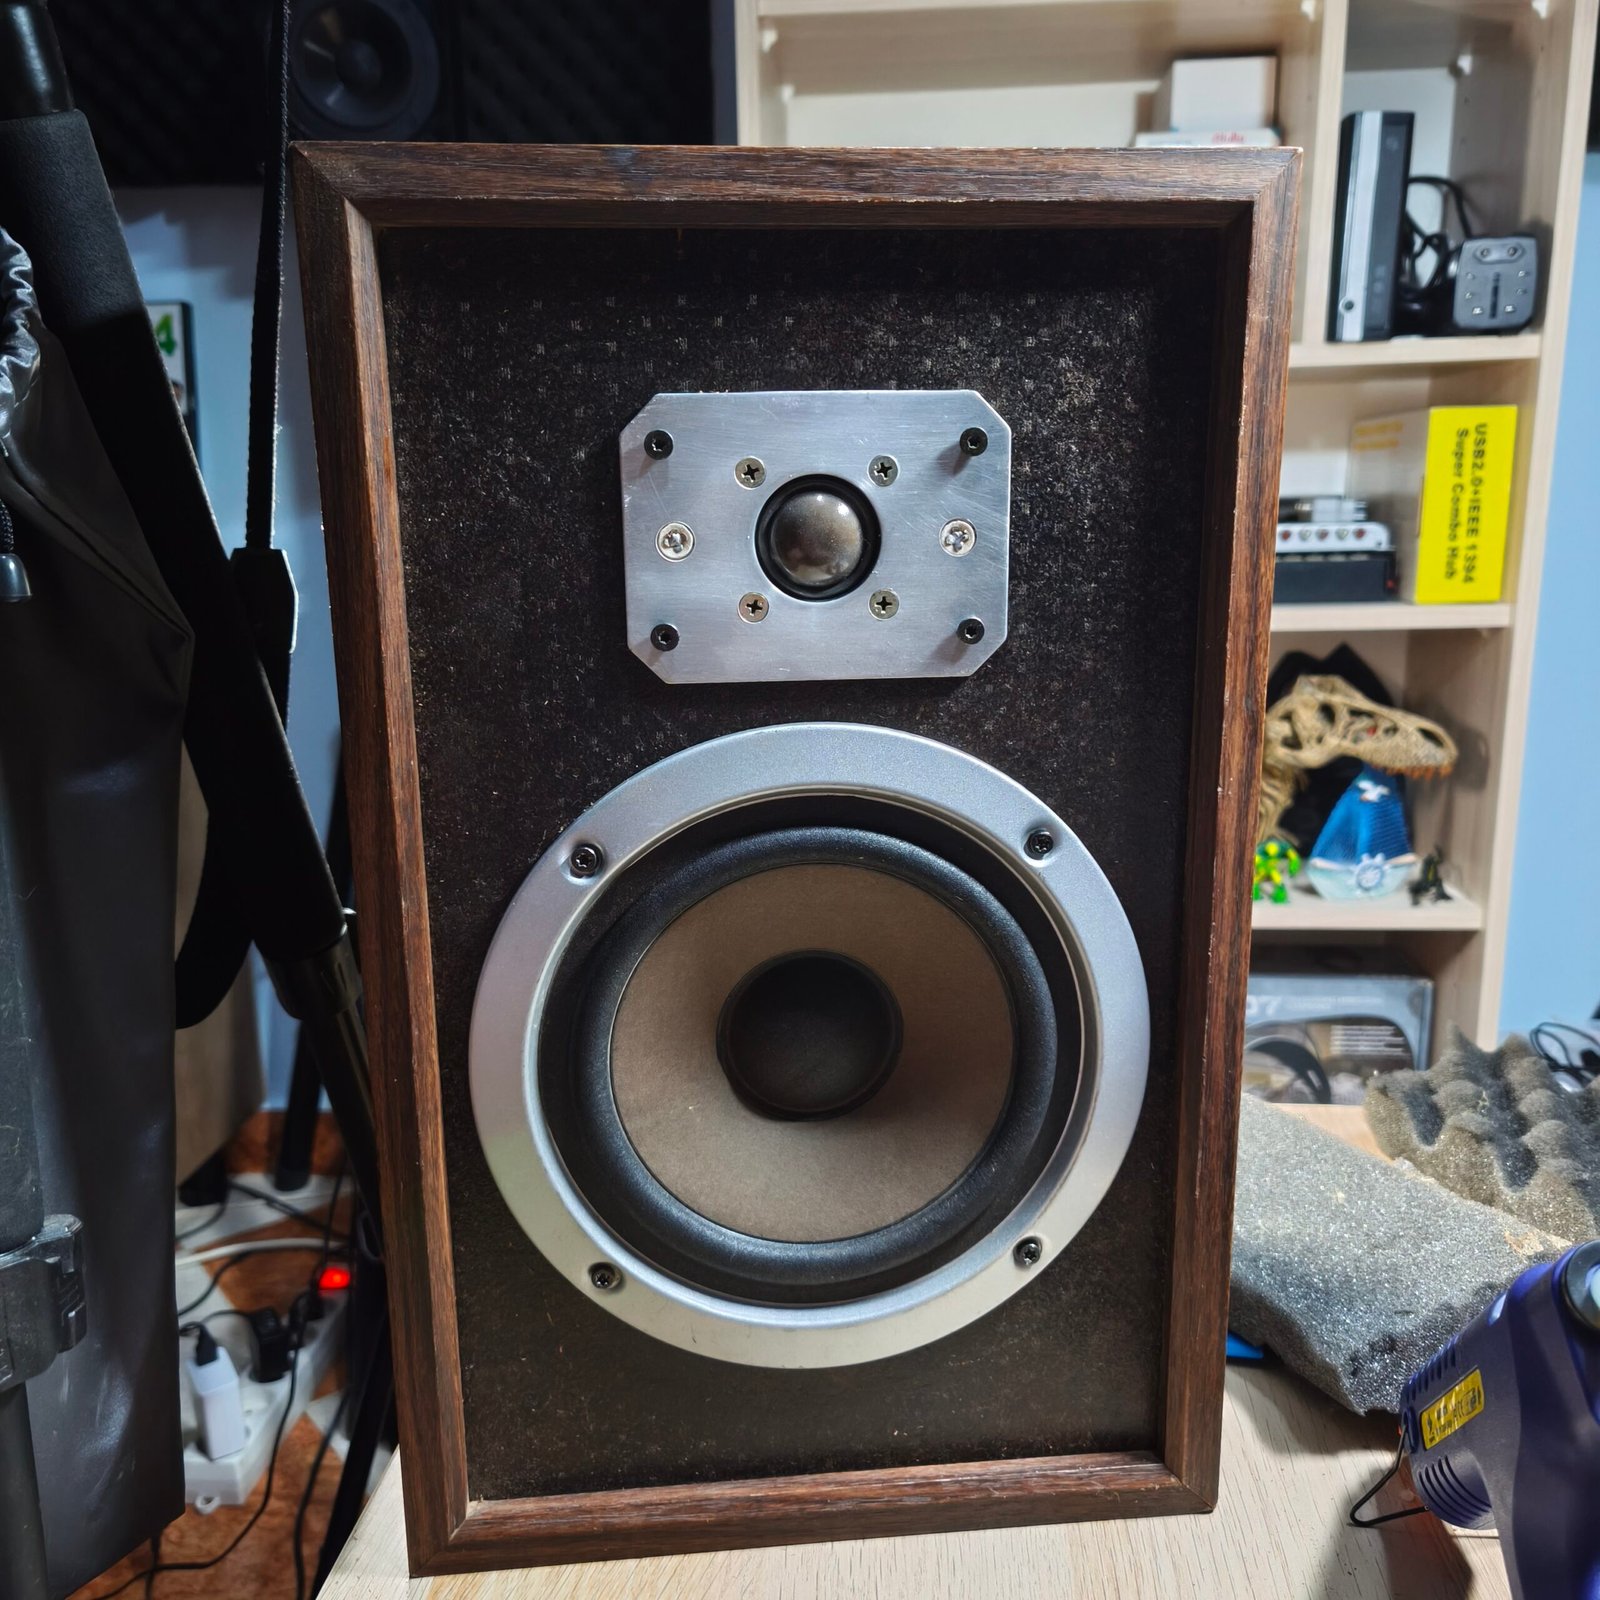
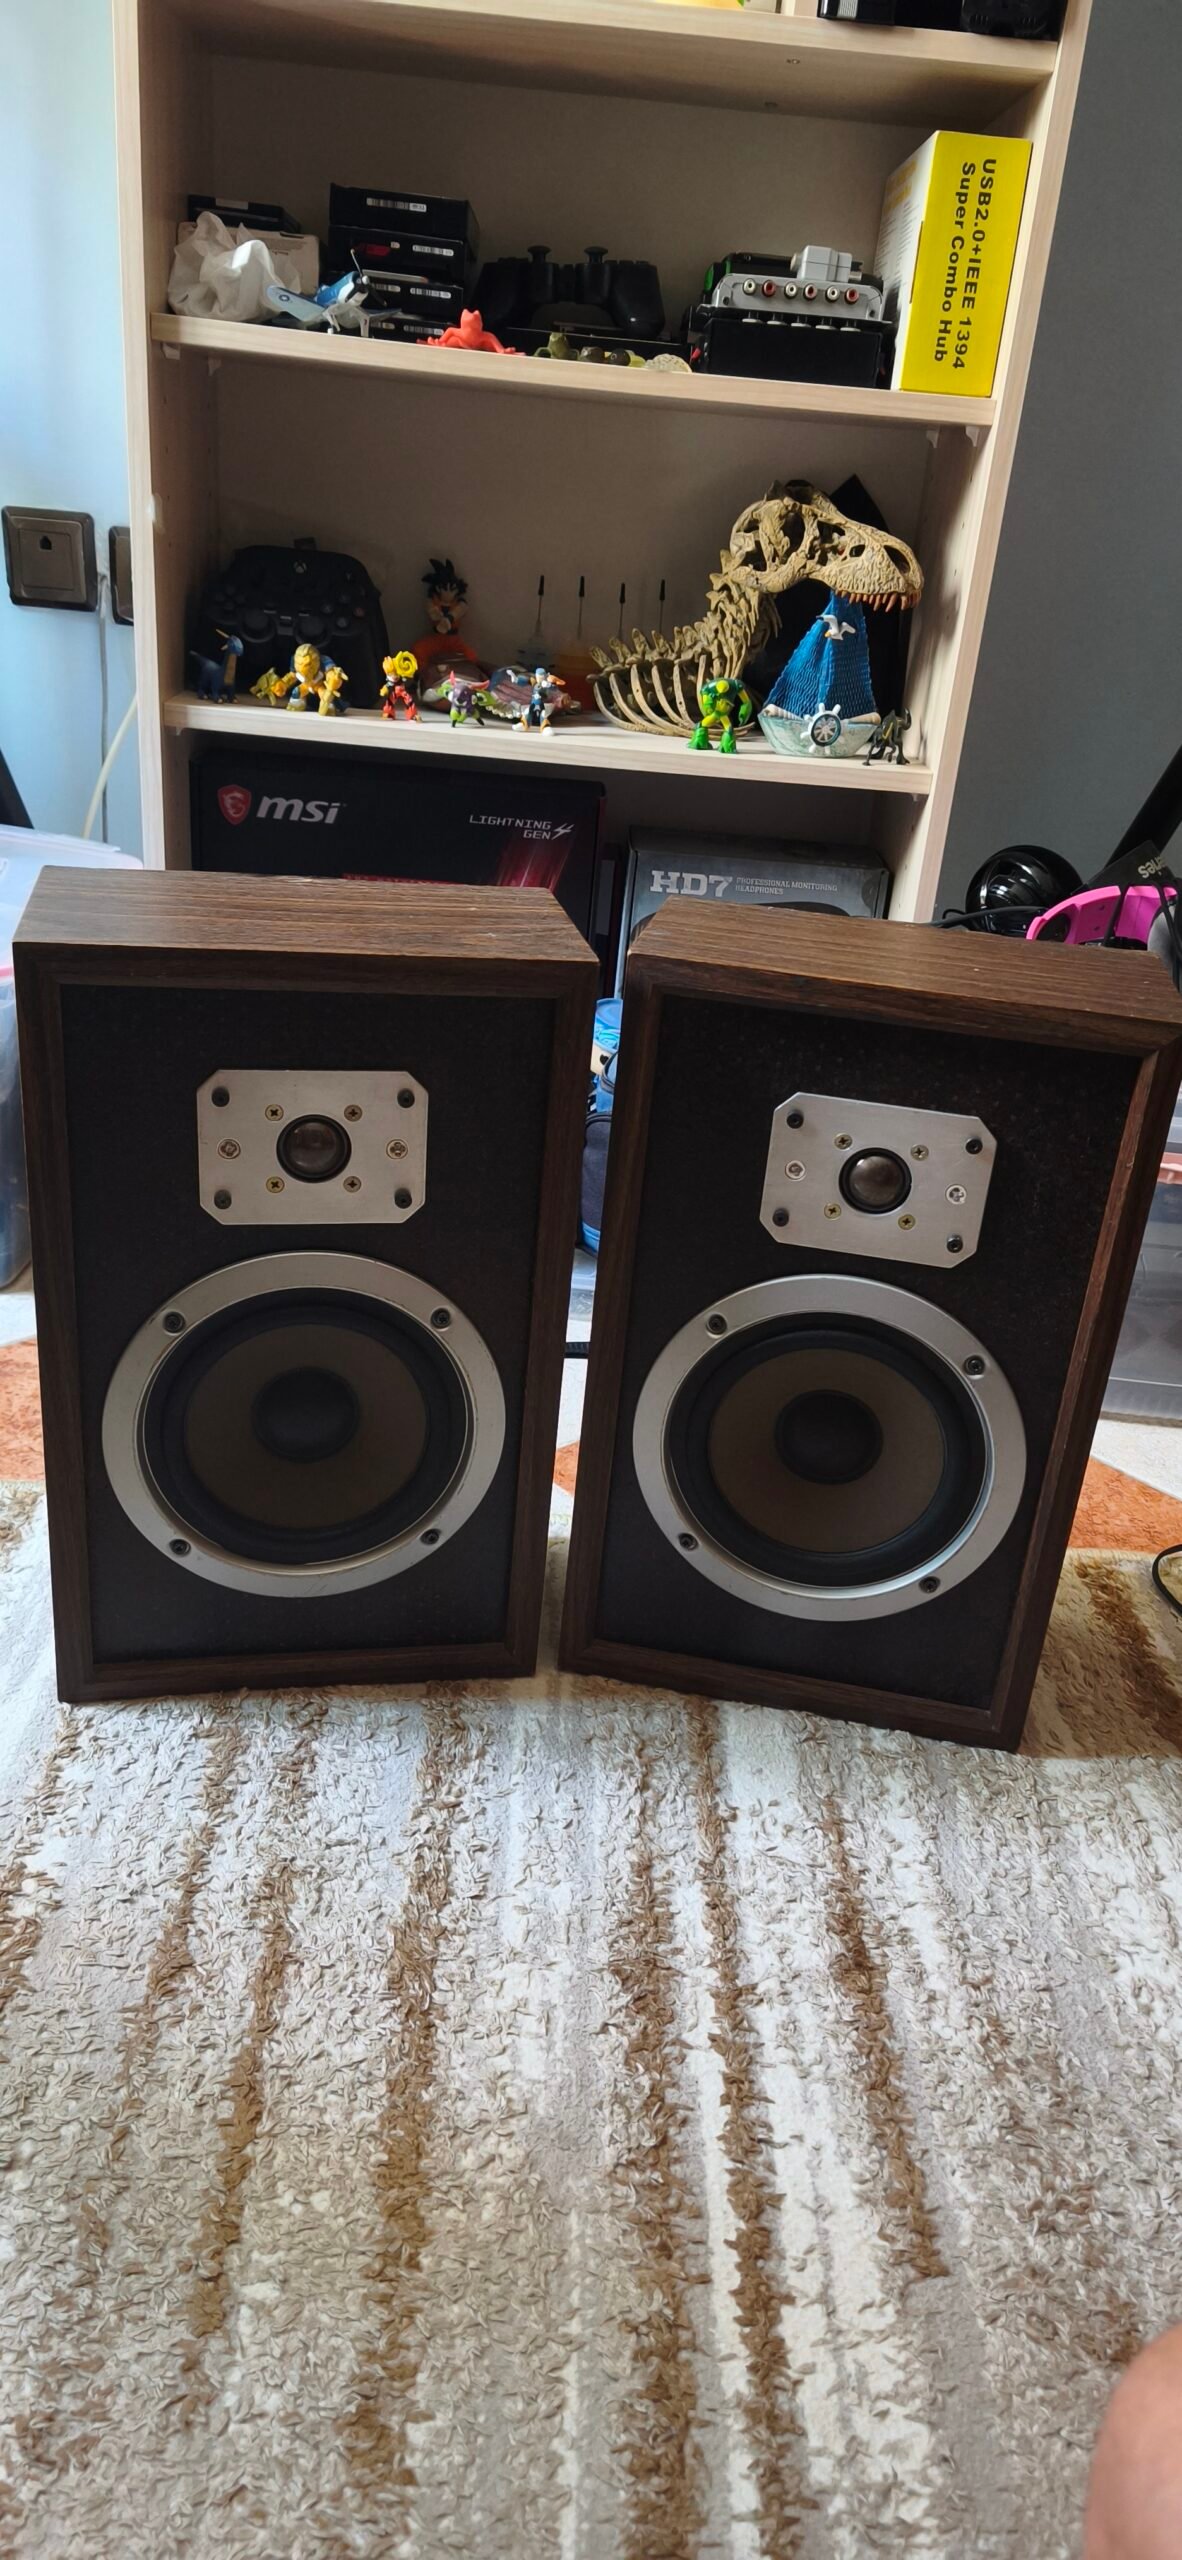
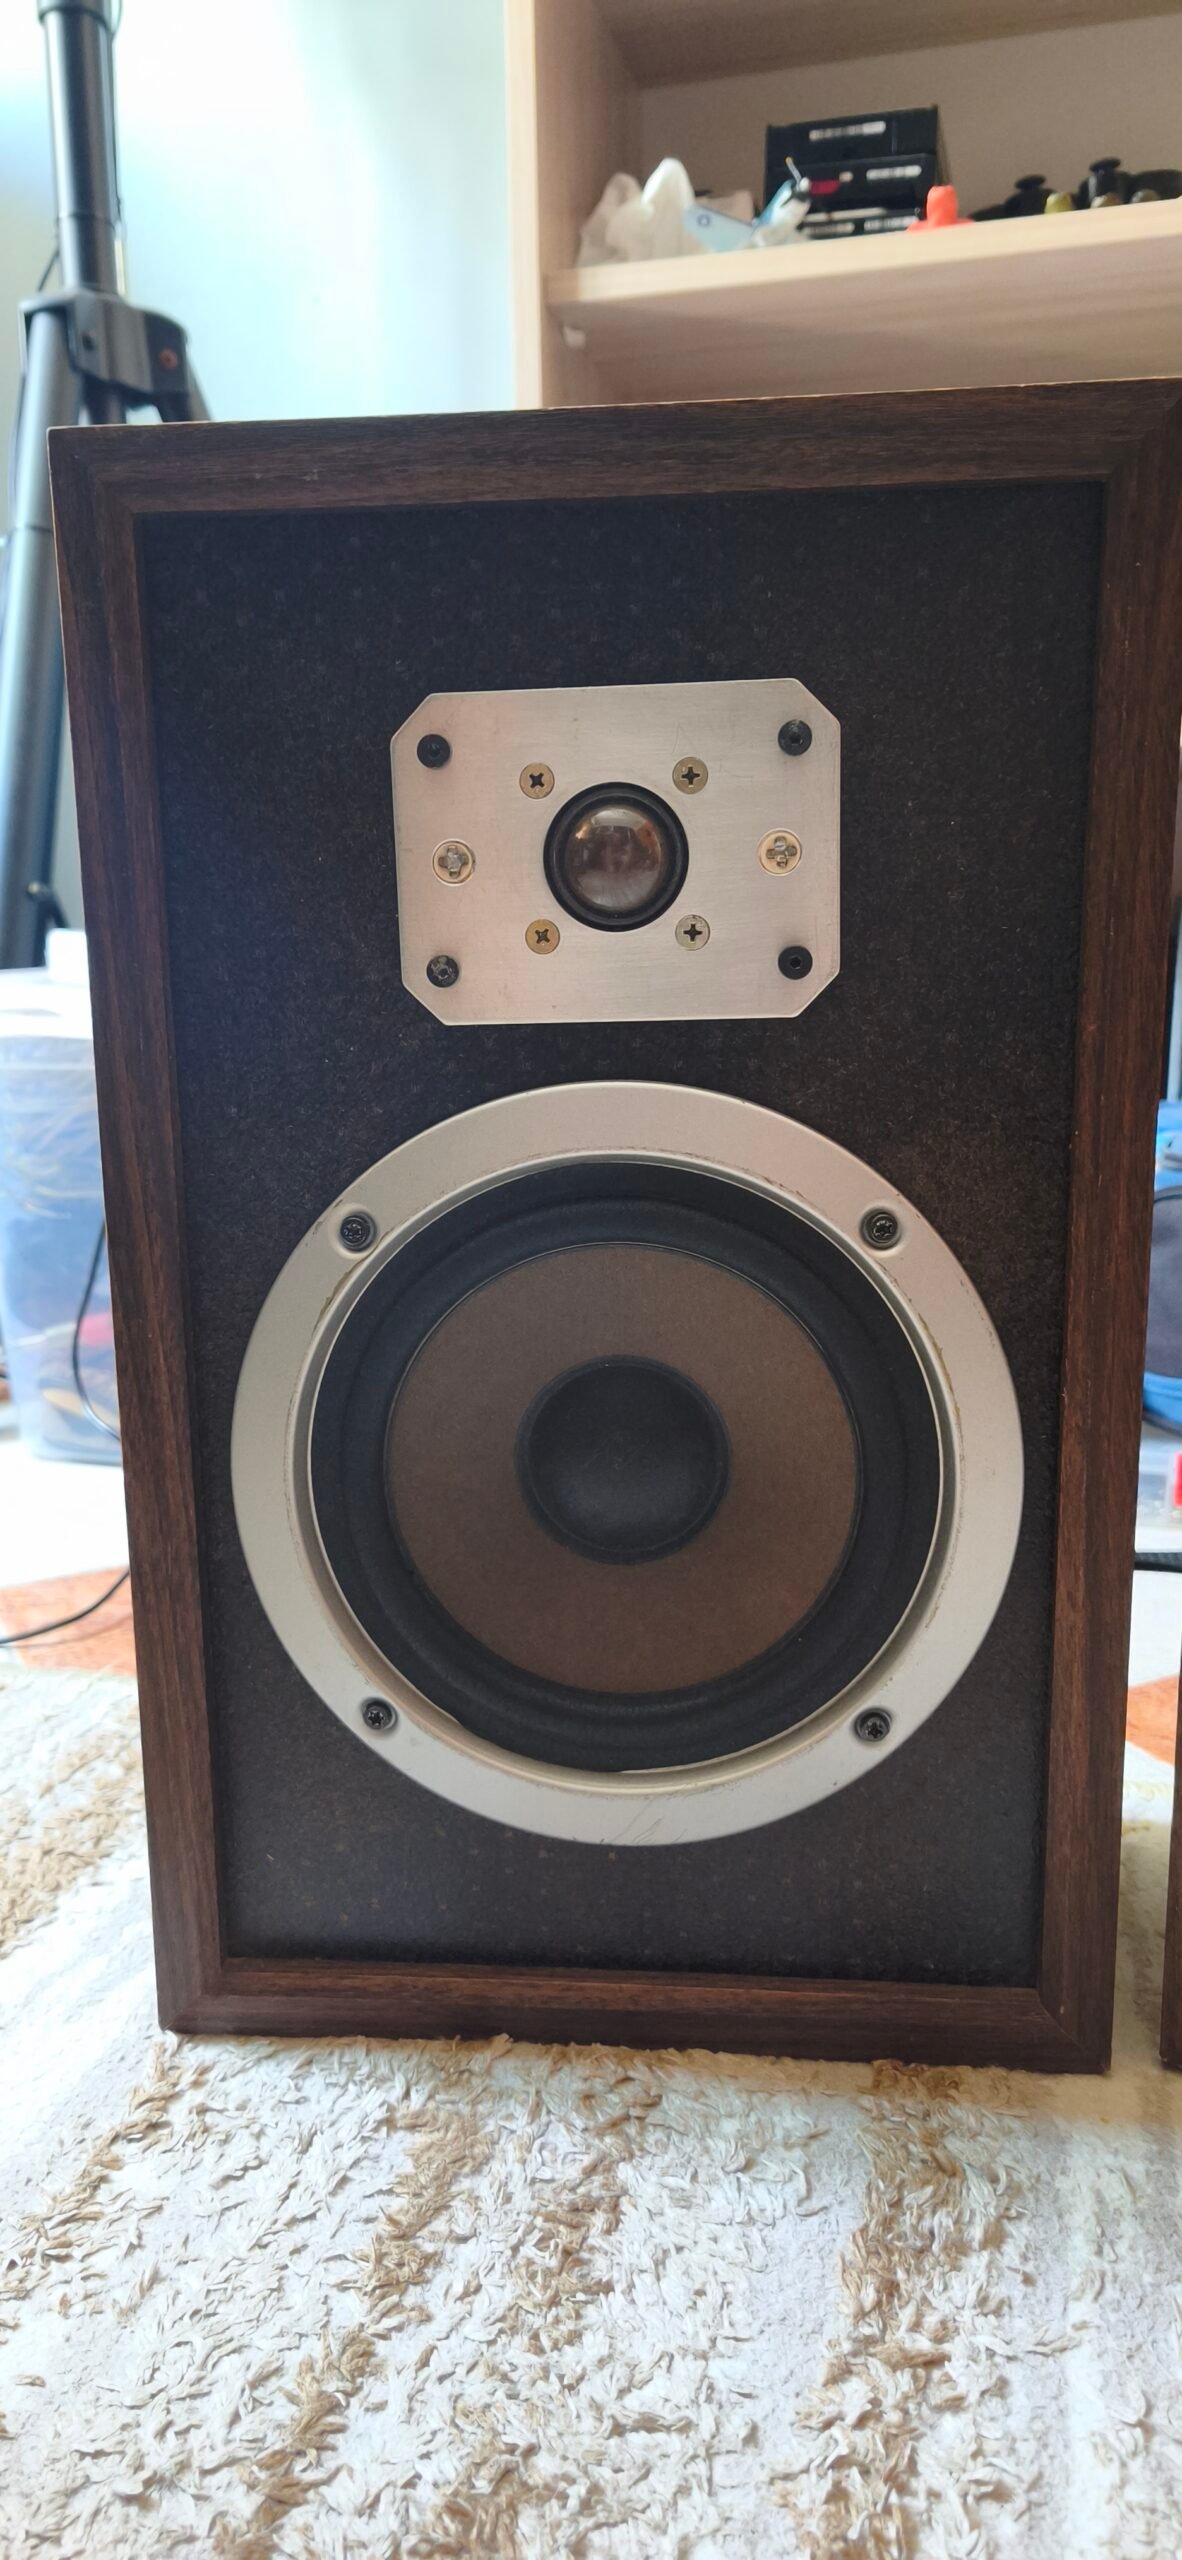
I had an old cabinet and several recovered components. Rather than leaving everything unused, I decided to try a new combination using a Pioneer woofer, a Toshiba tweeter, and an Aurex SS-S12 passive crossover.
I honestly had no idea what this combination would sound like. In the end, the result surprised me much more than I expected.
Choosing the Components
For this project, I used an 8-ohm Pioneer woofer, an 8-ohm Toshiba tweeter, and an Aurex SS-S12 passive crossover designed for 8-ohm drivers.
Impedance was something I paid particular attention to. When working with recovered components from different speakers, it can be tempting to simply combine them if they physically fit the cabinet.
But electrical compatibility is just as important.
A passive crossover is designed around a particular load impedance. Connecting a driver with a different impedance can change the crossover behavior and its effective crossover frequency.
In my case, I had a consistent combination: 8-ohm woofer, 8-ohm tweeter, and an 8-ohm crossover.
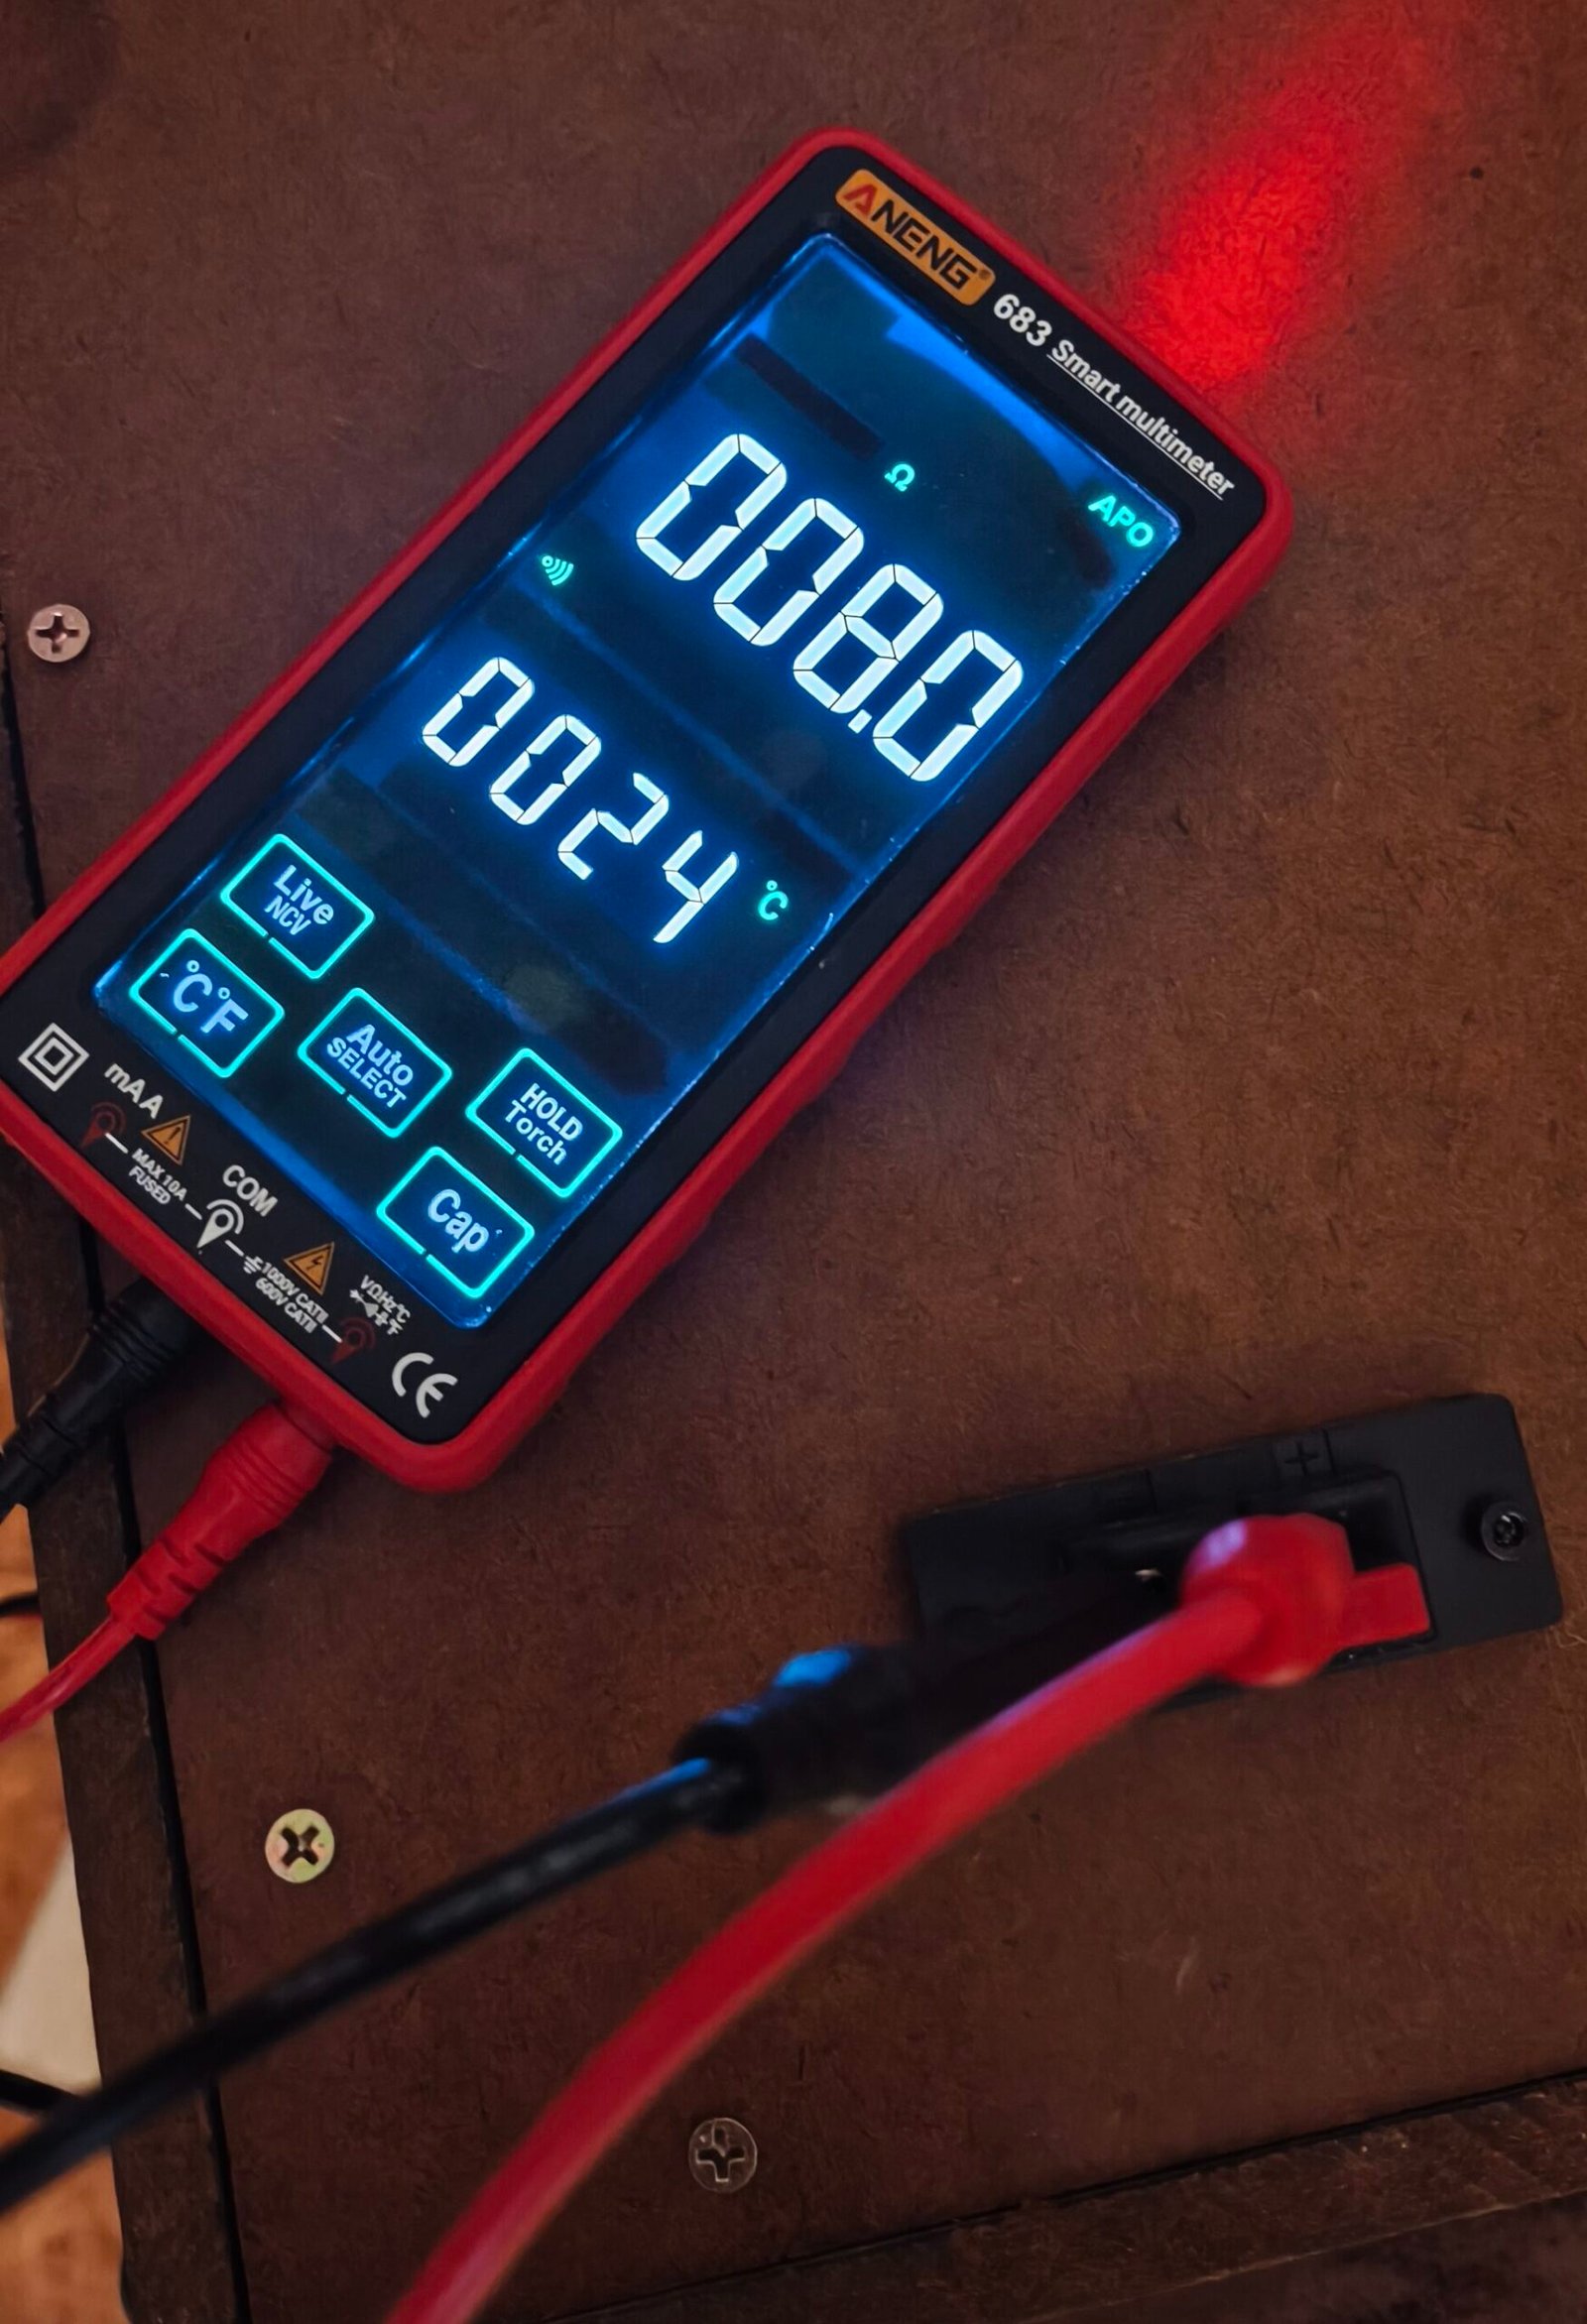
This does not mean that the finished speaker will measure exactly 8 ohms at every frequency, because the actual impedance of a speaker changes with frequency and with the crossover network. But it gave me a sensible starting point based on the specifications of the components.
This was important to me because I wanted to avoid creating a combination with an unpredictable impedance that could potentially present a difficult load to the amplifier.
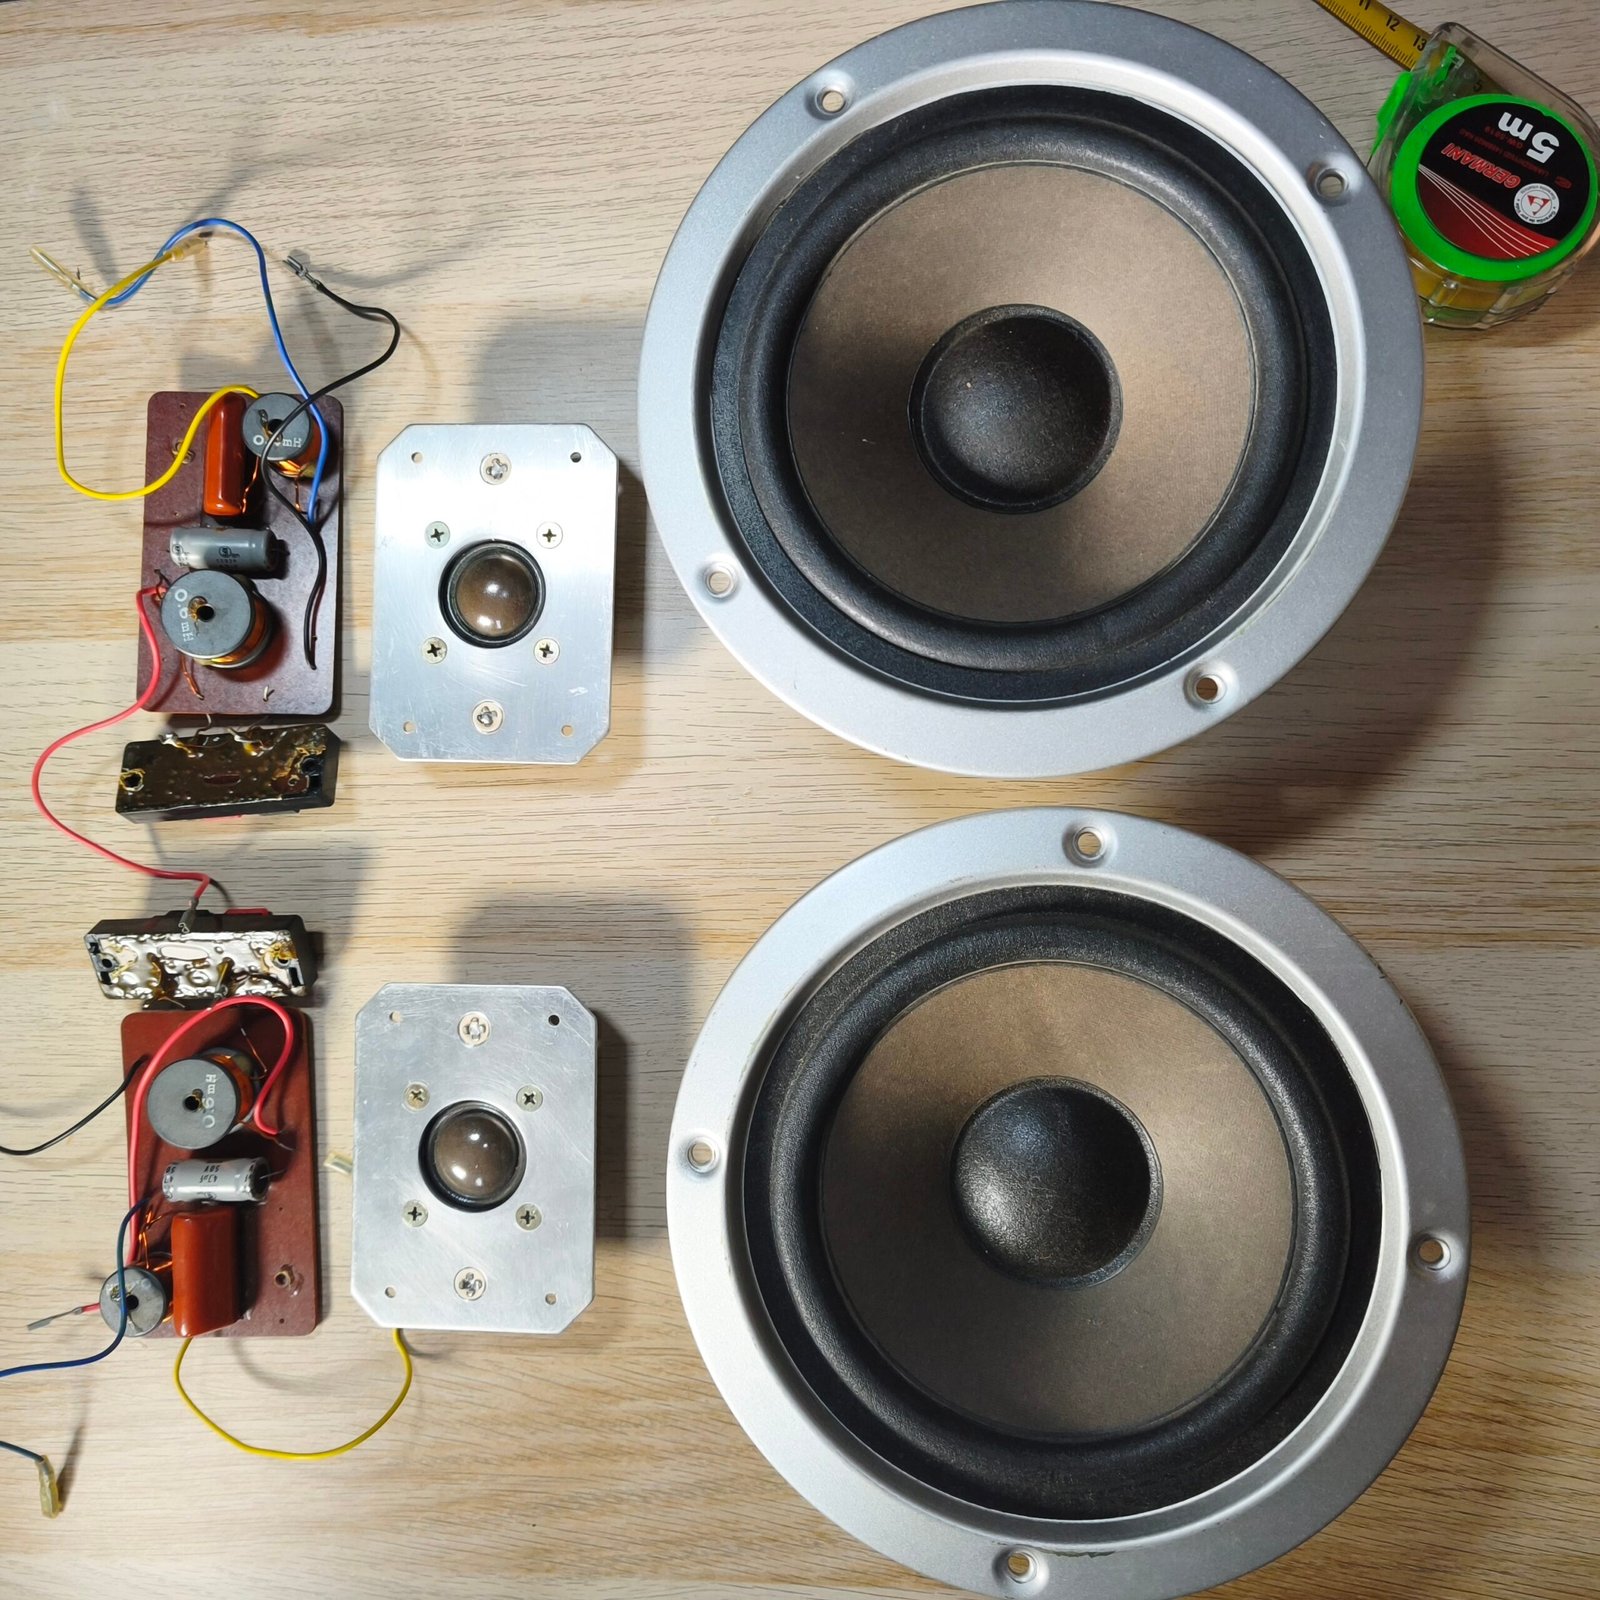
The Tweeter Needed to Be Restored
Before installing the Toshiba tweeter in the cabinet, I first had to restore it.
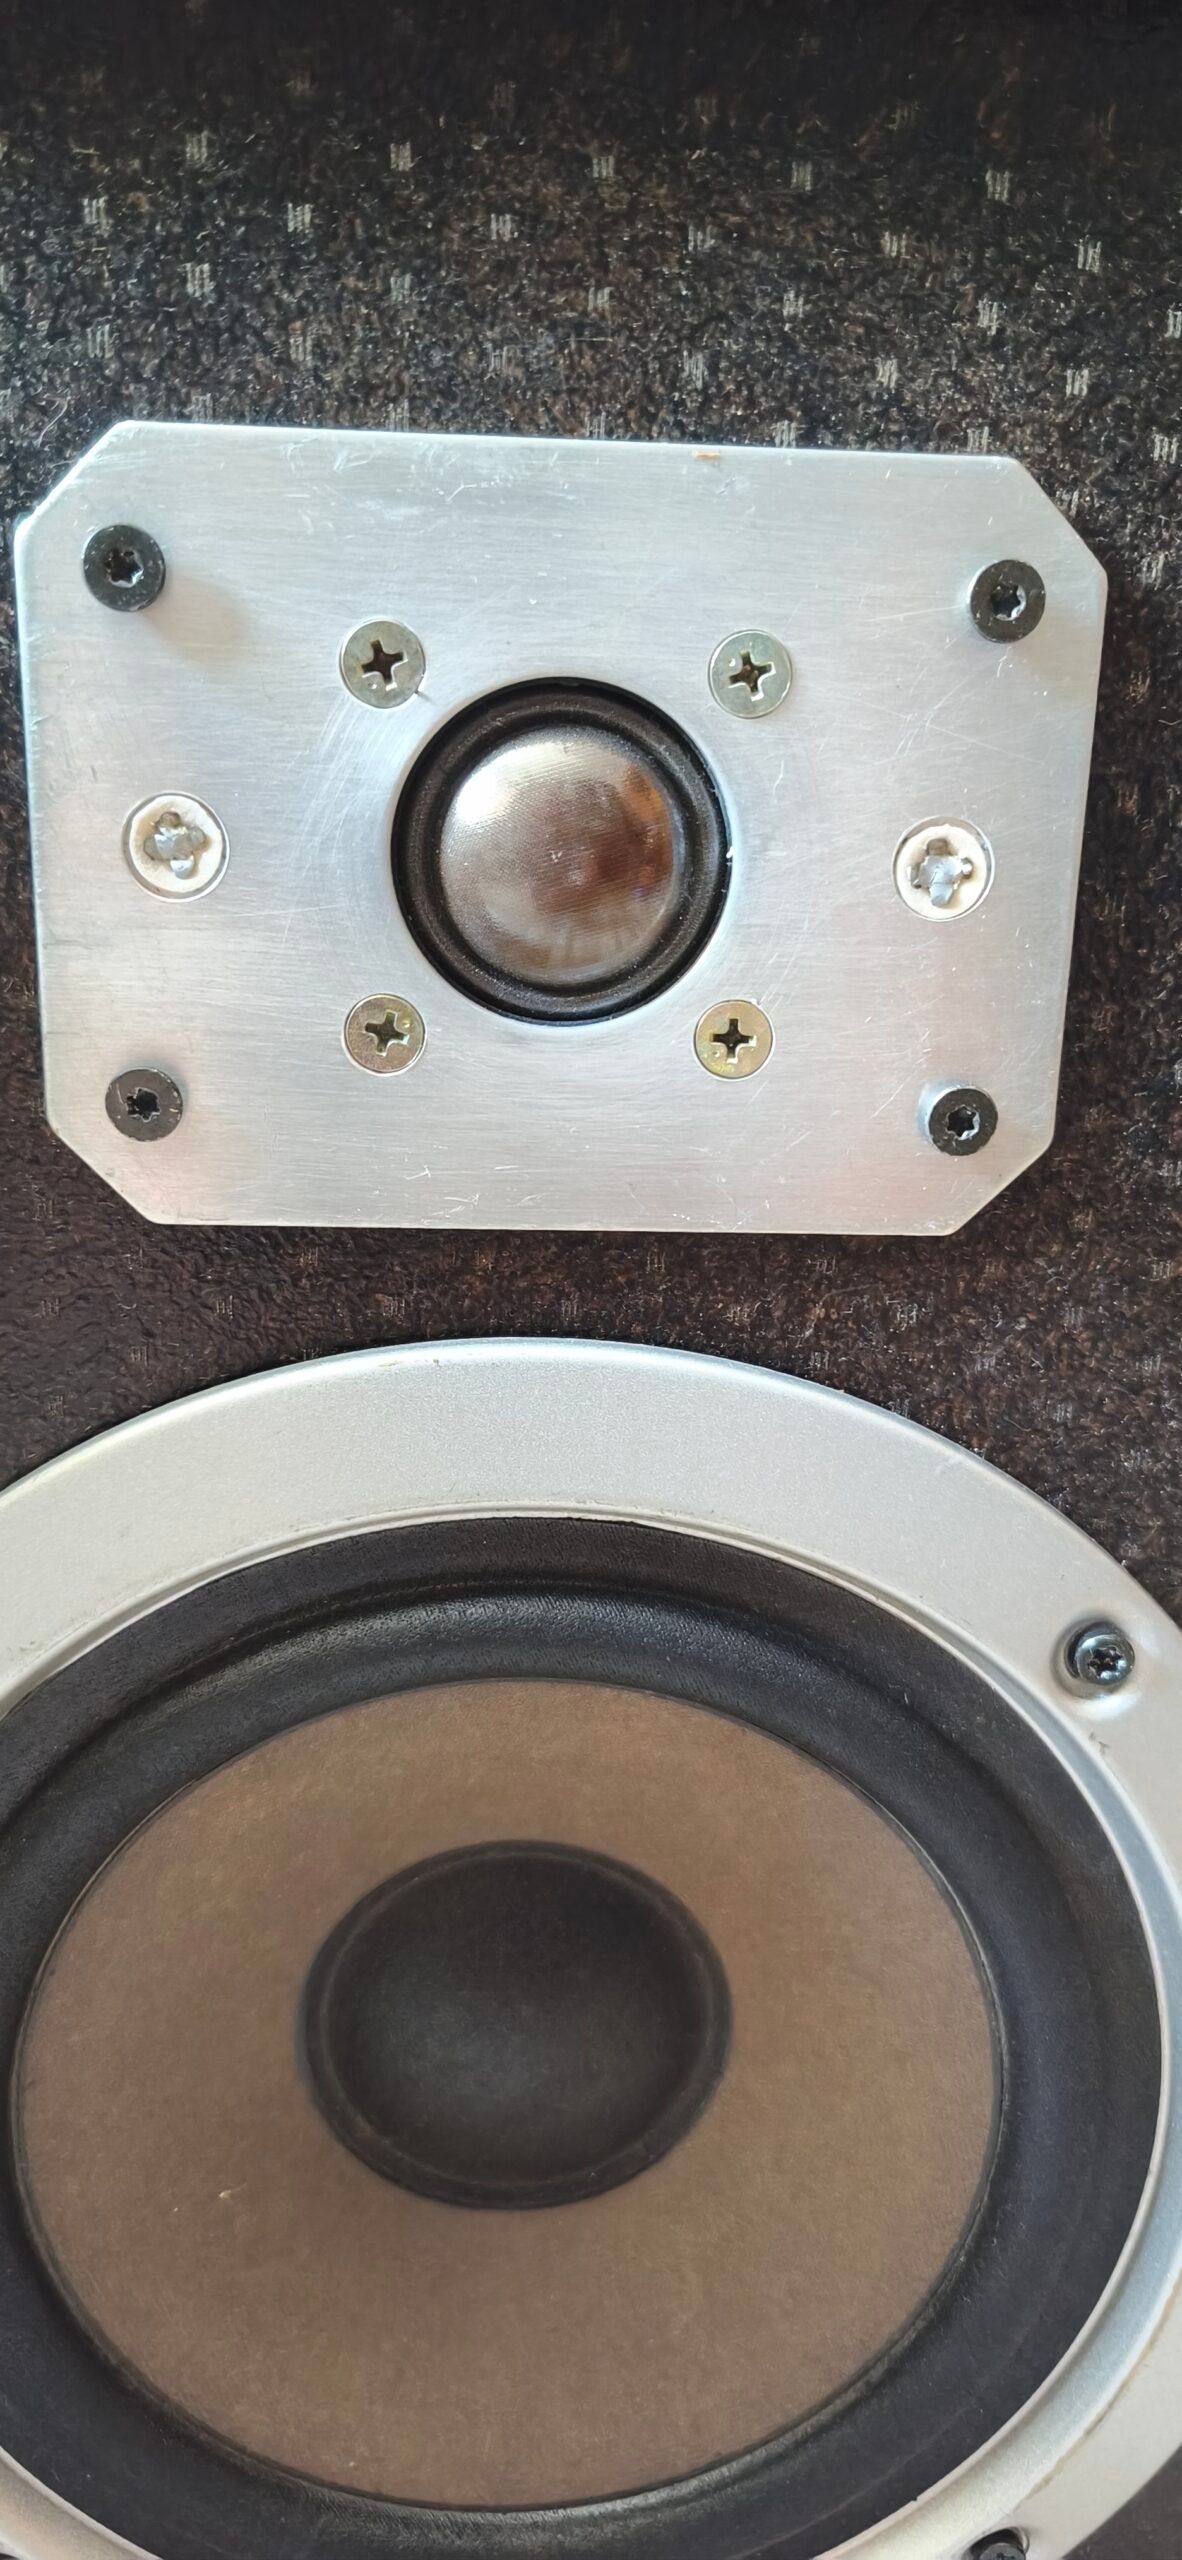
I fitted it with a new voice coil and a new dome to bring it back to proper working condition.
This was an important step because there was no point in doing all the work on the cabinet if the tweeter itself was not in good condition.
I also wrote a separate article about this restoration, where I explain in detail how I restored the dome tweeter.

Preparing the Old Cabinet
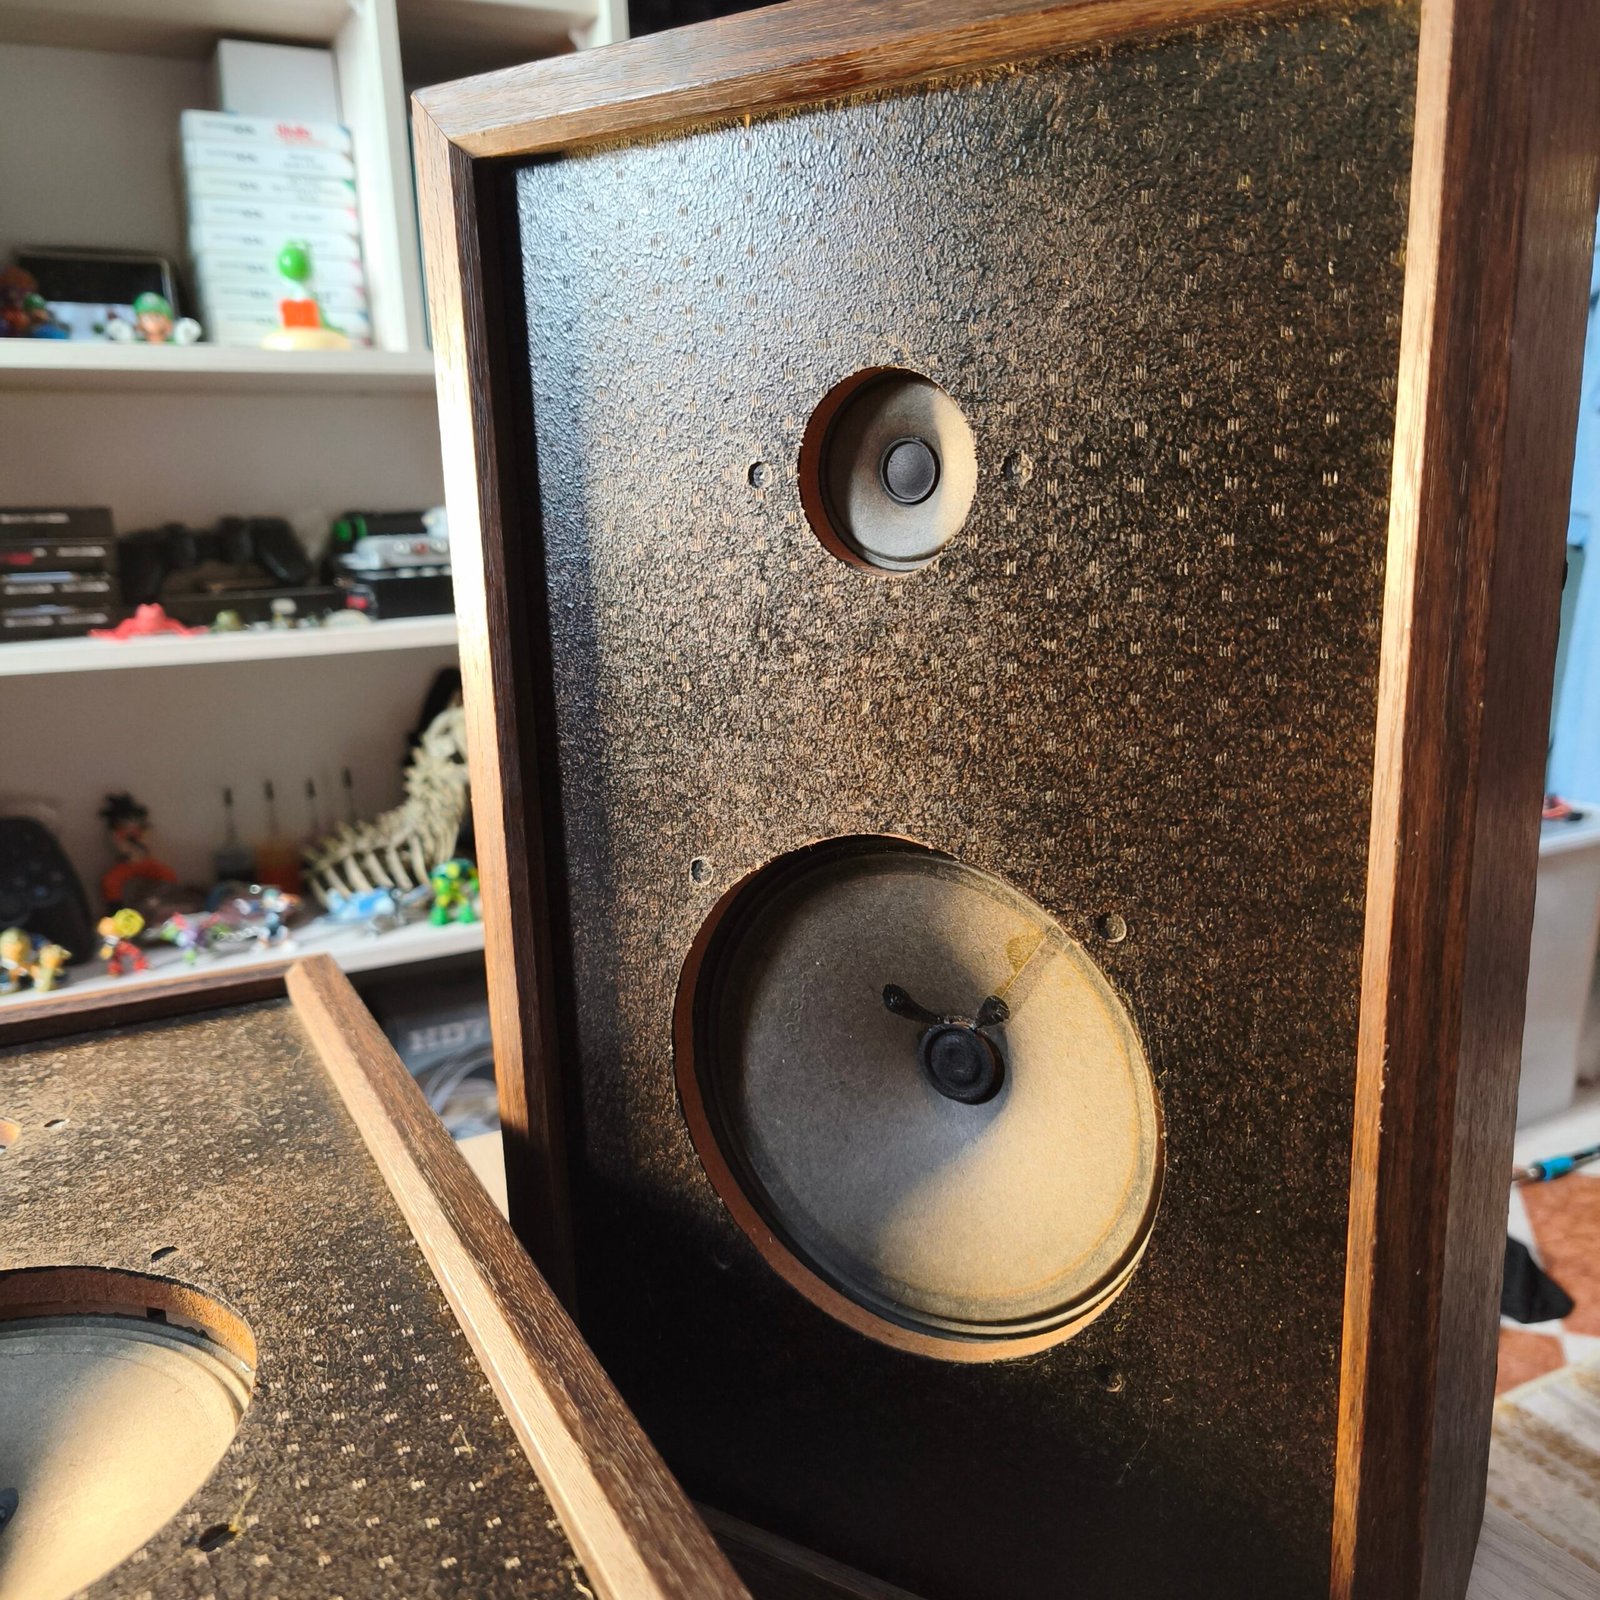
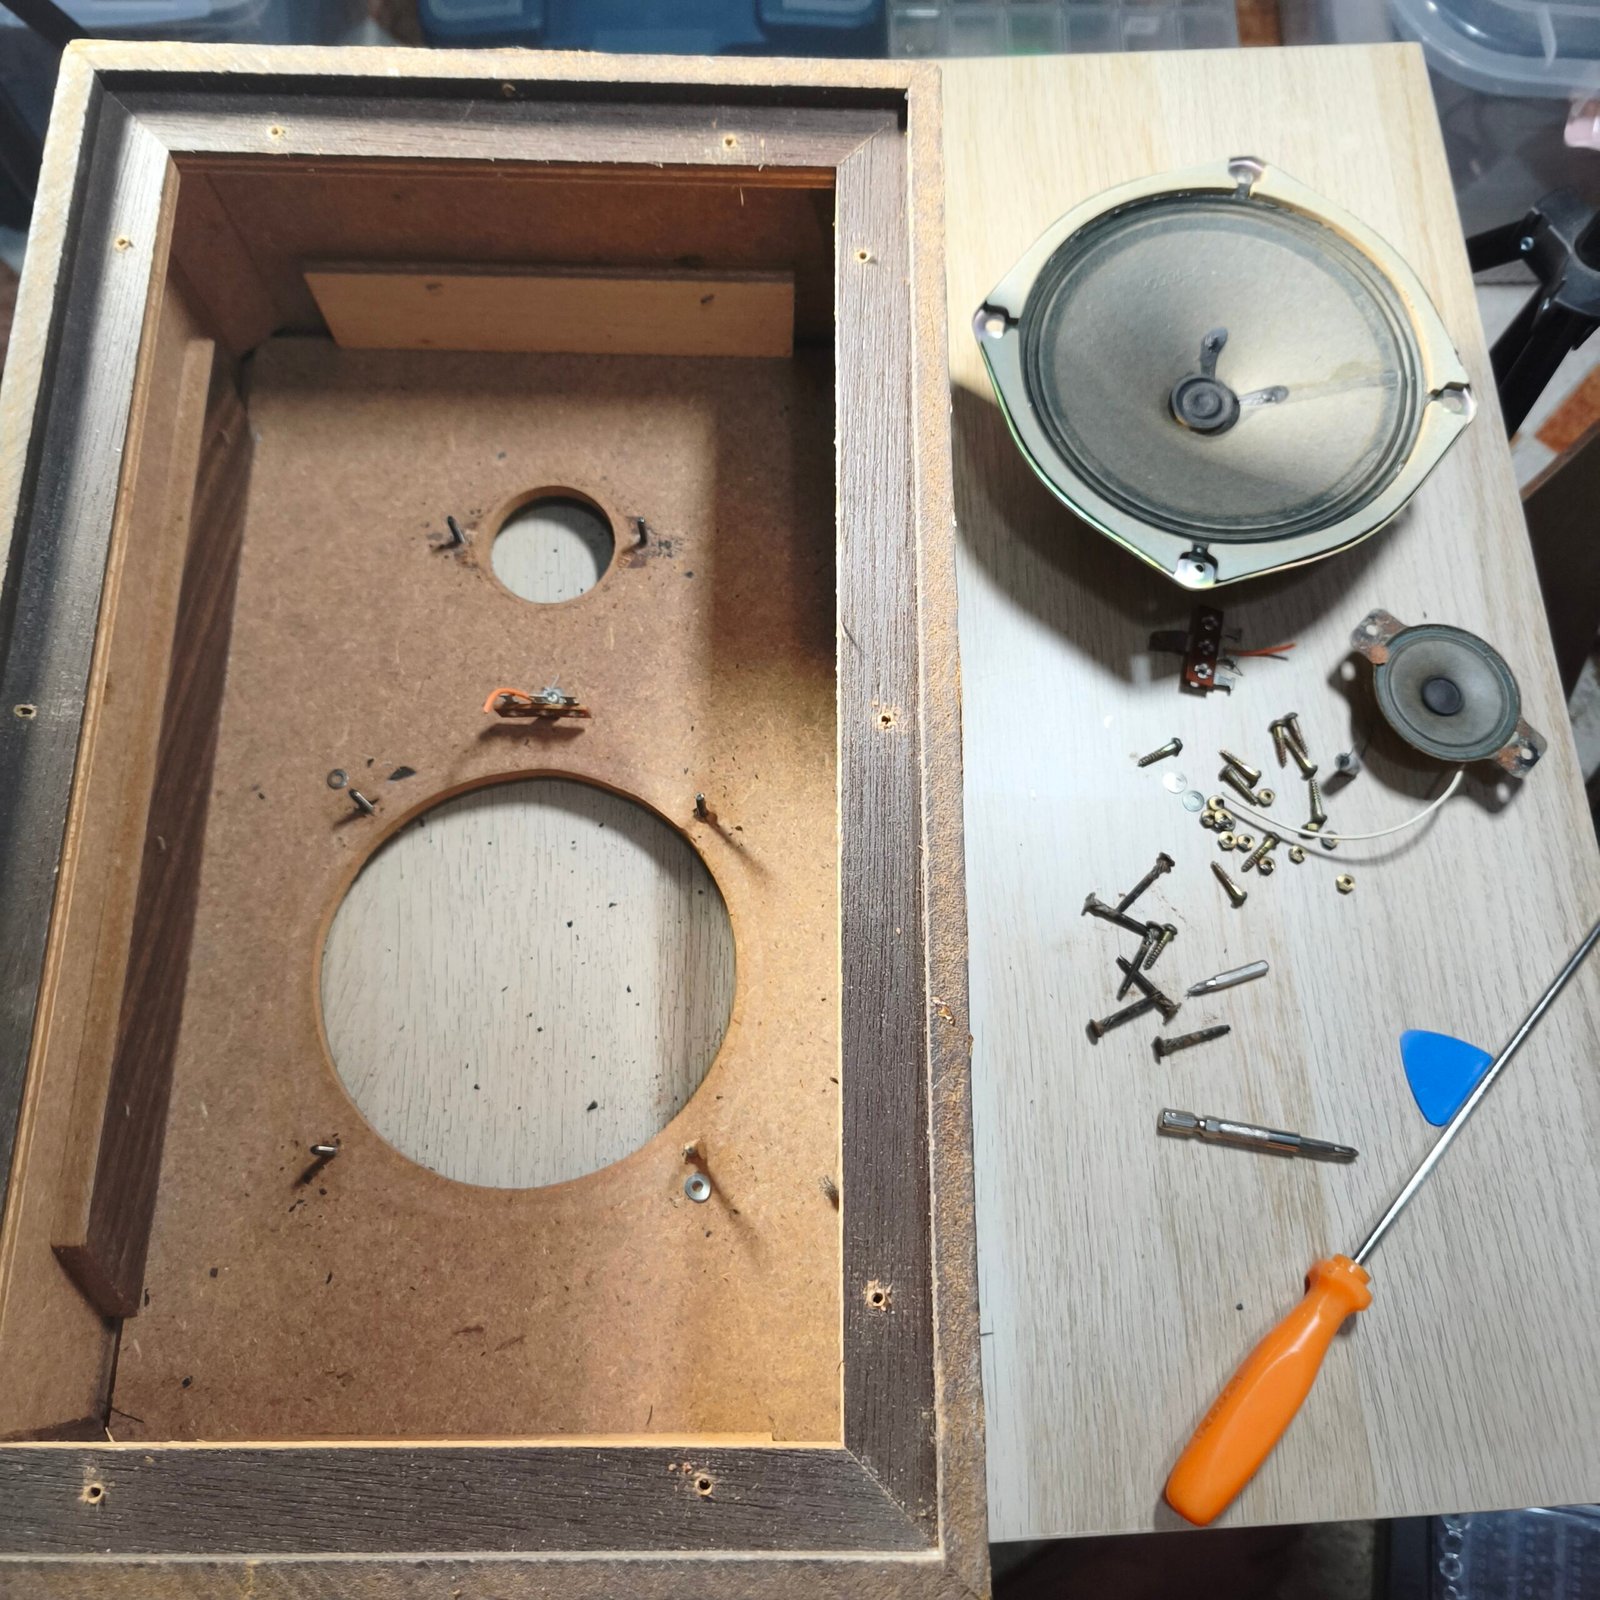
Once the components were ready, I could start working on the cabinet.
The problem was that the new drivers were not exactly the same size as the original ones.
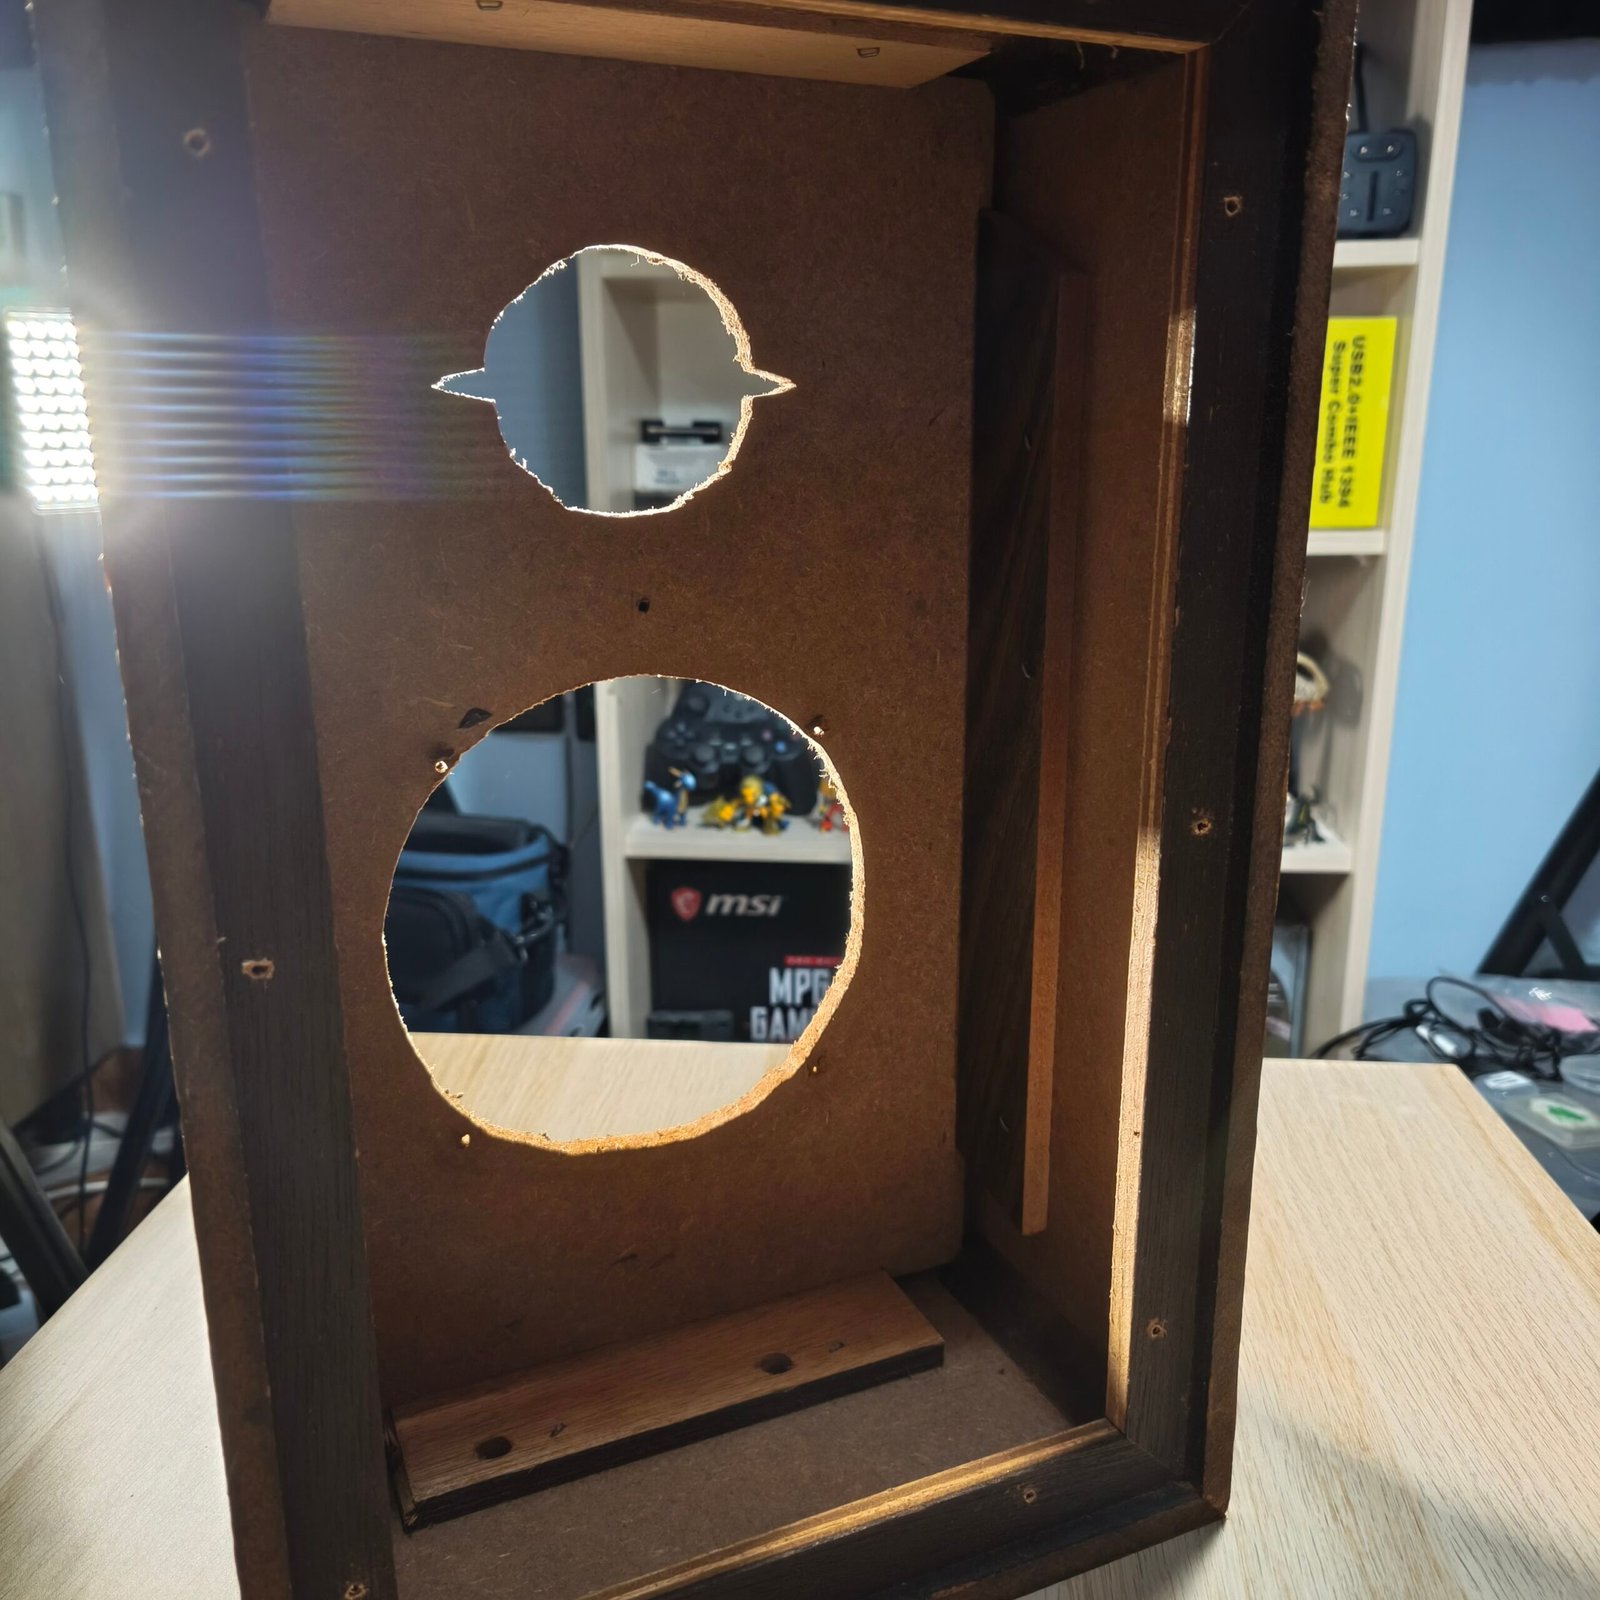
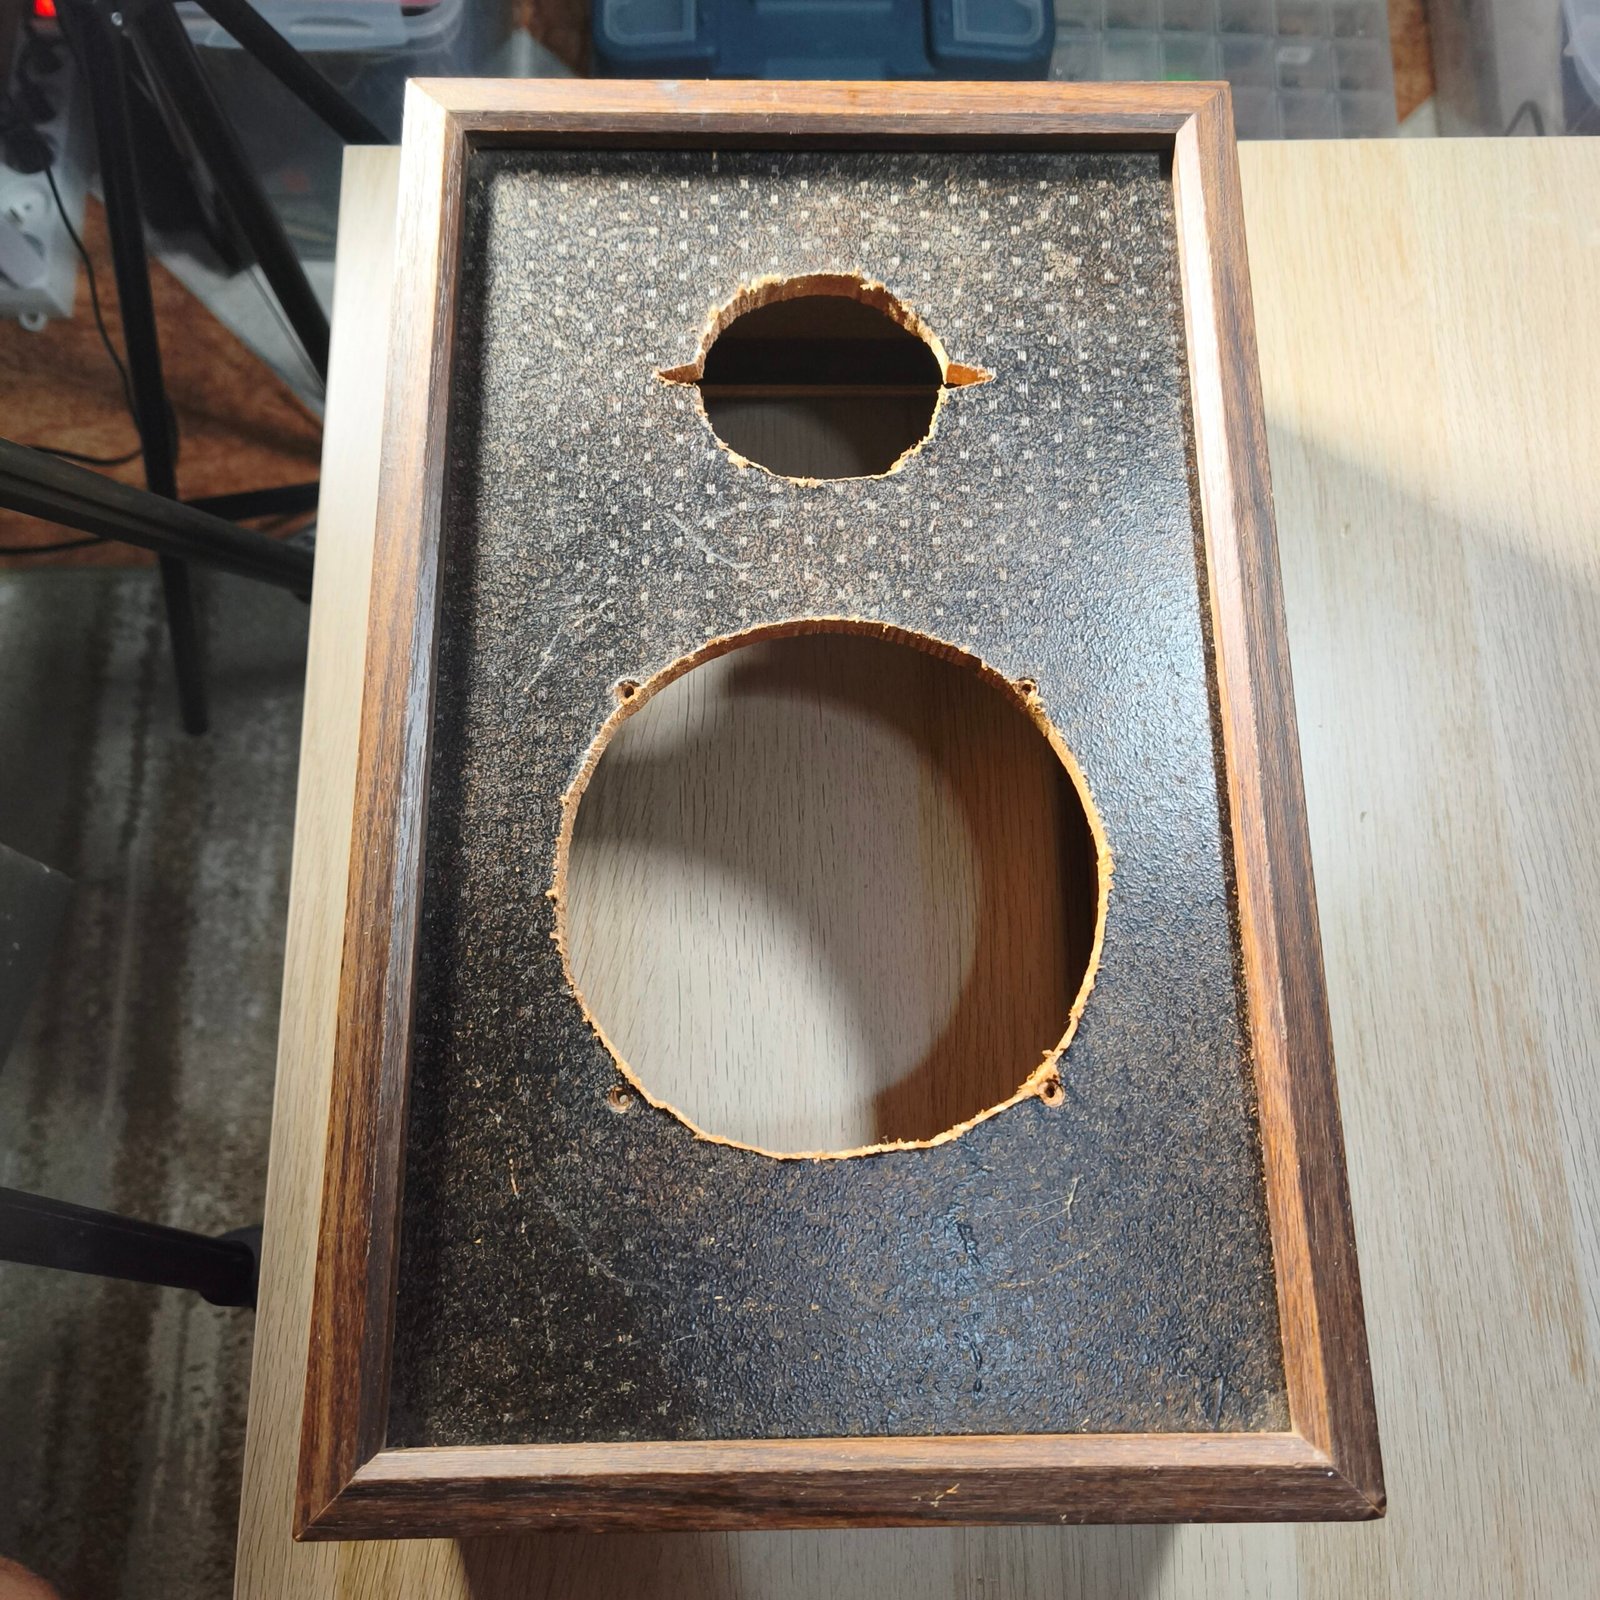
The Pioneer woofer was larger, so the existing opening was too small to install it properly. I had to enlarge the woofer opening to accommodate the new driver.
The same thing happened with the Toshiba tweeter. It was also larger than the original model, so I had to adapt and enlarge its opening as well.
These modifications are fairly simple, but they still need to be done carefully. I wanted the drivers to be properly mounted without unnecessarily damaging the cabinet.
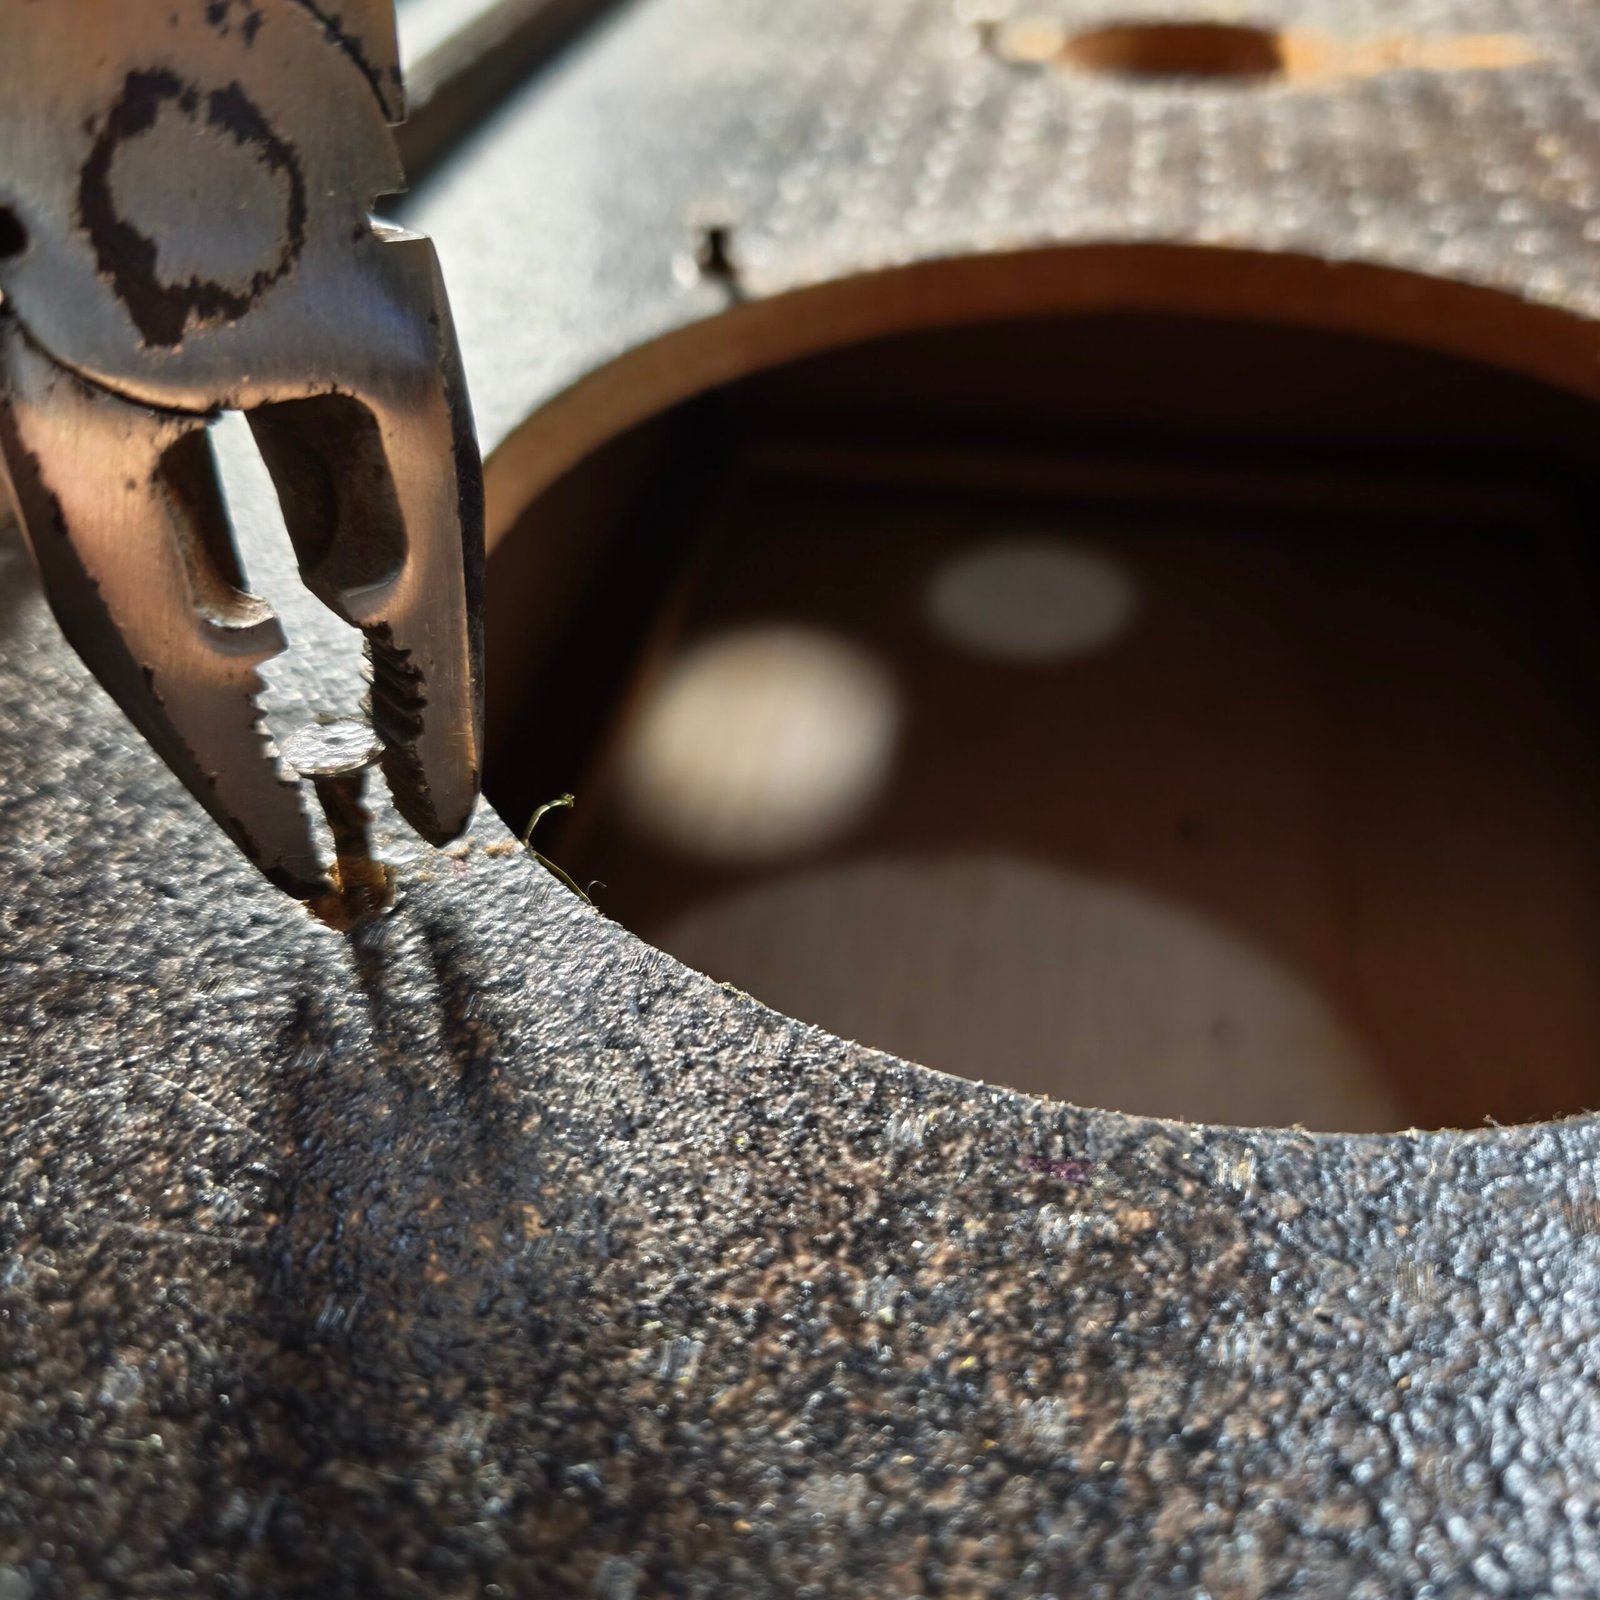
Adapting the Tweeter Opening
After preparing the woofer opening and the inside of the cabinet, I worked on the tweeter.
Since the Toshiba tweeter was larger than the original one, its mounting area also had to be modified.
Once the opening was adapted, the restored tweeter could finally be installed.
At this point, the old speaker was already starting to look completely different.
Installing the Drivers
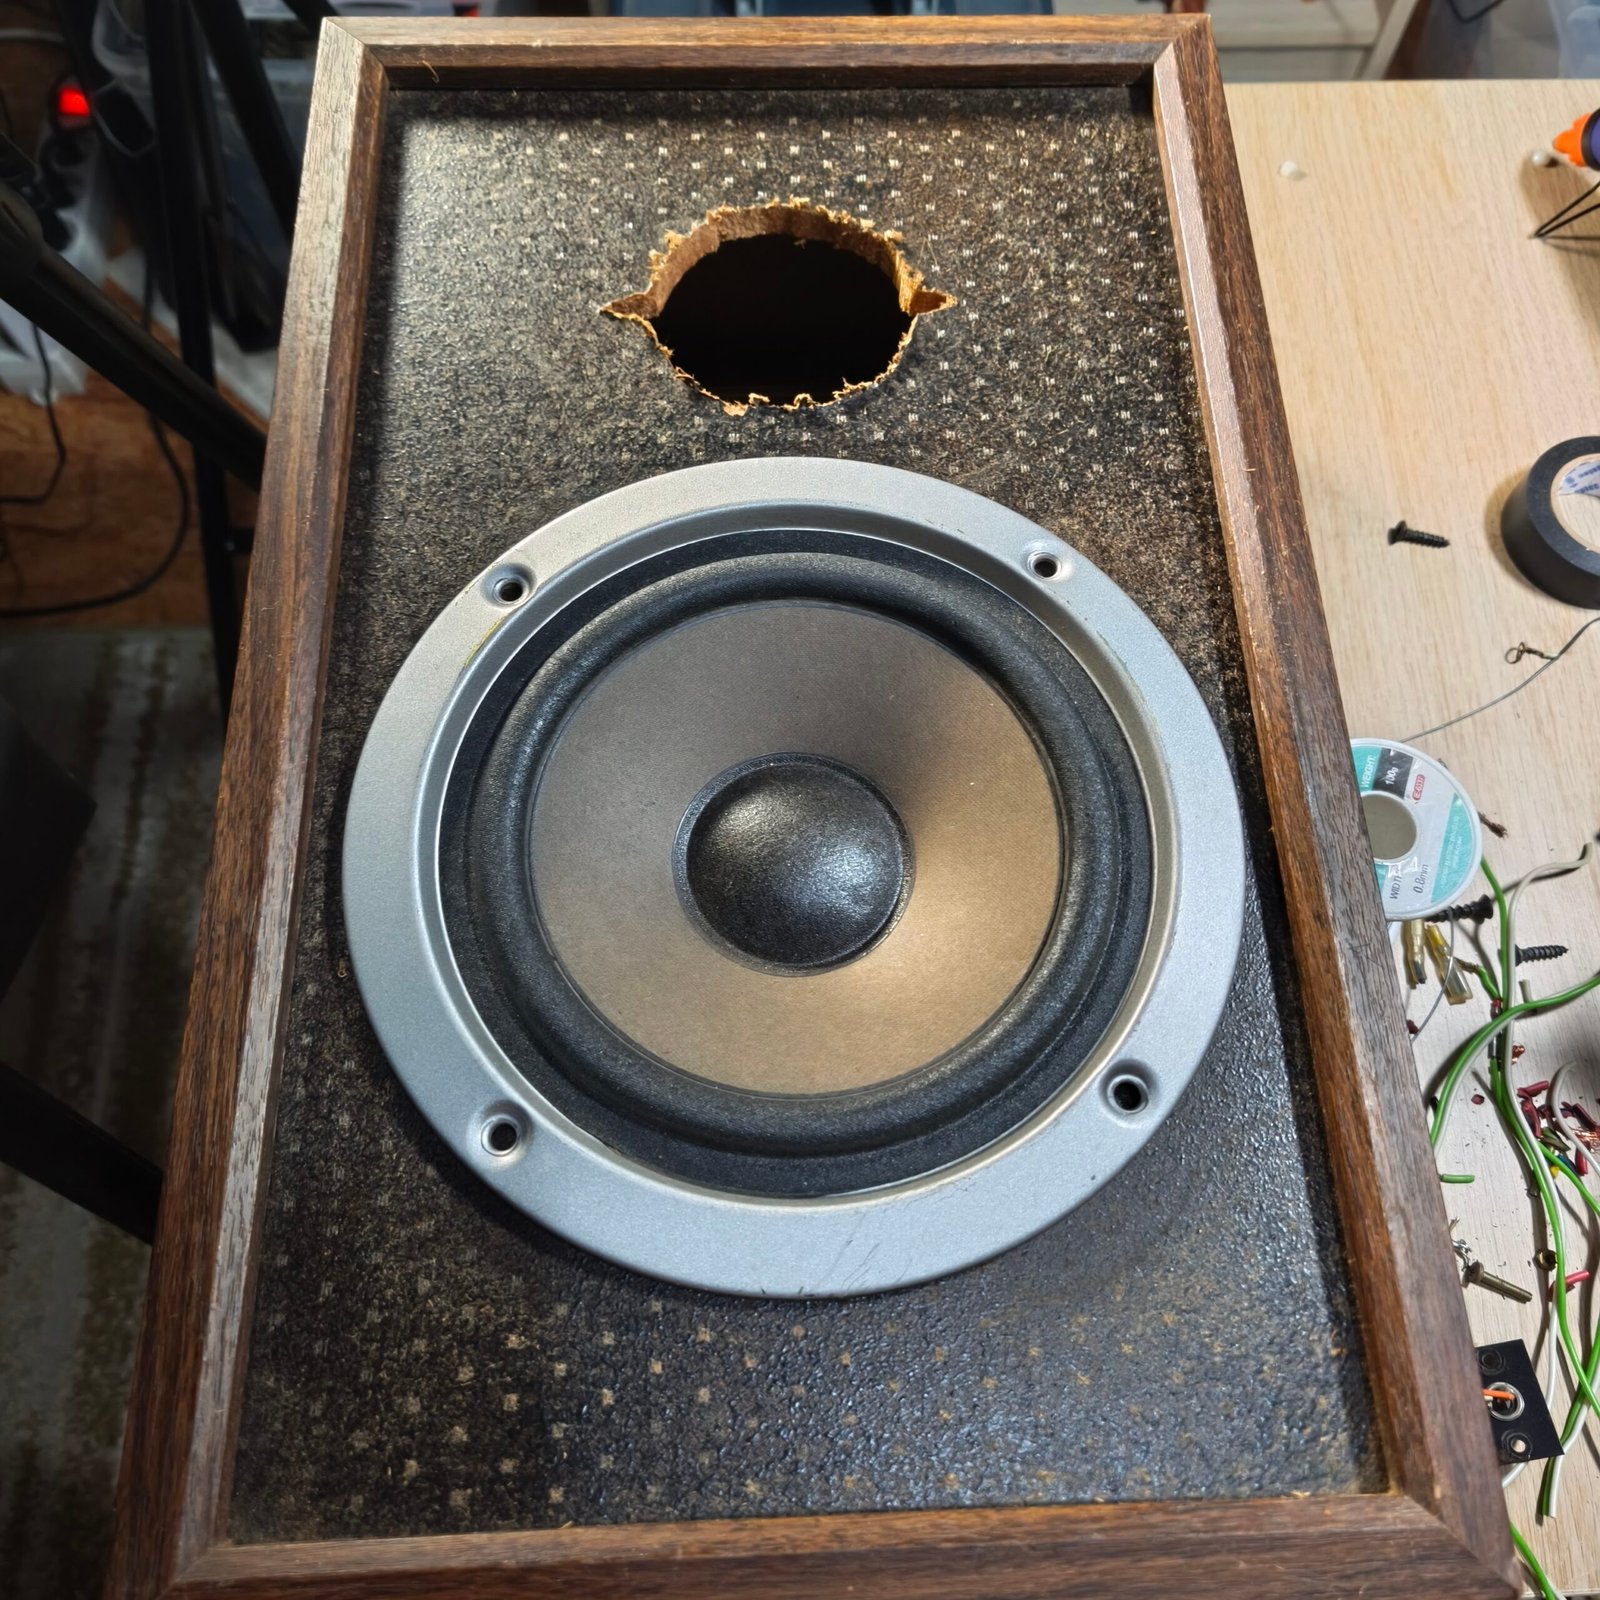
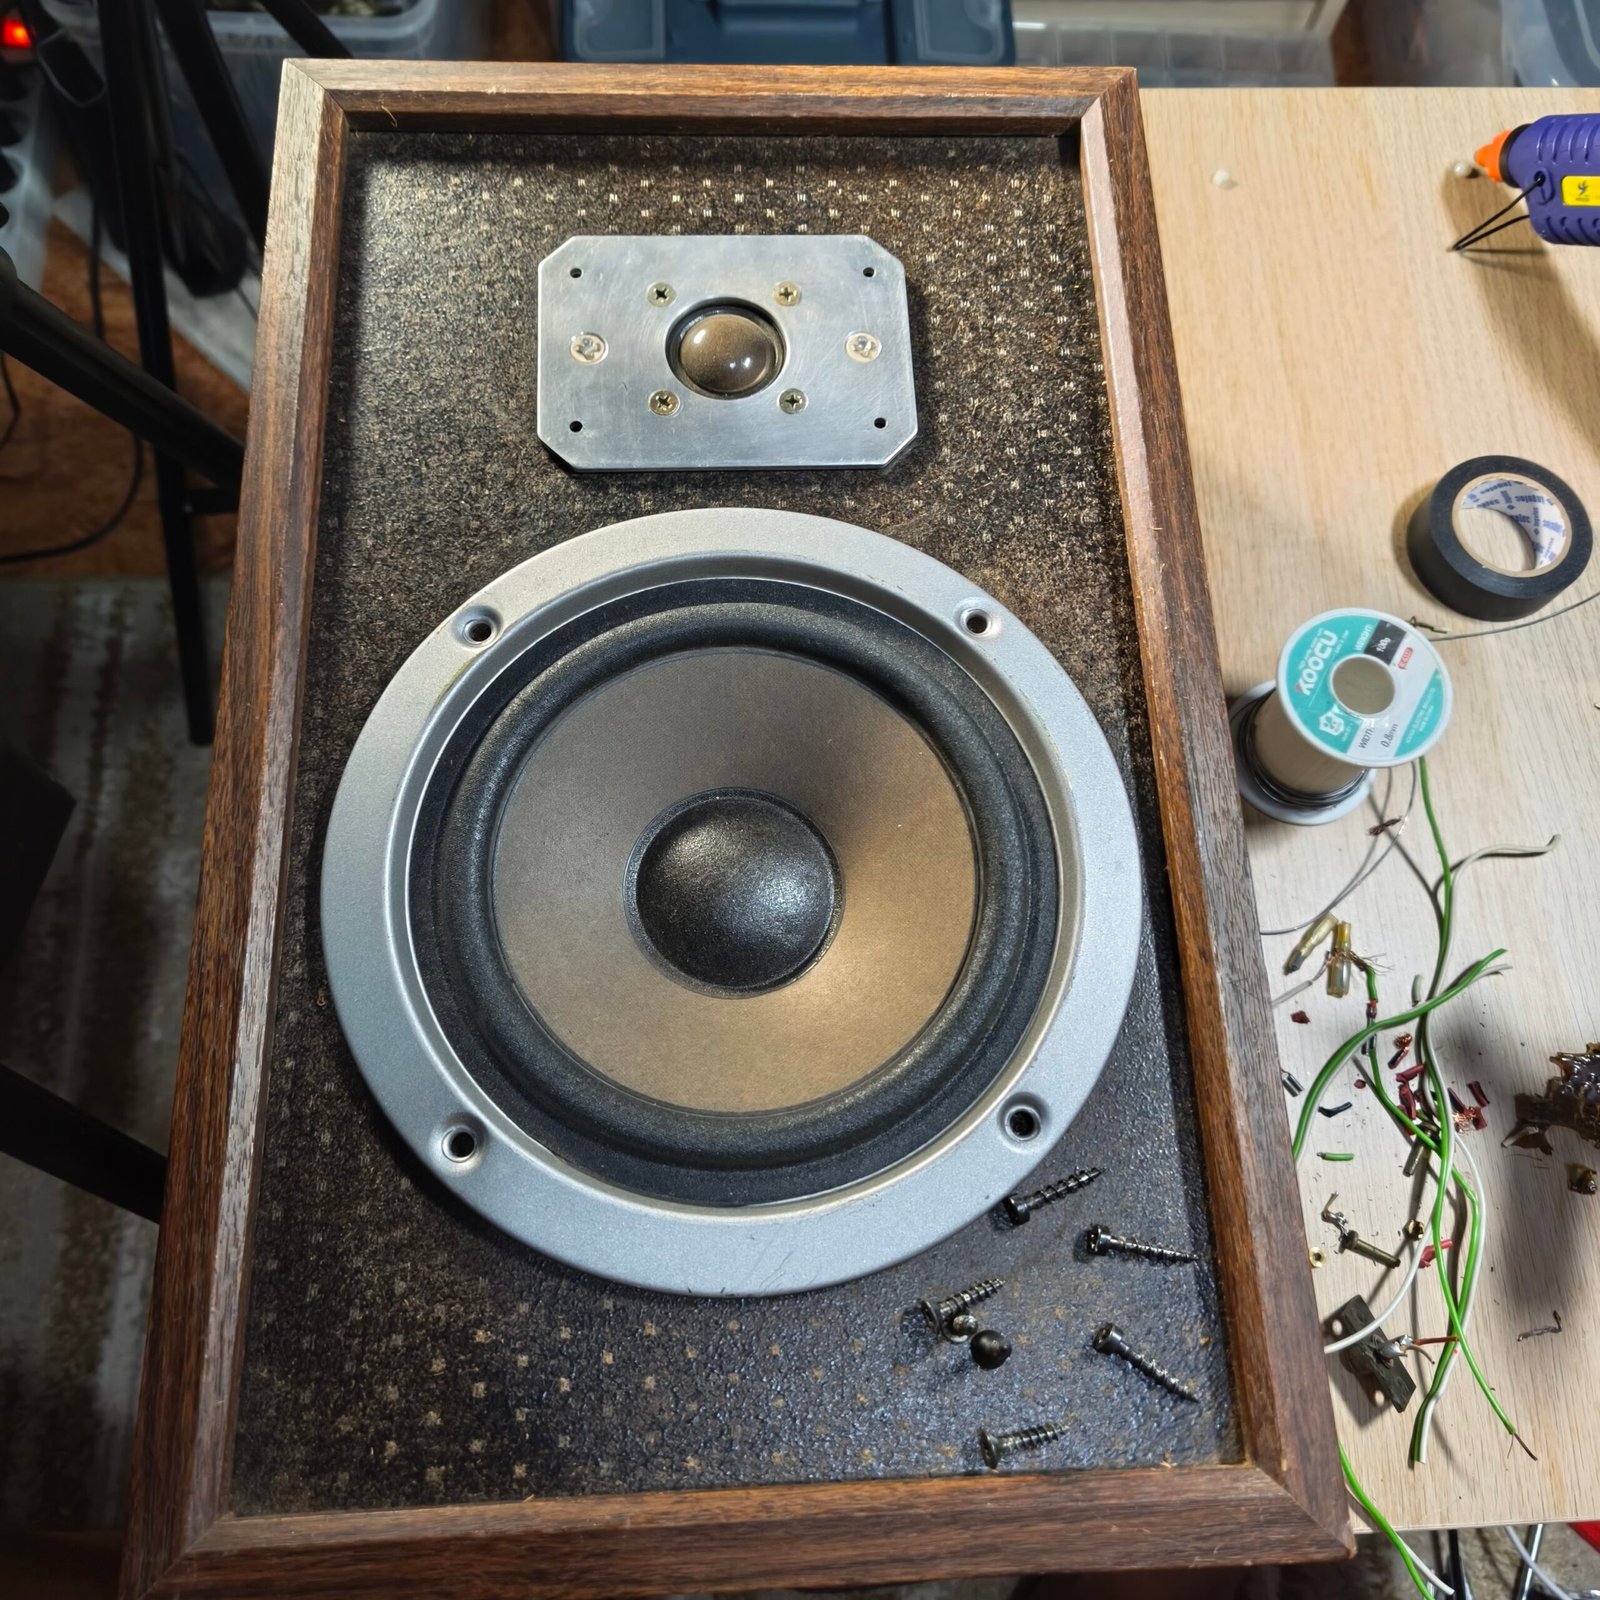
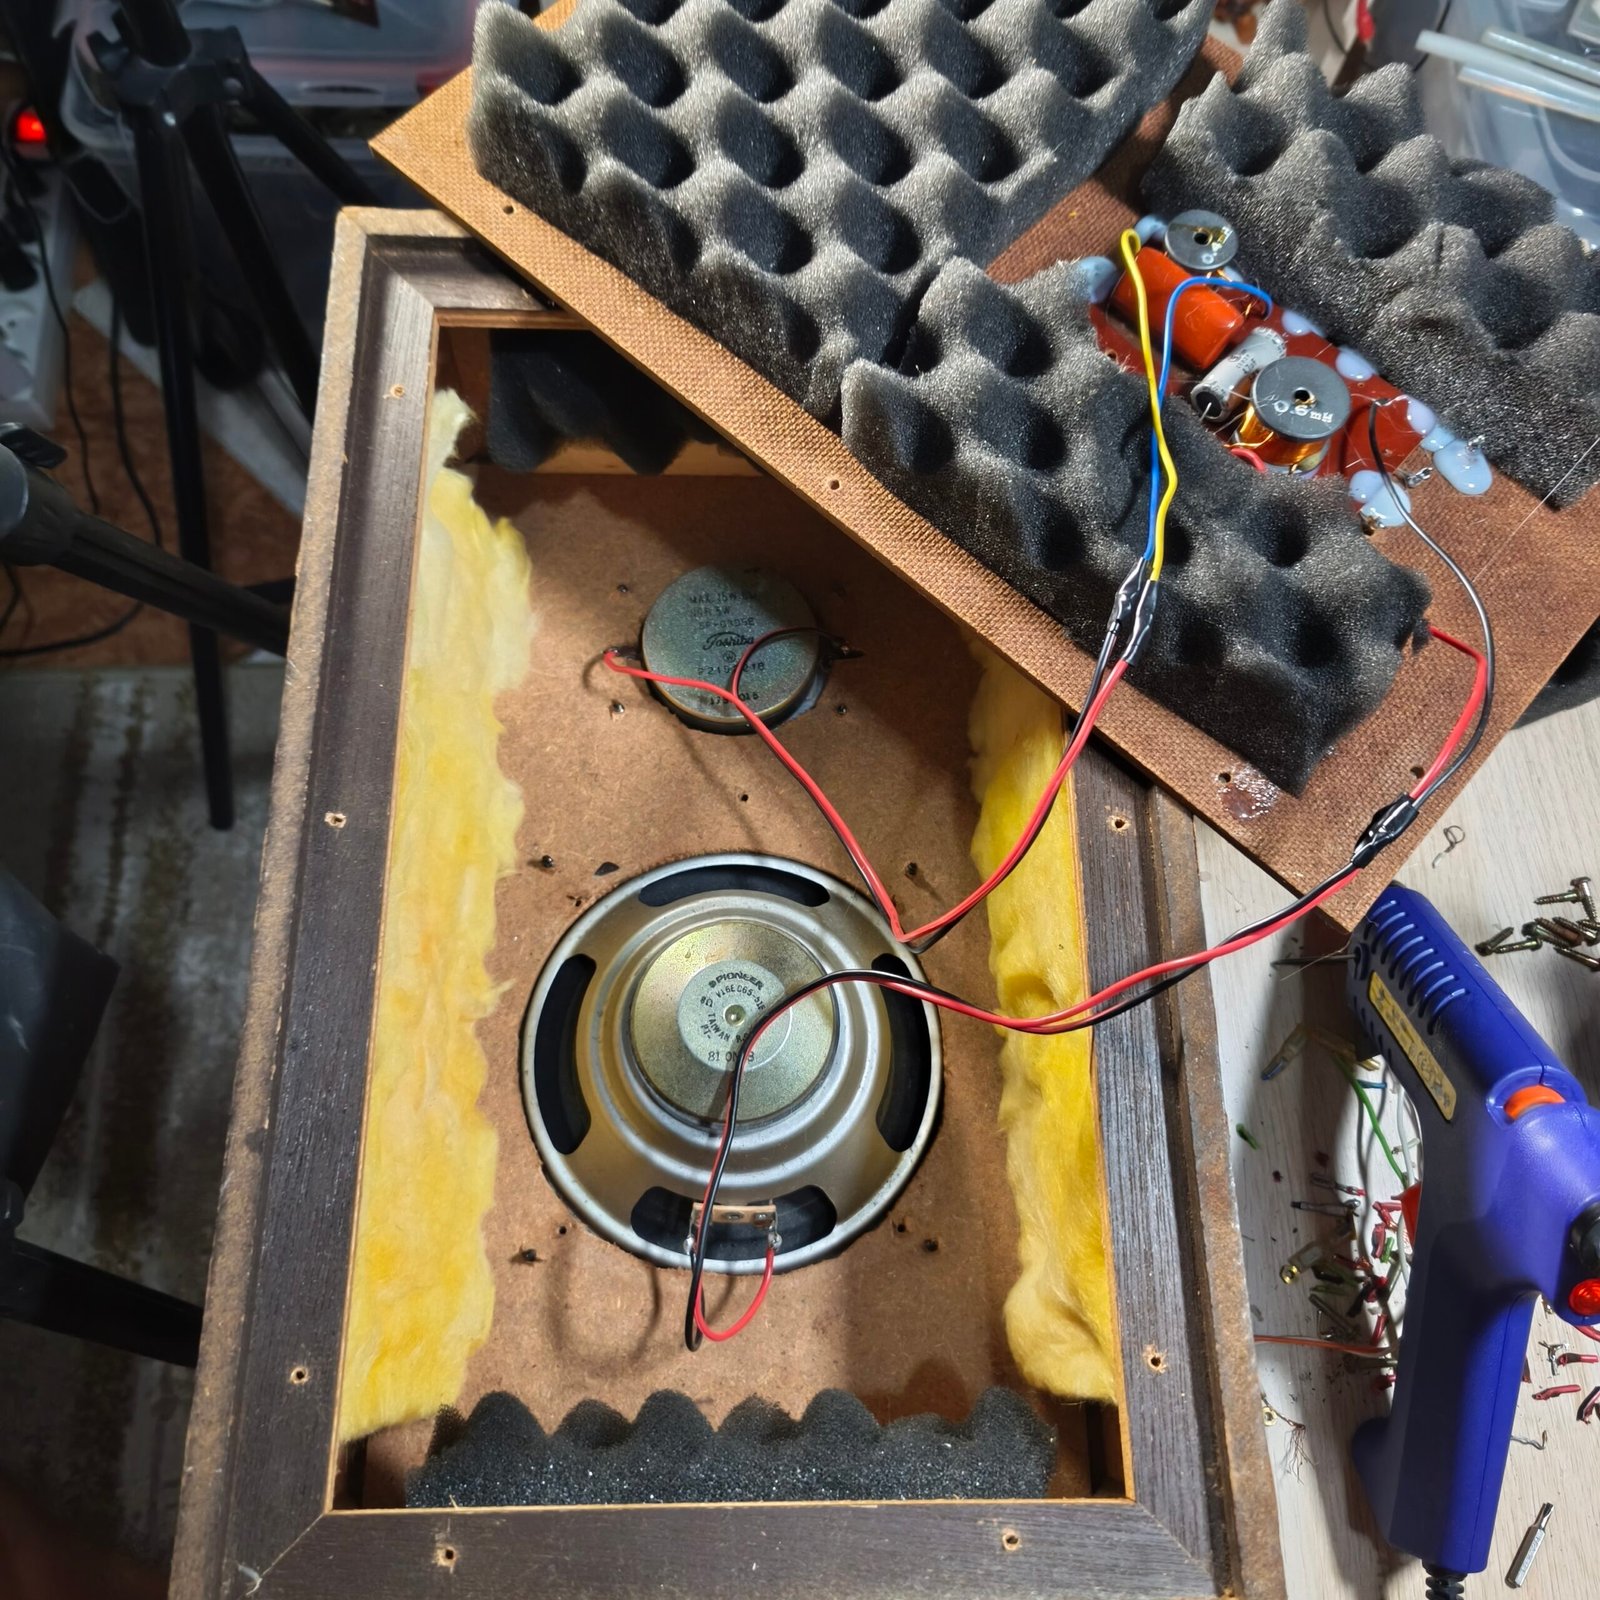
Once the crossover was wired and the acoustic foam was installed, I could finally mount the two drivers permanently.
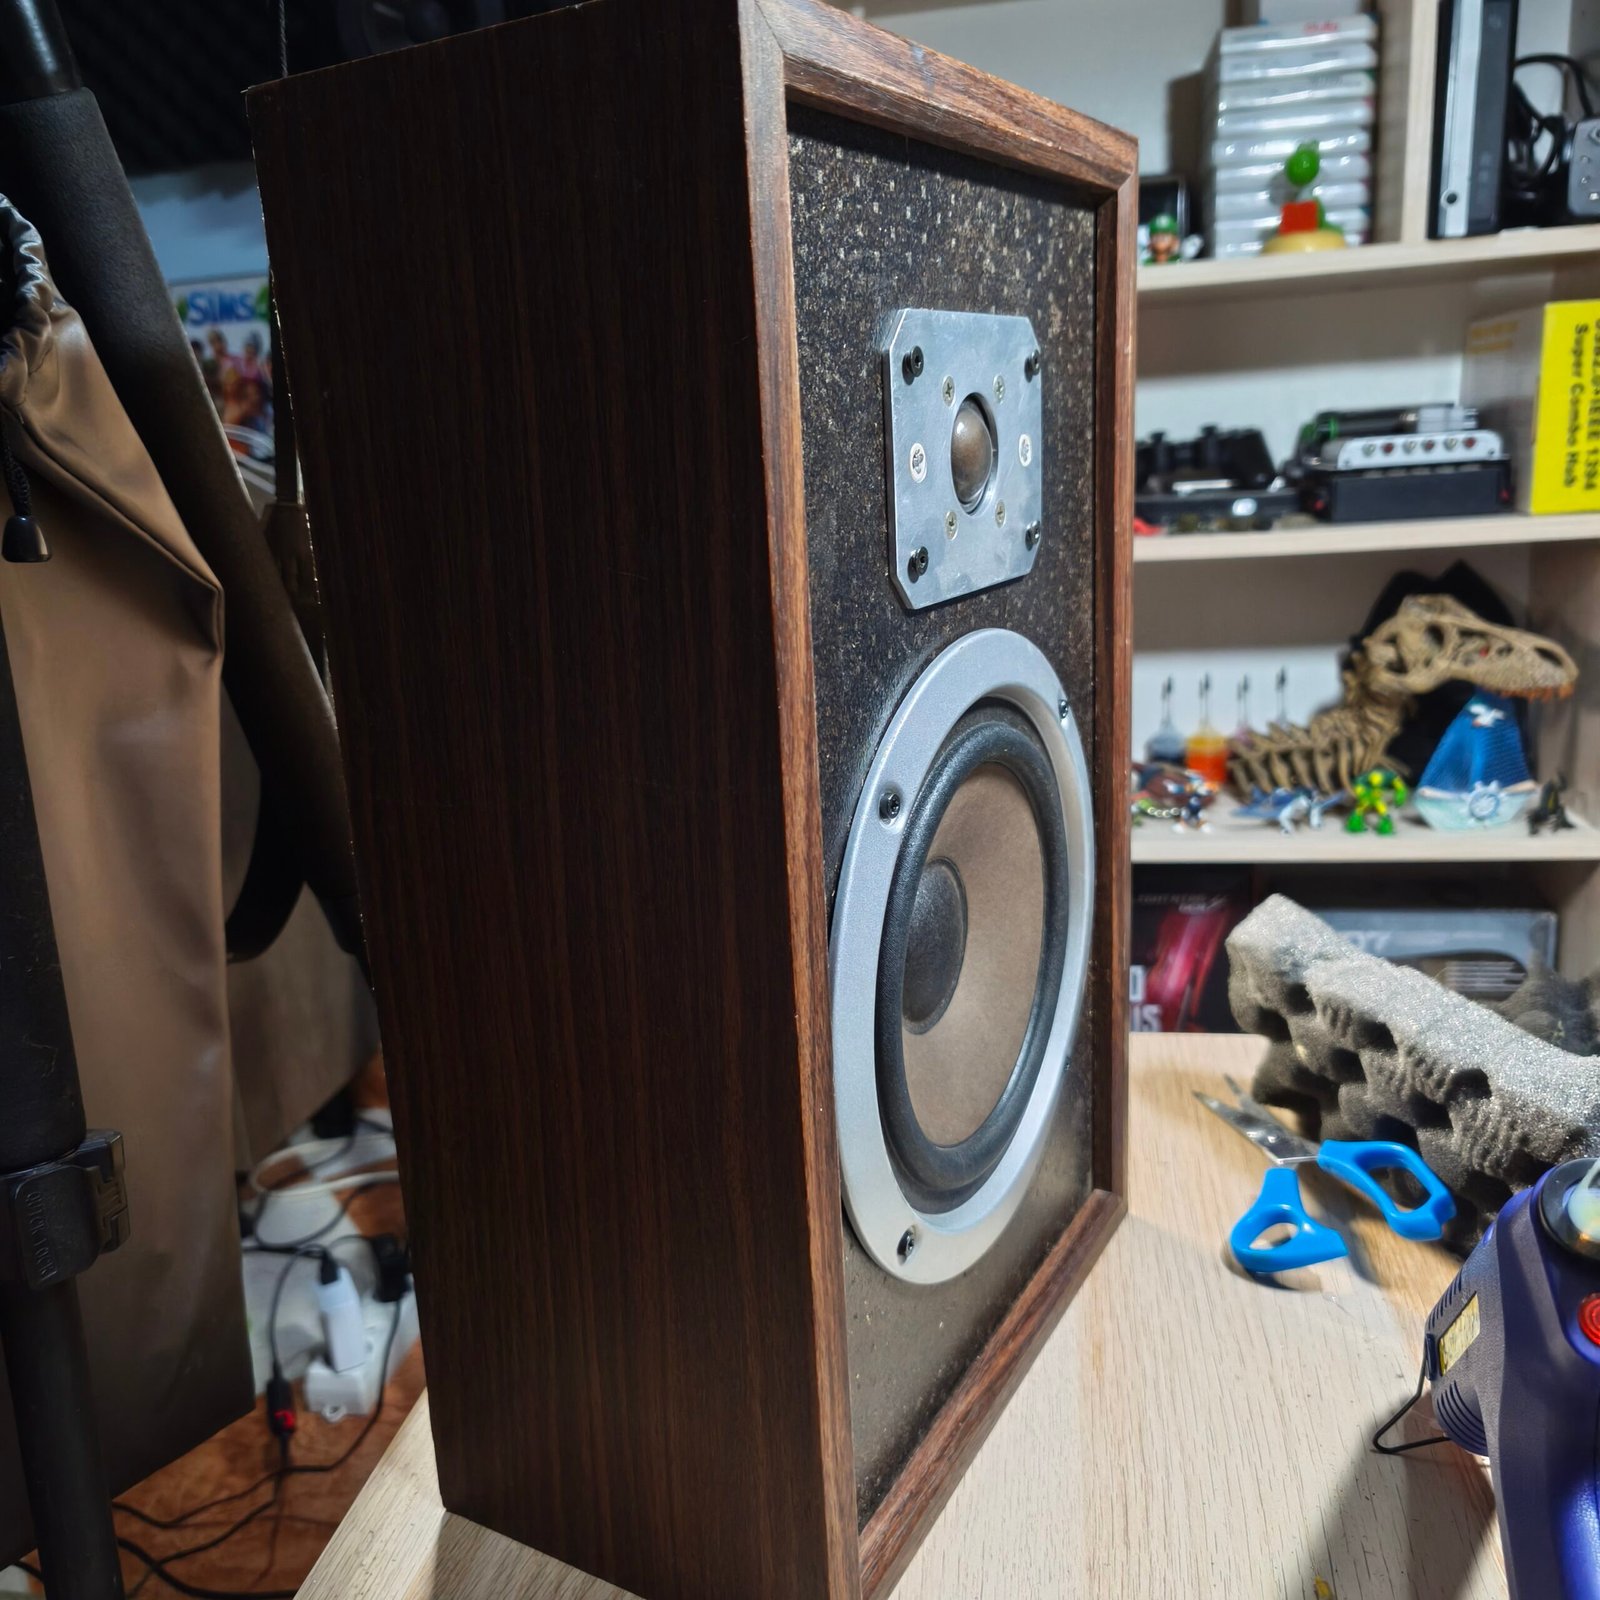
The Pioneer does not only reproduce the bass. It also contributes to the low-midrange and midrange, while the Toshiba tweeter handles the high frequencies.
The combination therefore becomes a proper two-way speaker, even though the individual components originally came from different pieces of equipment.
Installing the Aurex SS-S12 Crossover
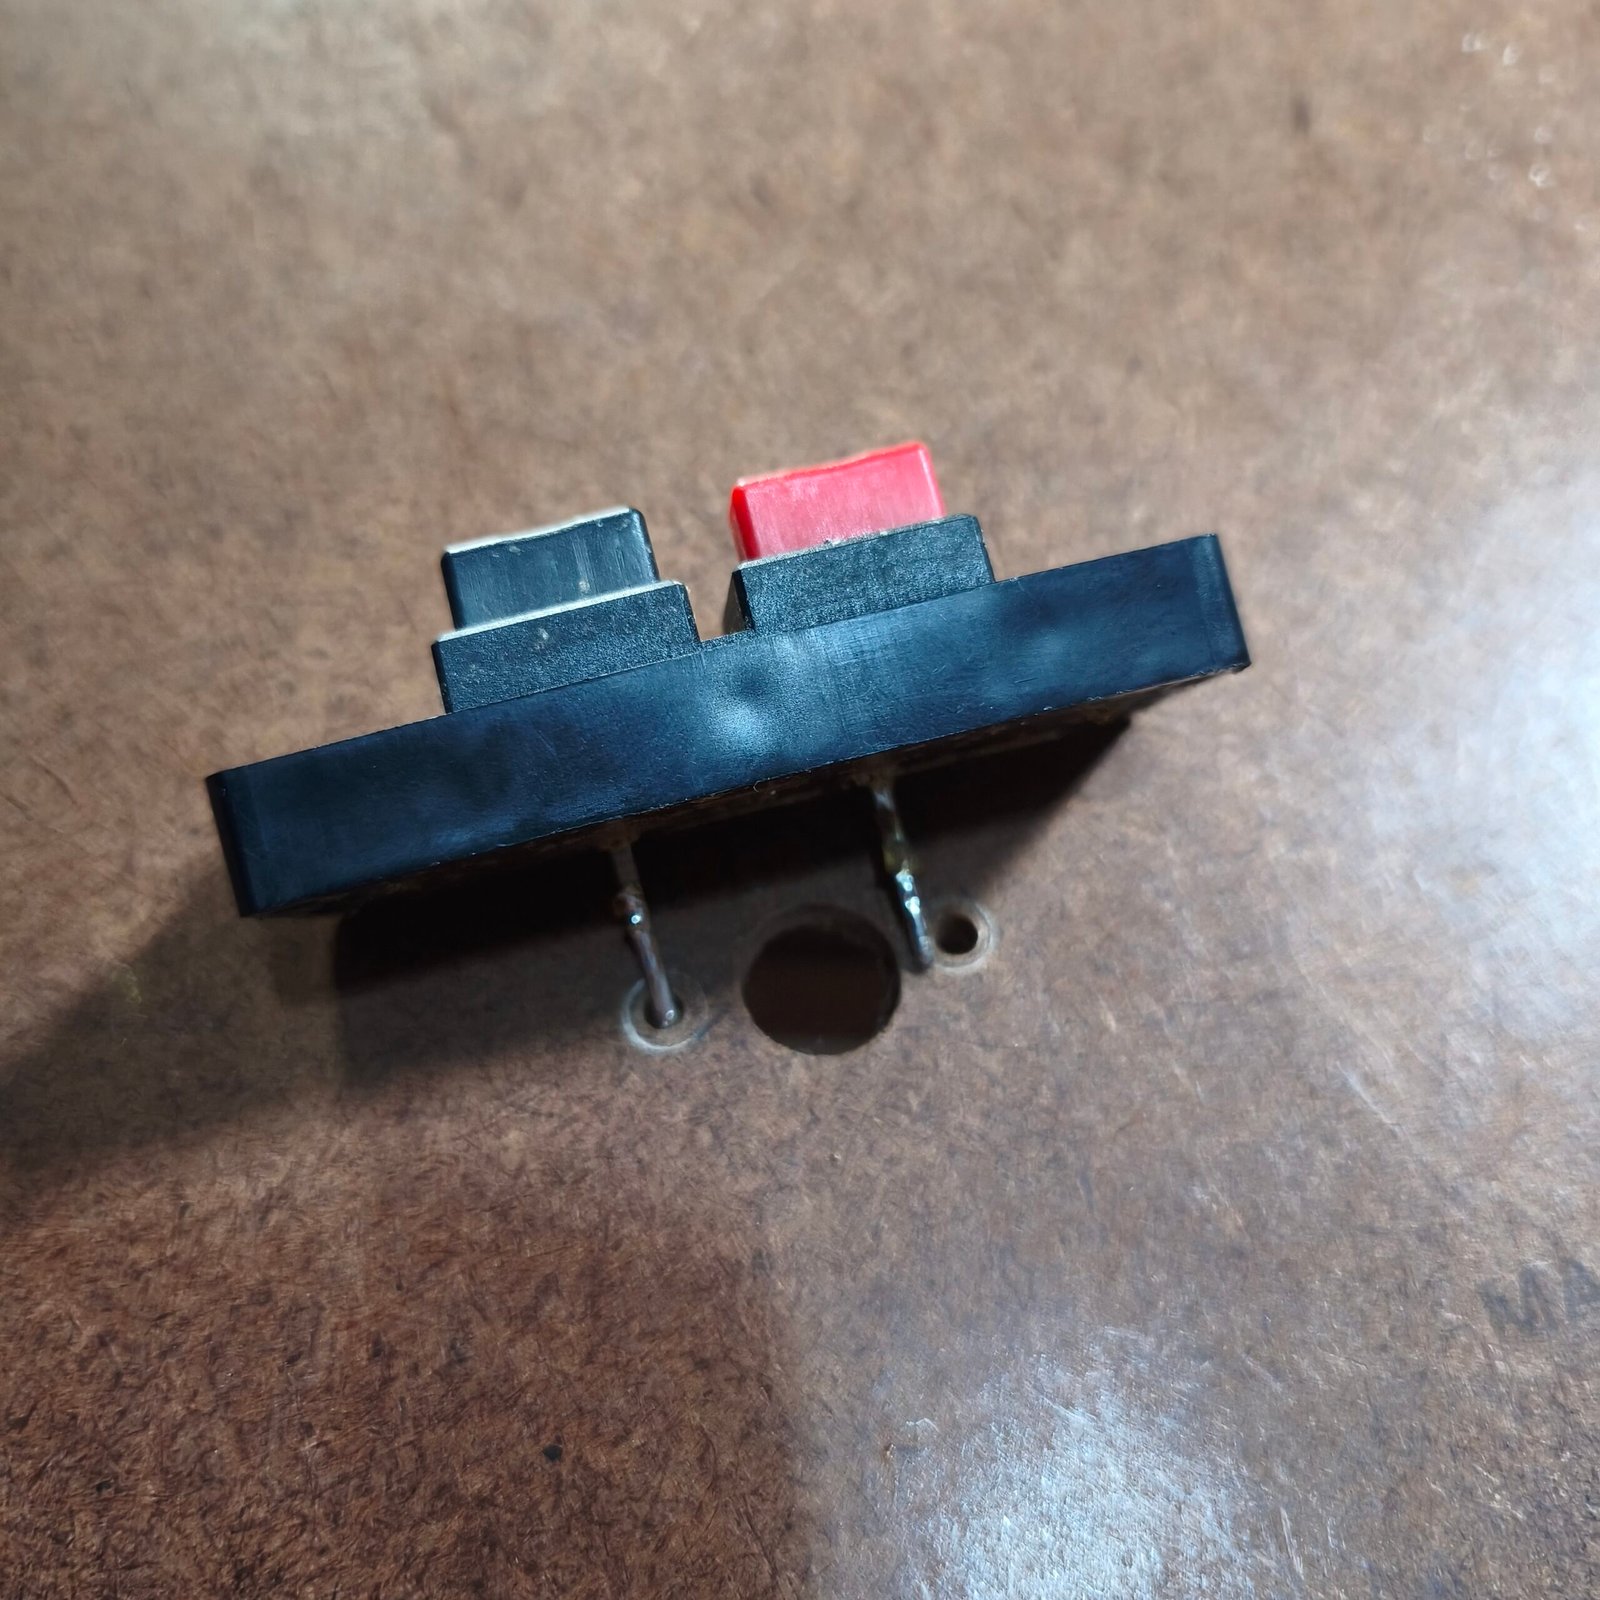
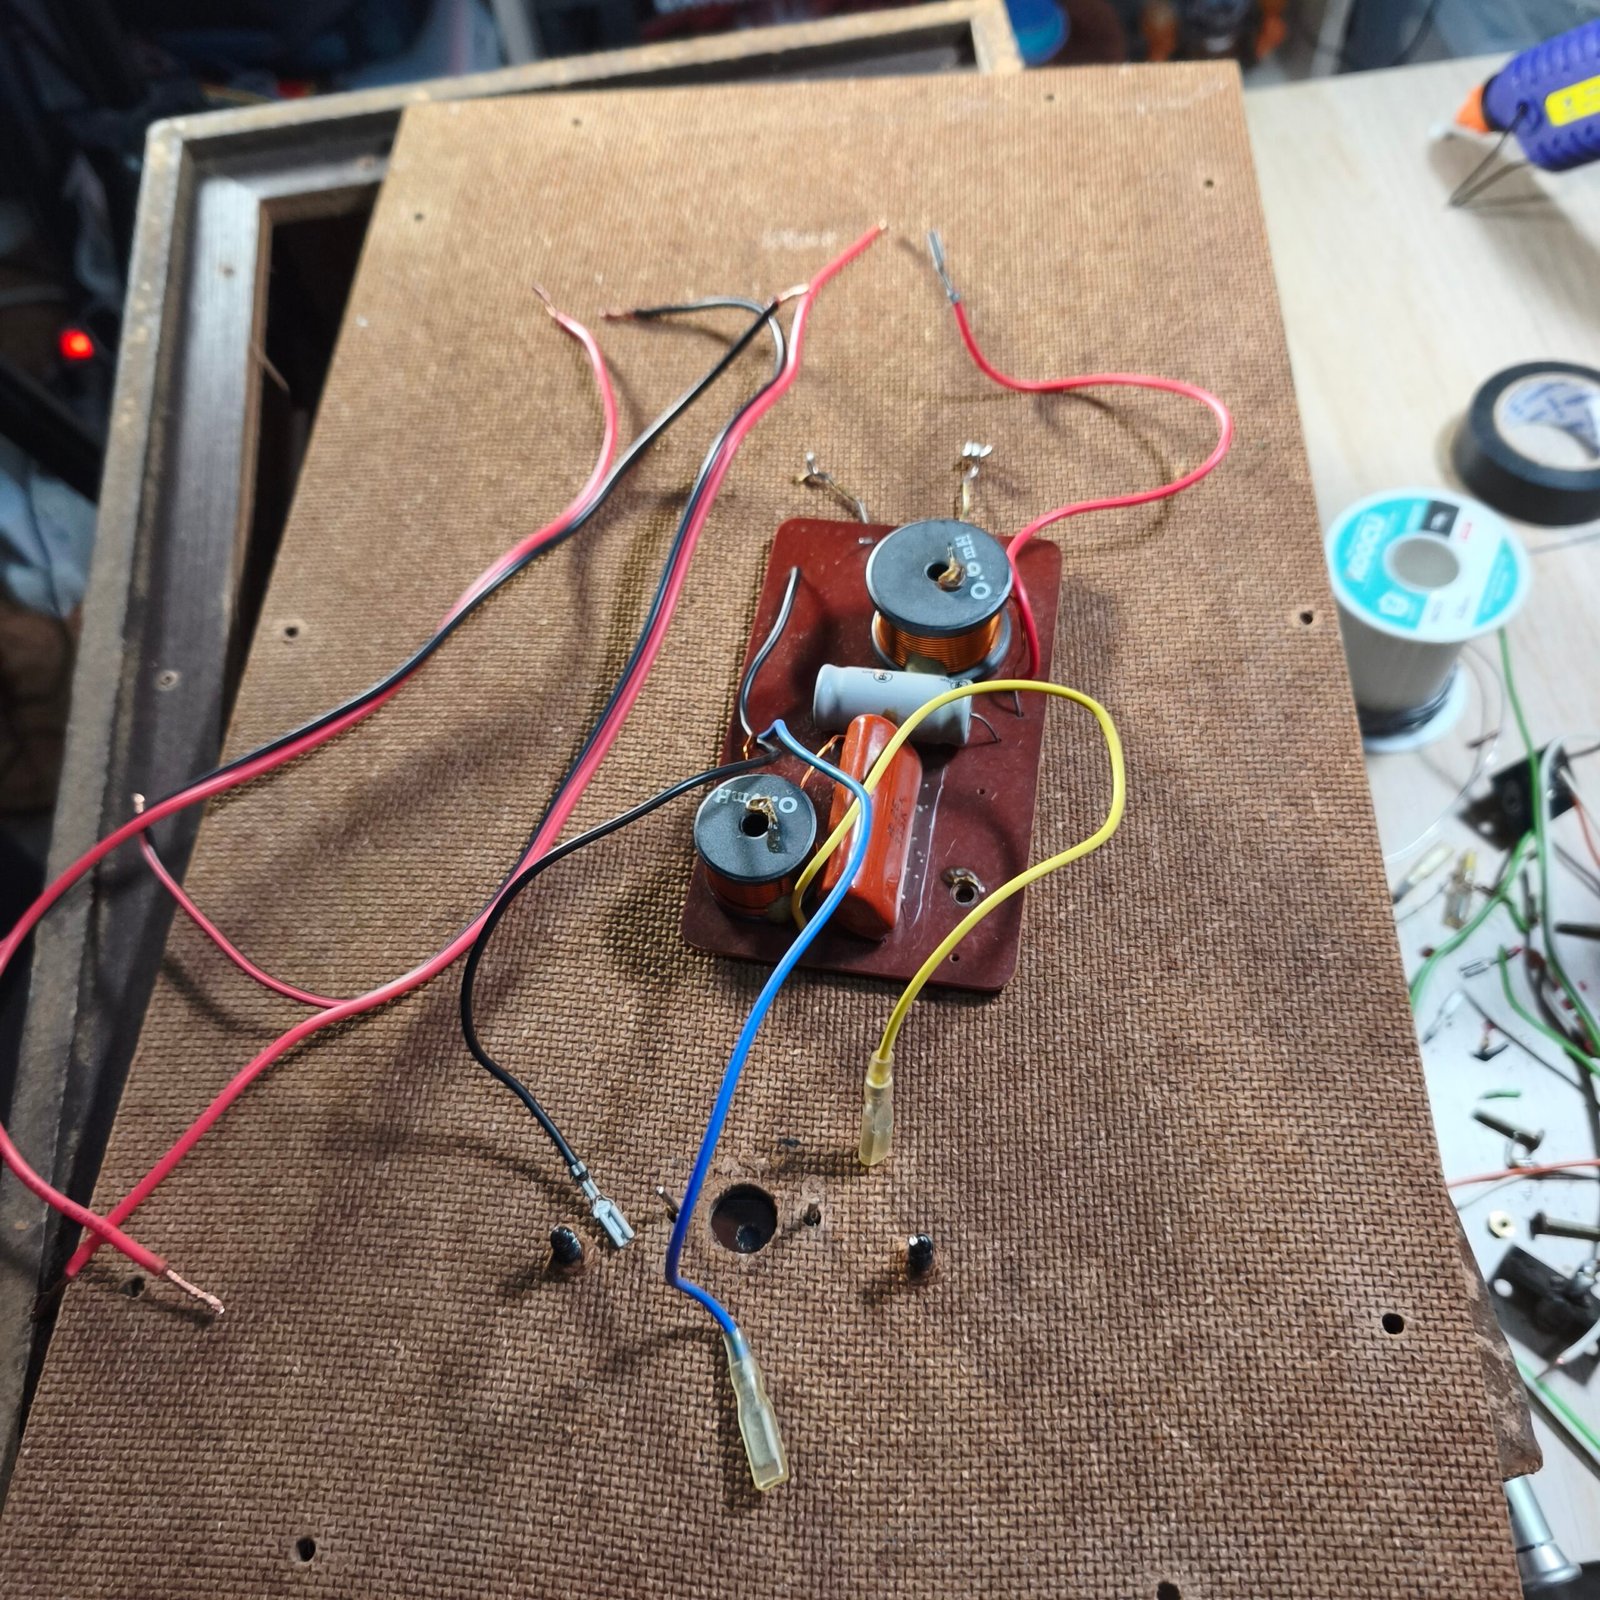
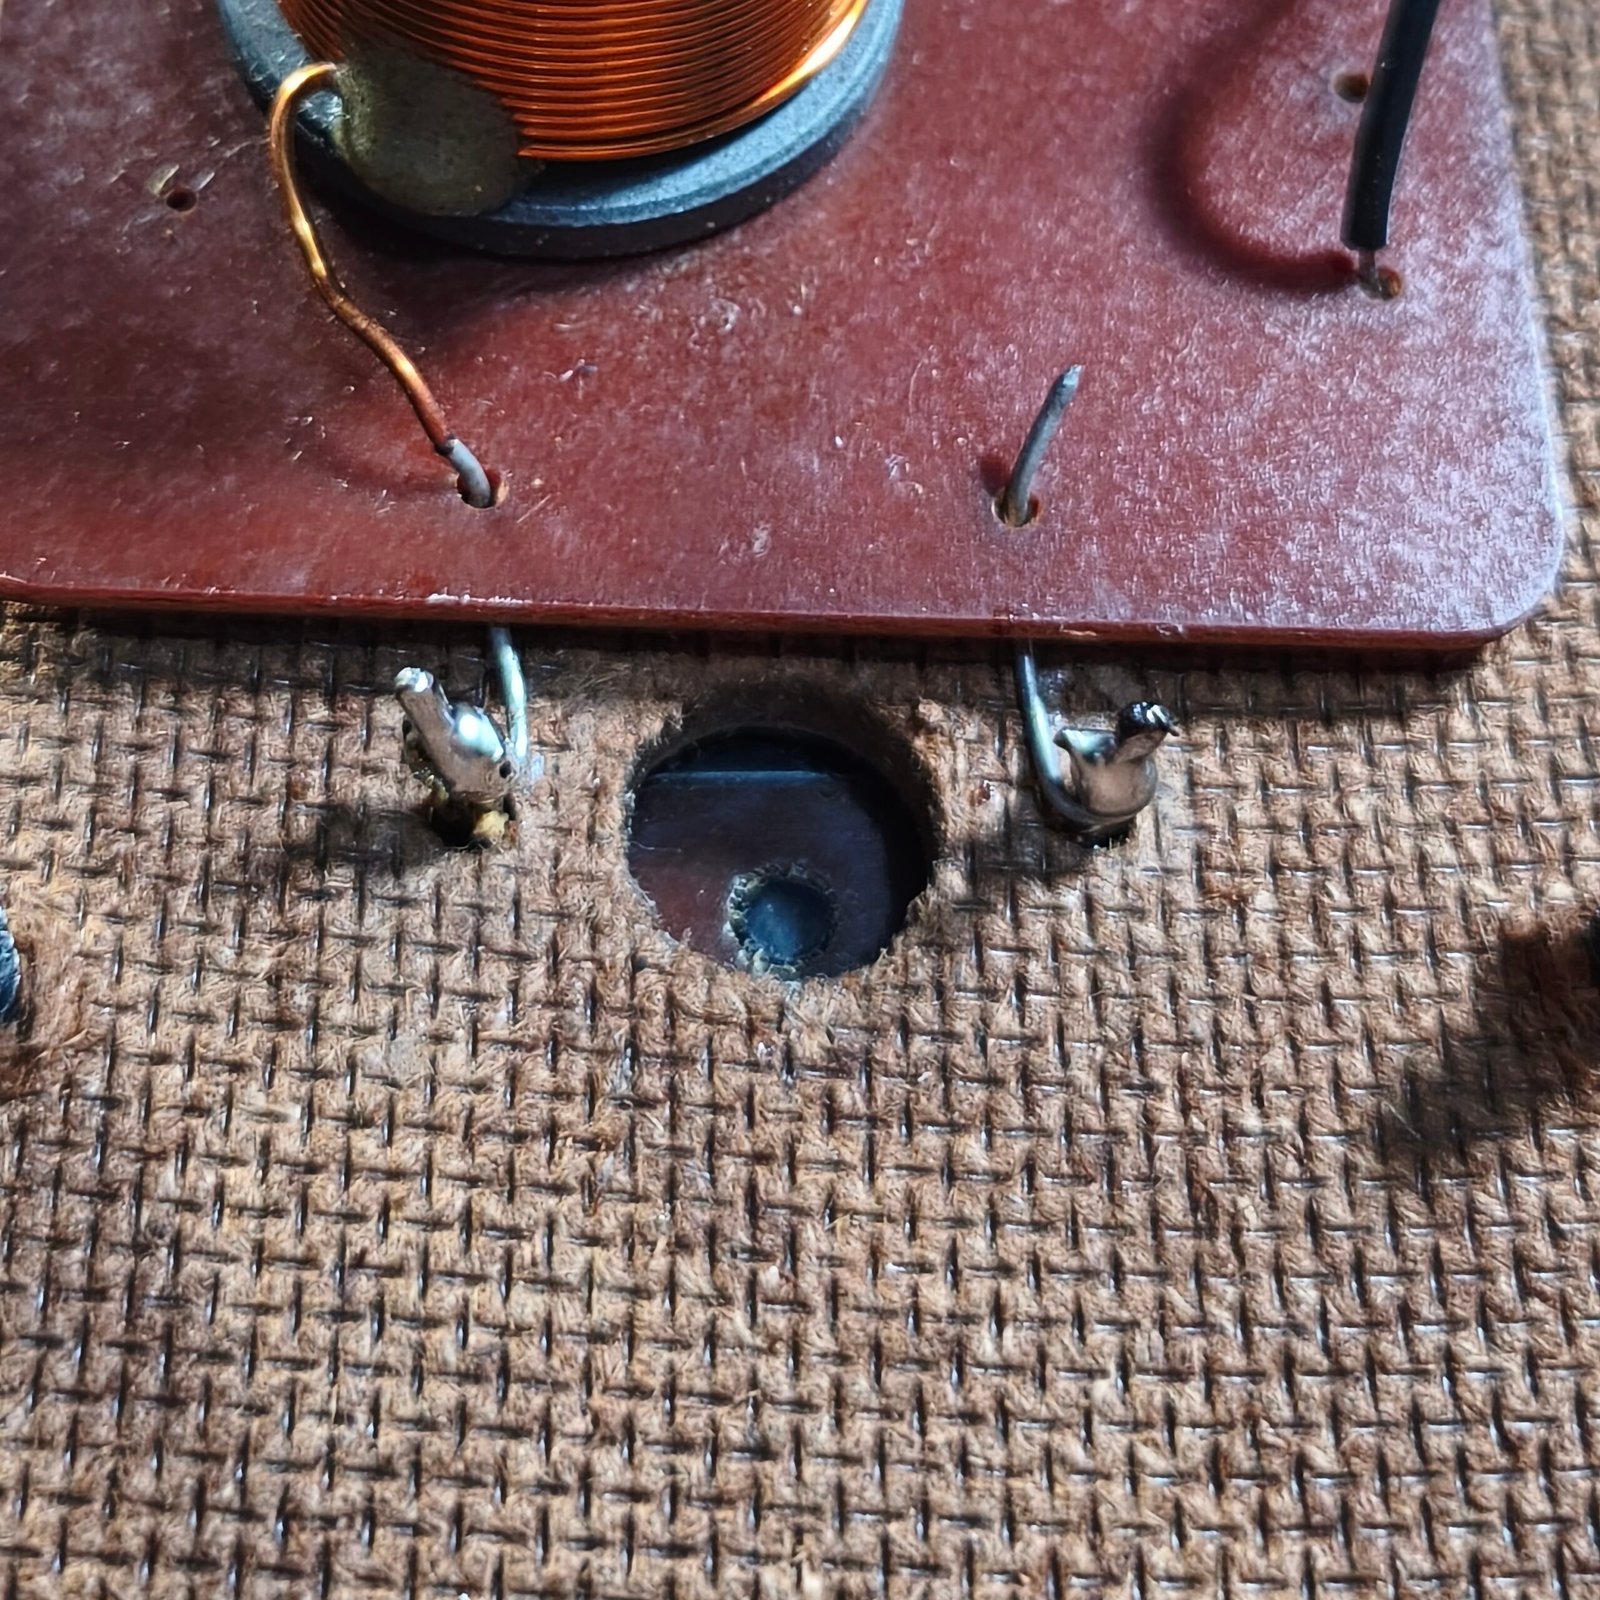
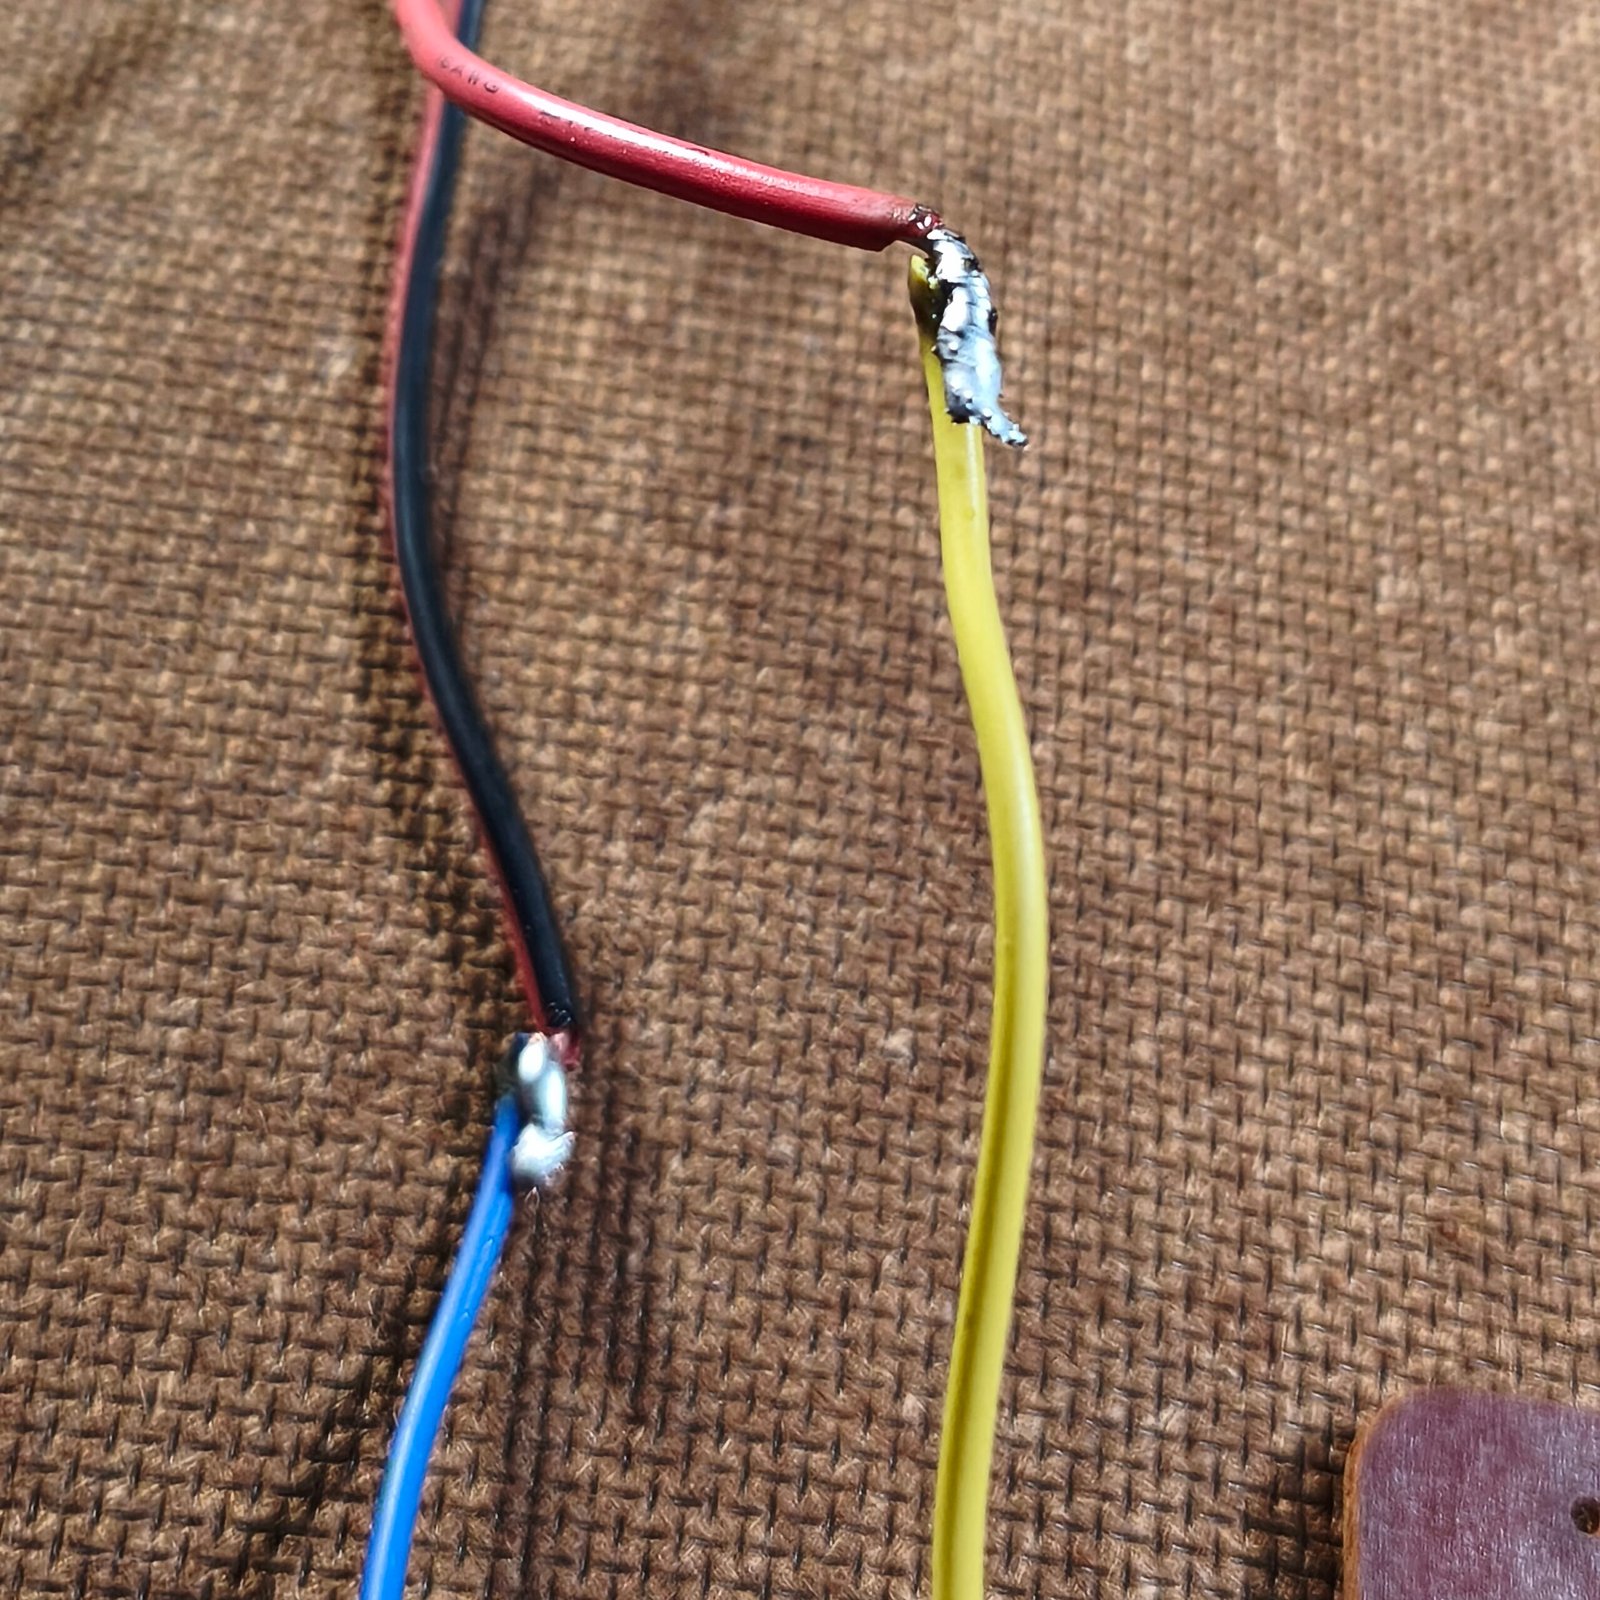
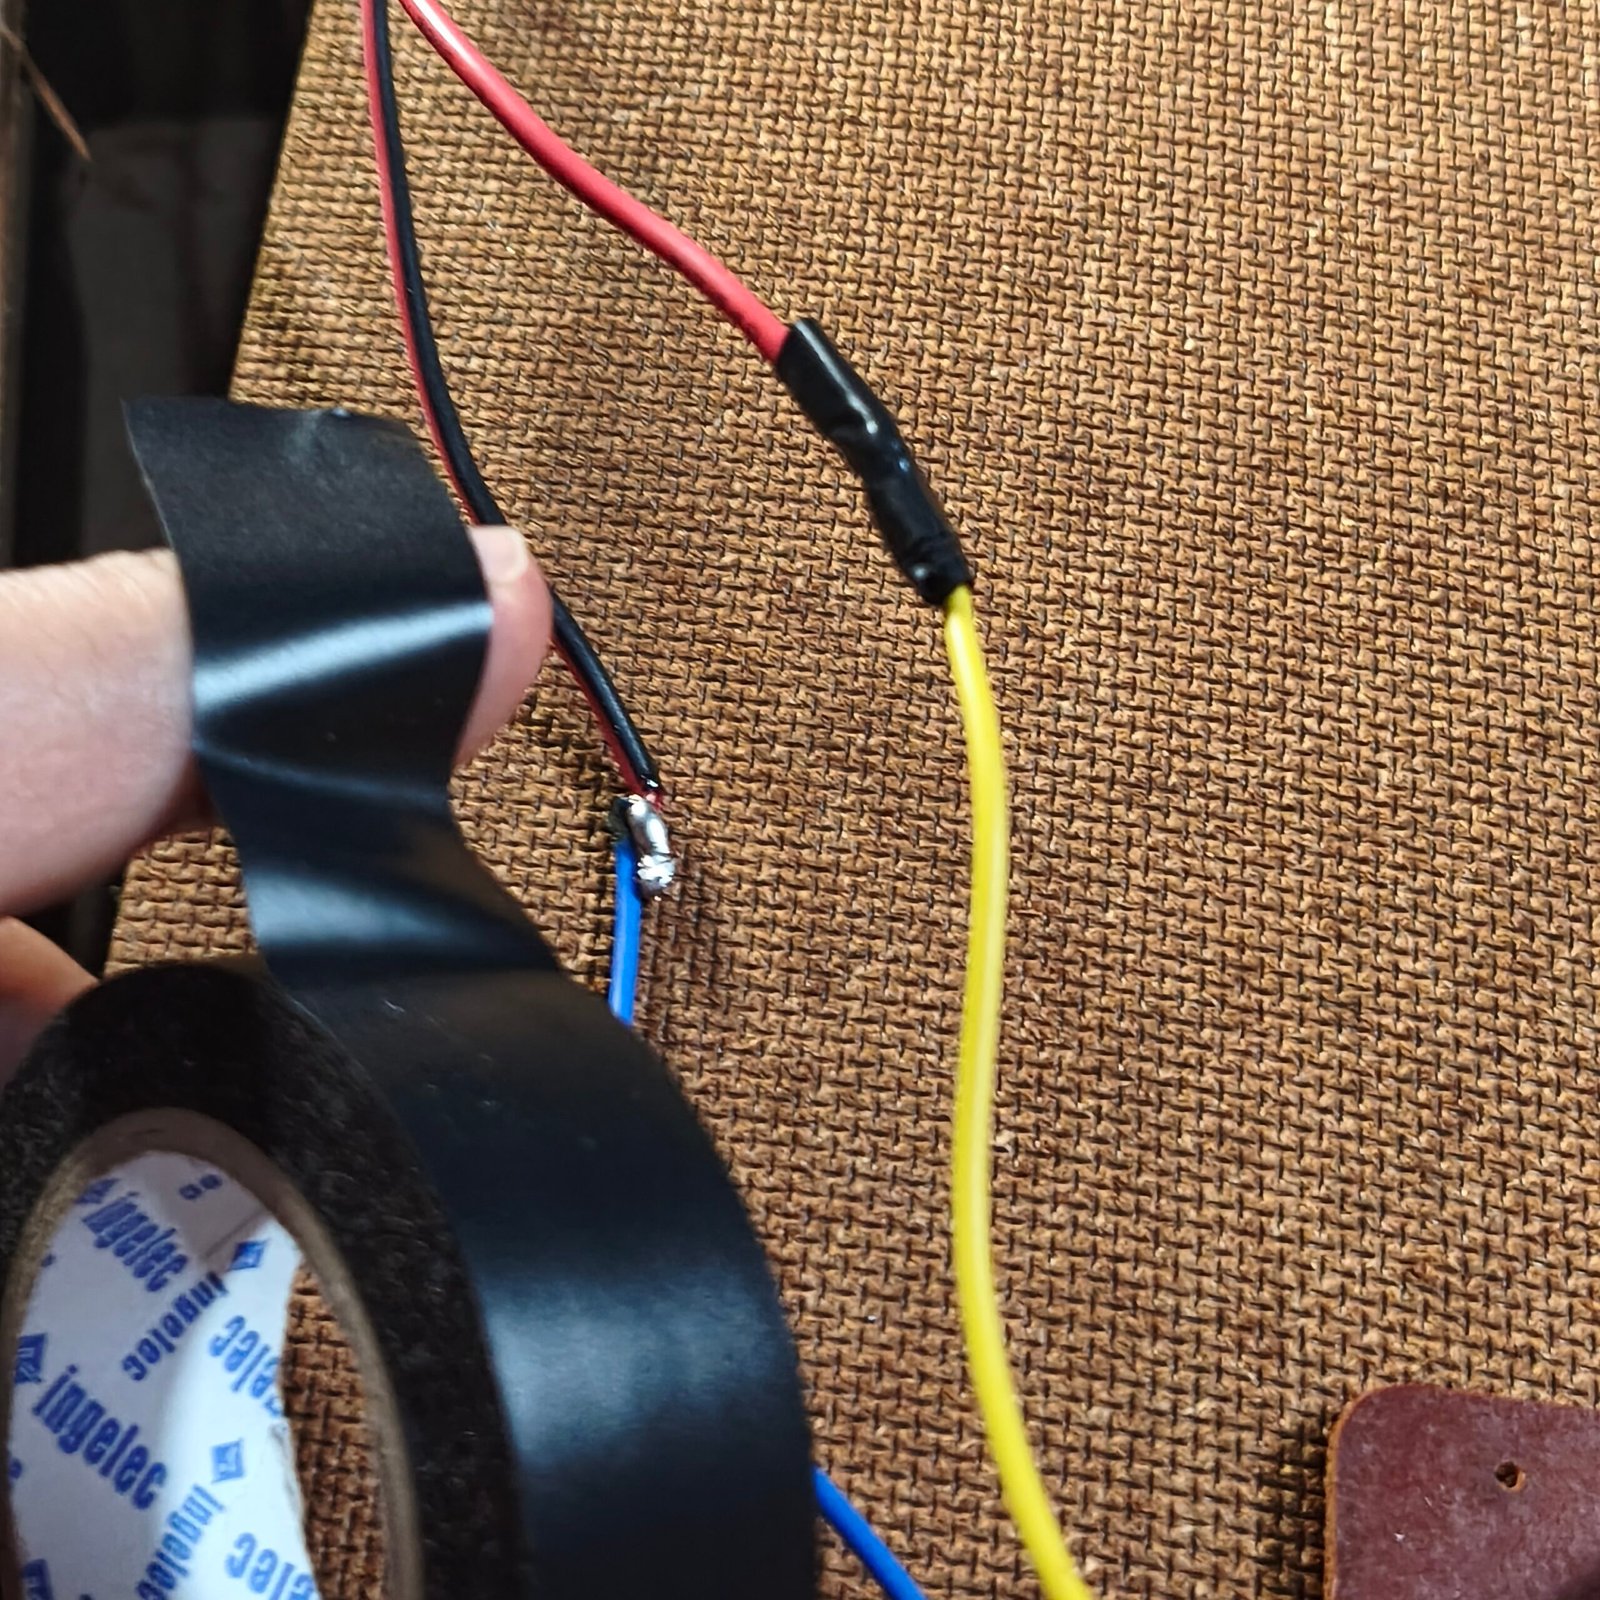
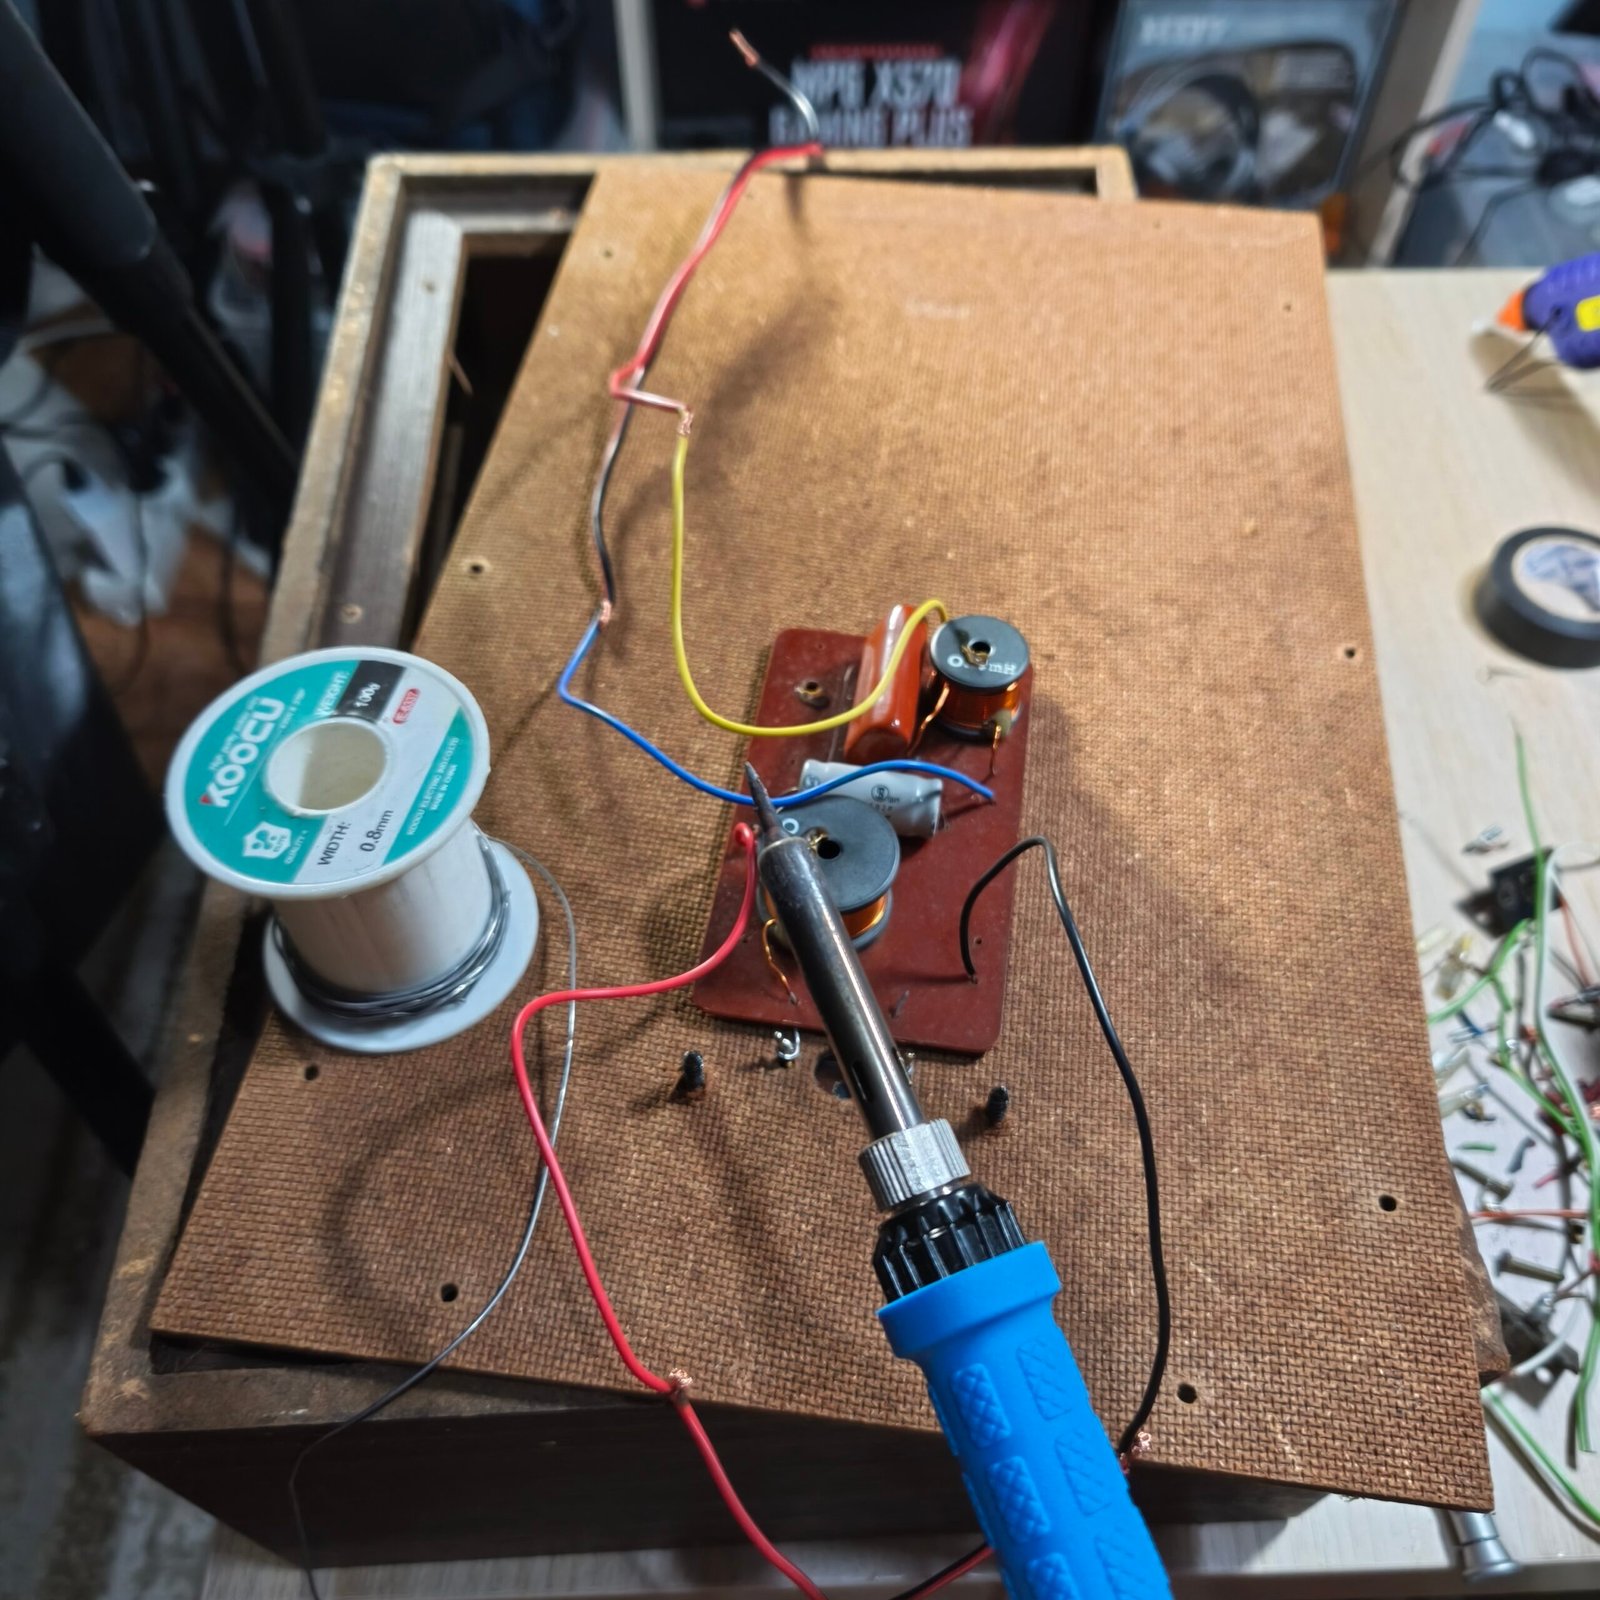
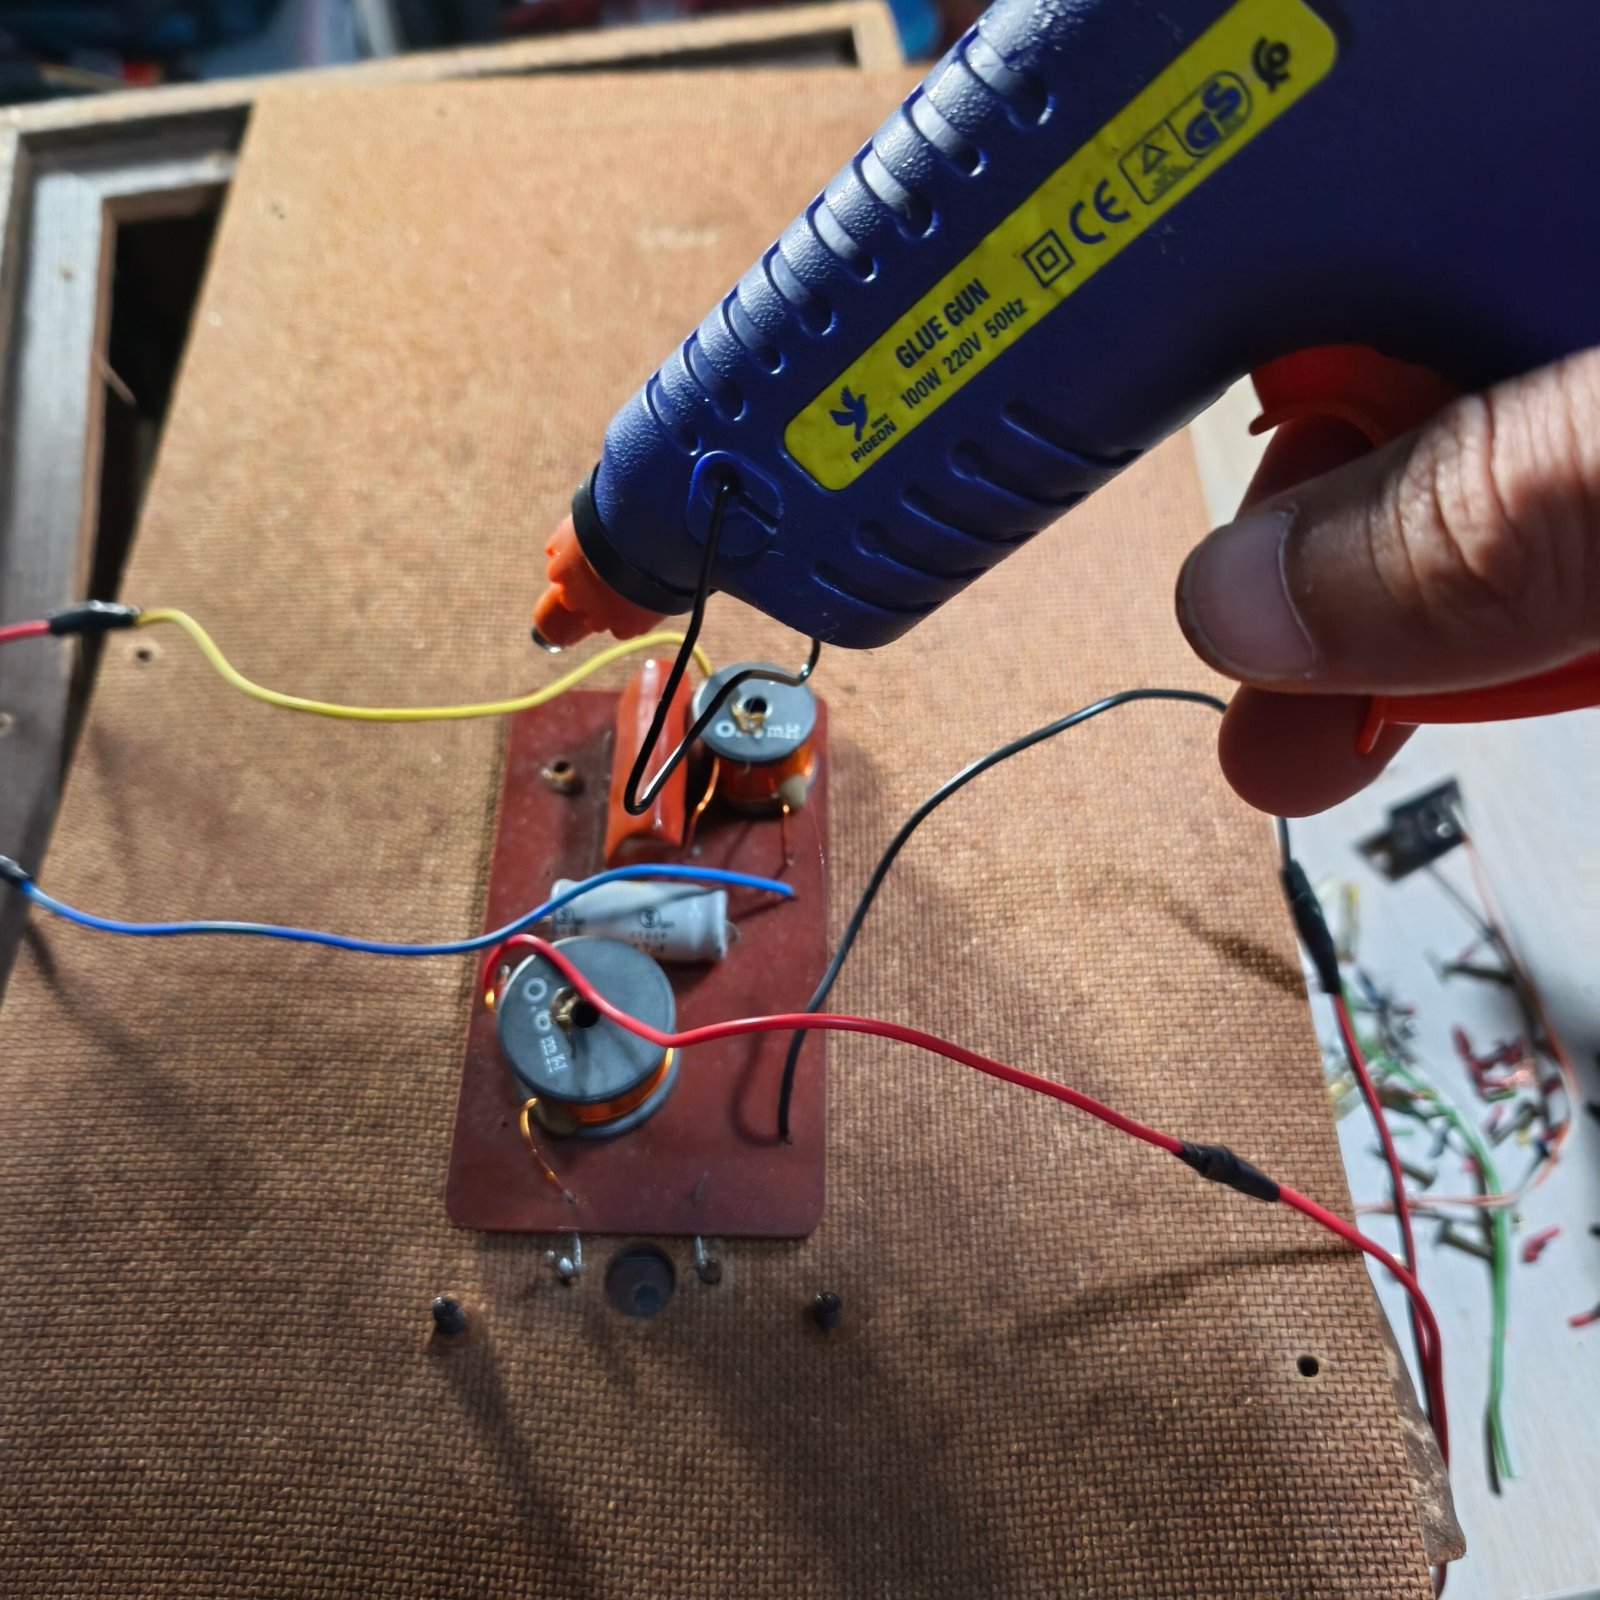
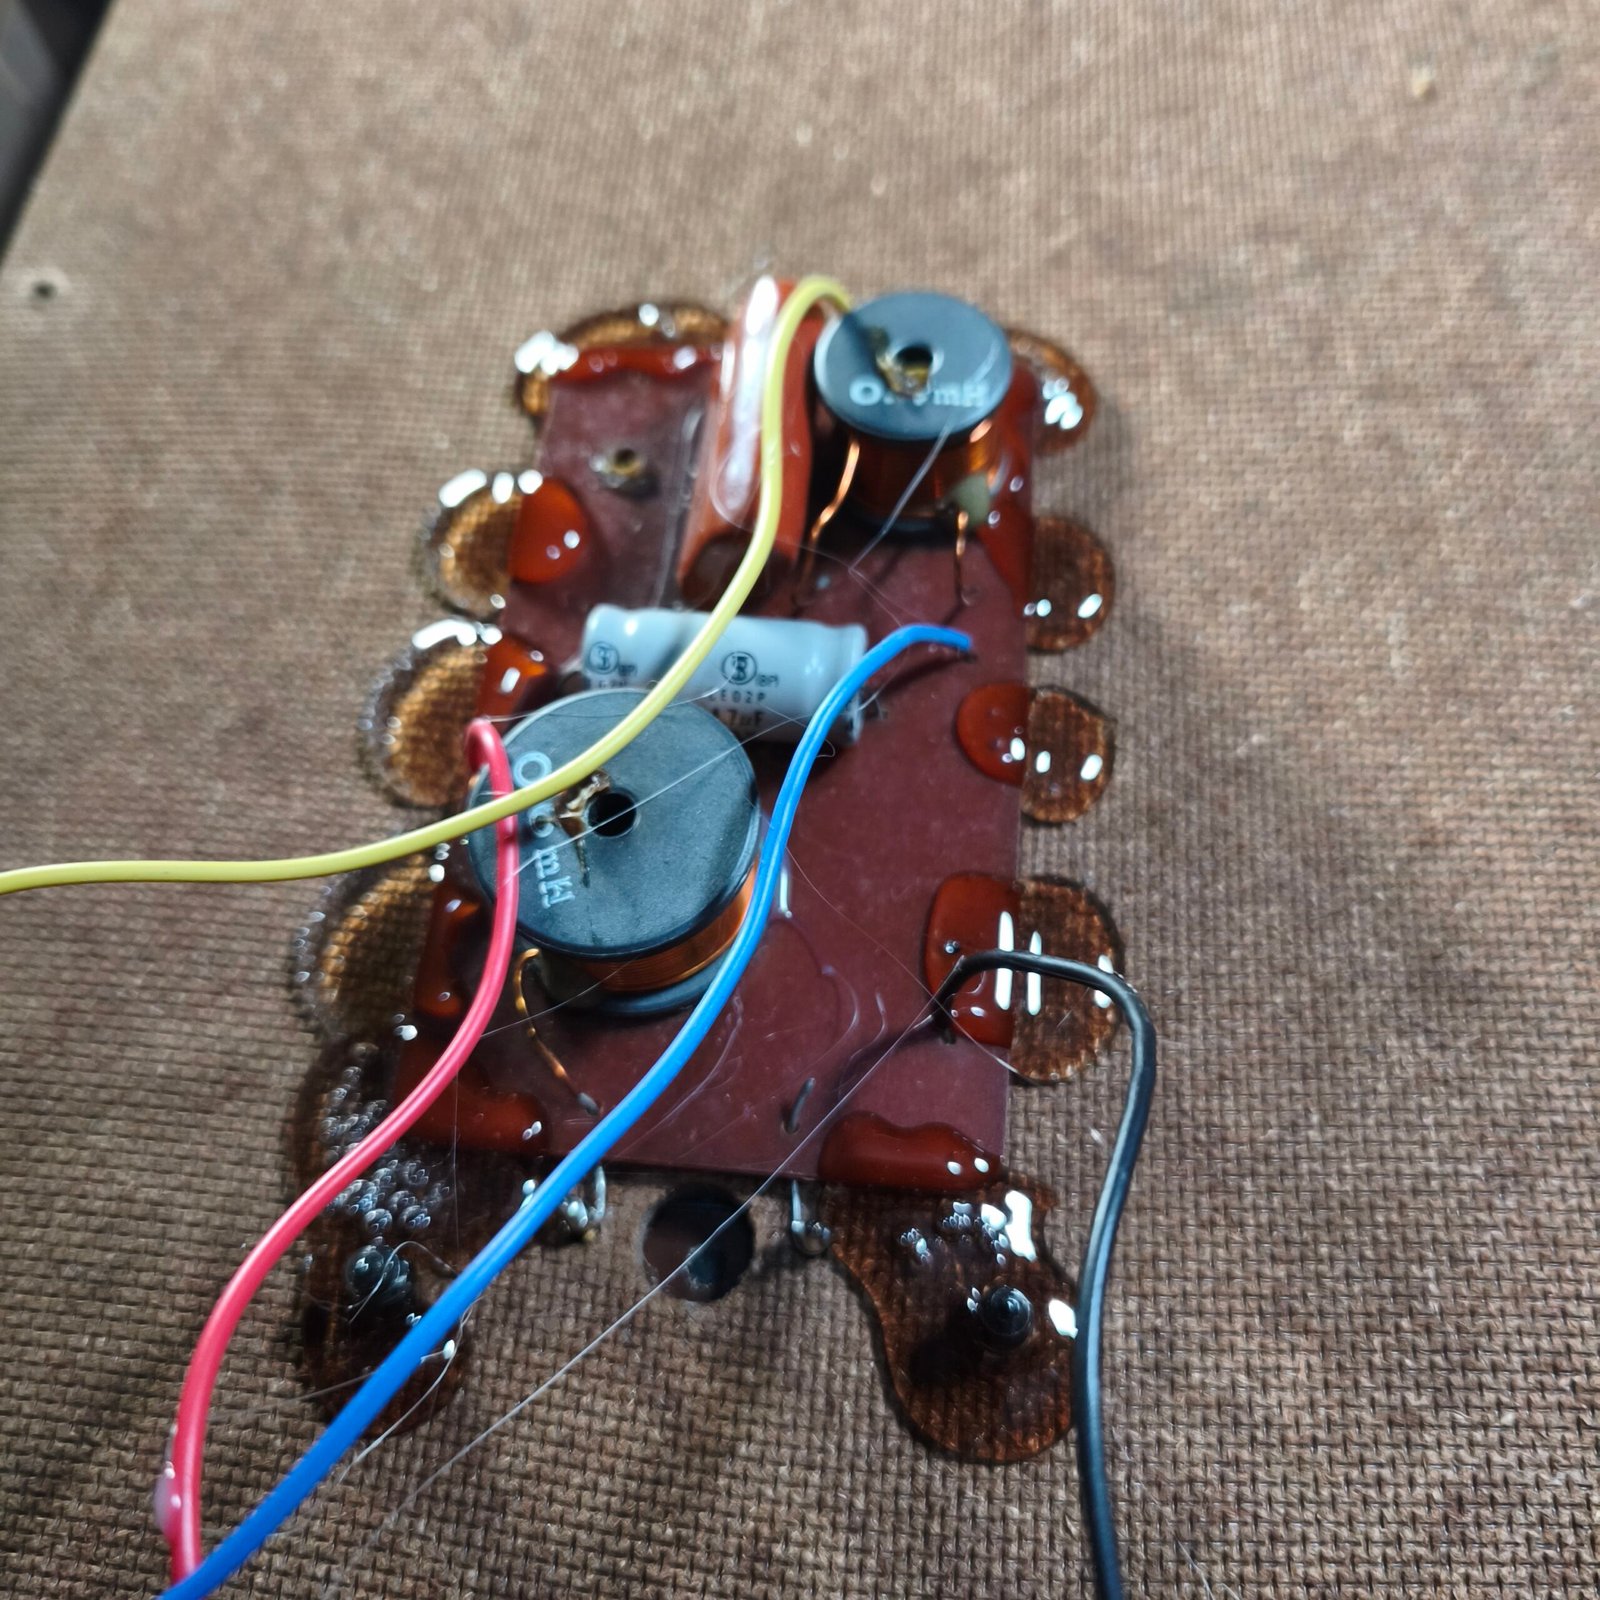
The next step was installing the Aurex SS-S12 crossover.
Its job is to divide the frequencies so that the woofer and tweeter each receive the part of the frequency range they are supposed to reproduce.
As mentioned earlier, matching the crossover to the driver impedance is important.
In my case, both the woofer and tweeter were 8 ohms, and the crossover was also designed for 8-ohm drivers. That allowed me to keep the configuration consistent.
I wanted to avoid simply combining, for example, a 4-ohm driver with an 8-ohm crossover without knowing what the result would actually be.
A difference in impedance can change the behavior of the crossover and therefore the way the two drivers share the frequency range. It can also affect the load presented to the amplifier.
Adding Acoustic Damping
Another modification I made was inside the cabinet.
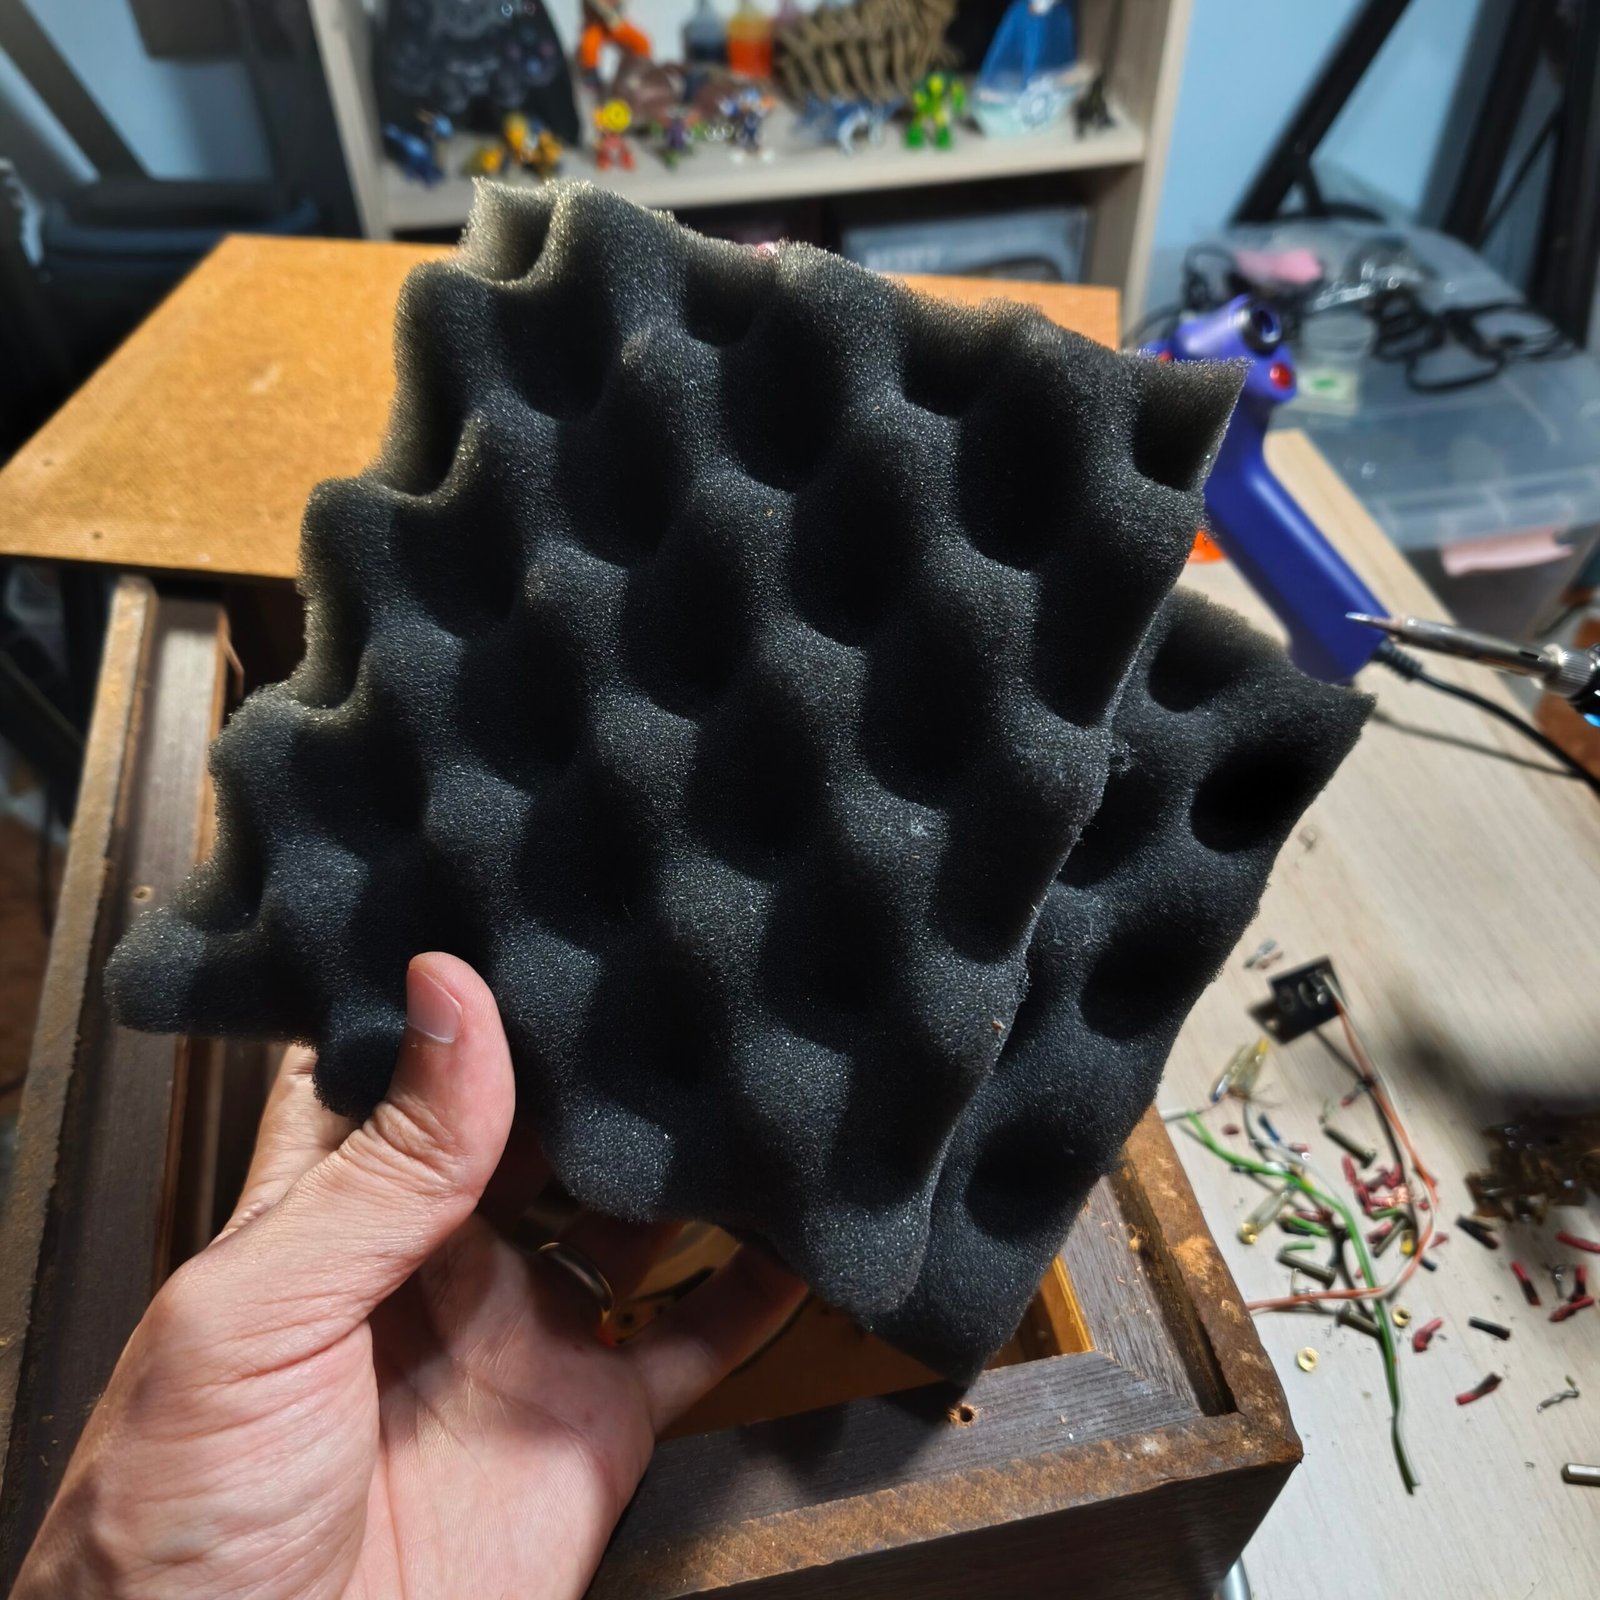
The original speakers did not have any acoustic foam inside. Since I had some foam recovered from another piece of equipment, I decided to reuse it for this project.
I cut it to the required shape and glued it to the inside of the cabinet to add acoustic damping.
The idea was to reduce internal reflections and resonances and give the woofer a cleaner acoustic environment.
This also fit perfectly with the whole idea behind the project: reusing materials I already had instead of automatically buying everything new.
The First Listening Test
This is where the project really became interesting.
After spending time modifying the cabinet, restoring the tweeter, installing the acoustic foam, and wiring everything together, there was only one thing left to do: connect the speakers and listen.
Honestly, I did not really know what to expect.
From the first few tracks, I was surprised by the result.
The sound was clear, well filtered, and pleasant to listen to. But two things particularly caught my attention: the bass and the high frequencies.
An Enjoyable Listening Experience
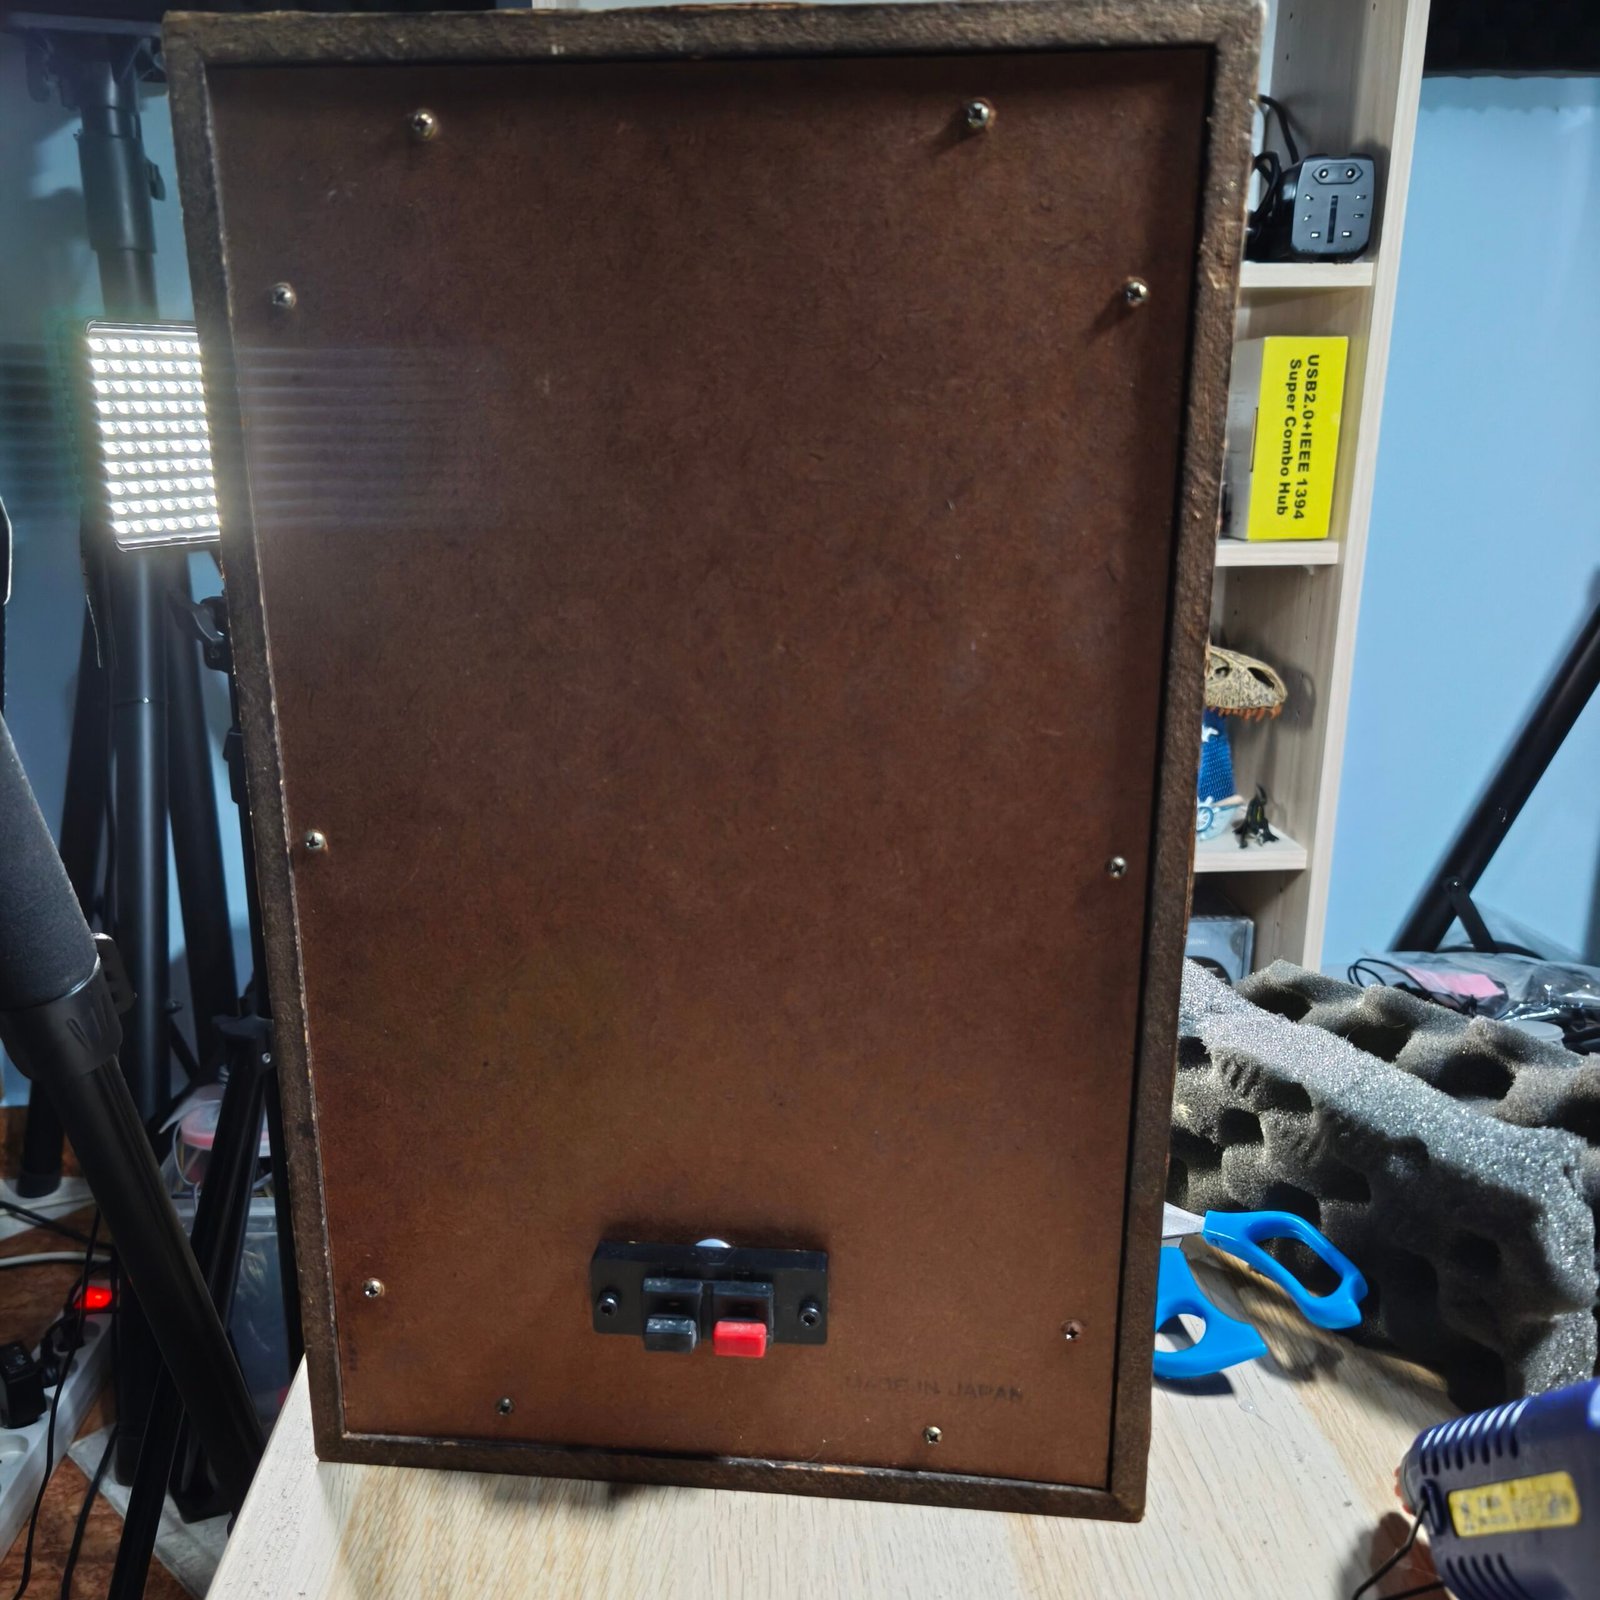
Since the cabinet is relatively compact and sealed, I knew I could not expect a huge amount of bass. Still, the result pleasantly surprised me.
The bass remains moderate, but it is clean and well defined. What I particularly like is the clarity of the bass notes. It is easy to follow the bass line and distinguish the individual notes without the low end becoming overwhelming.
The Pioneer woofer also contributes to the lower midrange and midrange, which helps create a natural transition toward the tweeter.
The Toshiba Tweeter: A Pleasant Surprise
The tweeter is probably the part that surprised me the most.
After restoring it with a new voice coil and a new dome, I was not exactly sure how it would perform in this new configuration.
During listening, the high frequencies sounded clear, precise and pleasant. There is plenty of detail, but without becoming harsh or tiring.
With some tracks, I particularly enjoyed the way the tweeter brings out small details in the music and gives the overall sound more clarity and life.
My Impressions After Several Listening Sessions
After listening to different types of music, my overall impression is very positive.
The speaker has a balance that I really enjoy. The bass remains controlled, the midrange sounds natural, and the high frequencies provide enough detail to make the music feel alive.
But what I like most is not necessarily one specific technical characteristic. It is the overall feeling while listening.
The sound has a certain smoothness while still maintaining good clarity. It also has that slightly vintage character that I particularly enjoy with this type of speaker.
I was not trying to build a perfect speaker or reproduce the performance of a modern design. I simply wanted to see what I could achieve using recovered components and an old cabinet.
In the end, the result gave me much more satisfaction than I expected.
Conclusion
This project started with a few components that had already seen better days: an old cabinet, a Pioneer woofer, a Toshiba tweeter that needed restoration, an Aurex SS-S12 crossover, and acoustic foam recovered from another piece of equipment.
After adapting the cabinet, restoring the tweeter and putting everything together, there was only one thing left to do: listen.
The final result is a speaker with moderate but well-defined bass, a coherent midrange and detailed high frequencies. More importantly, the overall sound is pleasant and musical, with a personality of its own.
This is what I take away from the project: you do not always need brand-new components to create something worthwhile. With recovered parts, some restoration work and a few modifications, it is possible to give old equipment a new purpose.
And in my case, the most satisfying part was simply pressing play and discovering that this old speaker still had a lot to offer.